
How to Seal a Leaky Pipe: Emergency Fixes & Guide
You hear a drip under the sink. Then you open the cabinet and see the shelf wet, the shutoff valve sweating, and a thin line of water running down the pipe. That's usually the moment people go from “I'll deal with it later” to “I need to stop this right now.”
The good news is that many leaks can be slowed or temporarily sealed long enough to protect the home and arrange a proper repair. The bad news is that some DIY fixes fail for reasons most guides never explain. In Los Angeles, that often means older copper or steel lines, corrosion you can't fully see, and leaks that are still under pressure when you're trying to patch them.
A small leak still matters. In the United States, plumbing leaks affect 8.1% of homes annually, or about 1 in 12 households, and they cause over $13 billion in property damage nationwide each year, according to FloLogic's summary of U.S. water leak facts. If you want the homeowner side of that issue in plain terms, this guide on why timely leak repairs save money and protect your home is worth reading too.
If you're searching for how to seal a leaky pipe, start with control, not panic. Shut down the risk, contain the water, and then choose the right temporary fix for the type of leak you have.
Table of Contents
- That Drip Is Louder Than You Think
- Your Immediate Leak Response Plan
- Temporary Fixes to Stop Water Damage Fast
- Sealing Specific and Tricky Leak Types
- From Temporary Patch to Permanent Solution
- When to Skip DIY and Call EZ Plumbing
- Frequently Asked Questions About Leaky Pipes
That Drip Is Louder Than You Think
Most homeowners don't discover a leak at a convenient time. It happens before work, late at night, or right after you notice water staining a baseboard and realize the problem may have been active longer than you thought.
That stress is normal. What matters is not letting the first few minutes turn into guesswork.
A pipe leak can stay small for a while, then open up without much warning. A loose threaded fitting may drip for days. A corroded copper line may go from pinhole to spray. In older LA homes, I've seen homeowners focus on the wet spot they can see while the actual issue was corrosion further back on the line.
Practical rule: Treat every active pipe leak like a property protection issue first and a repair project second.
The first job is simple. Keep people safe. Keep water away from electrical hazards. Stop the flow if you can. Only then should you decide whether tape, epoxy, or a clamp has a fair chance of buying you time.
There's also an important trade-off to understand. Some leaks are good candidates for a temporary seal. Others are not. If the pipe wall is still solid and the leak is at a threaded connection or a small isolated defect, a short-term repair can work well enough to prevent immediate damage. If the pipe is flaking, split, or badly corroded, sealant may stick for a moment and then fail because the pipe underneath is still breaking down.
That's why the right approach is calm and methodical. Don't chase the drip with random products from the garage. Match the fix to the leak.
Your Immediate Leak Response Plan
When water is actively leaking, the first five minutes matter more than the next hour.
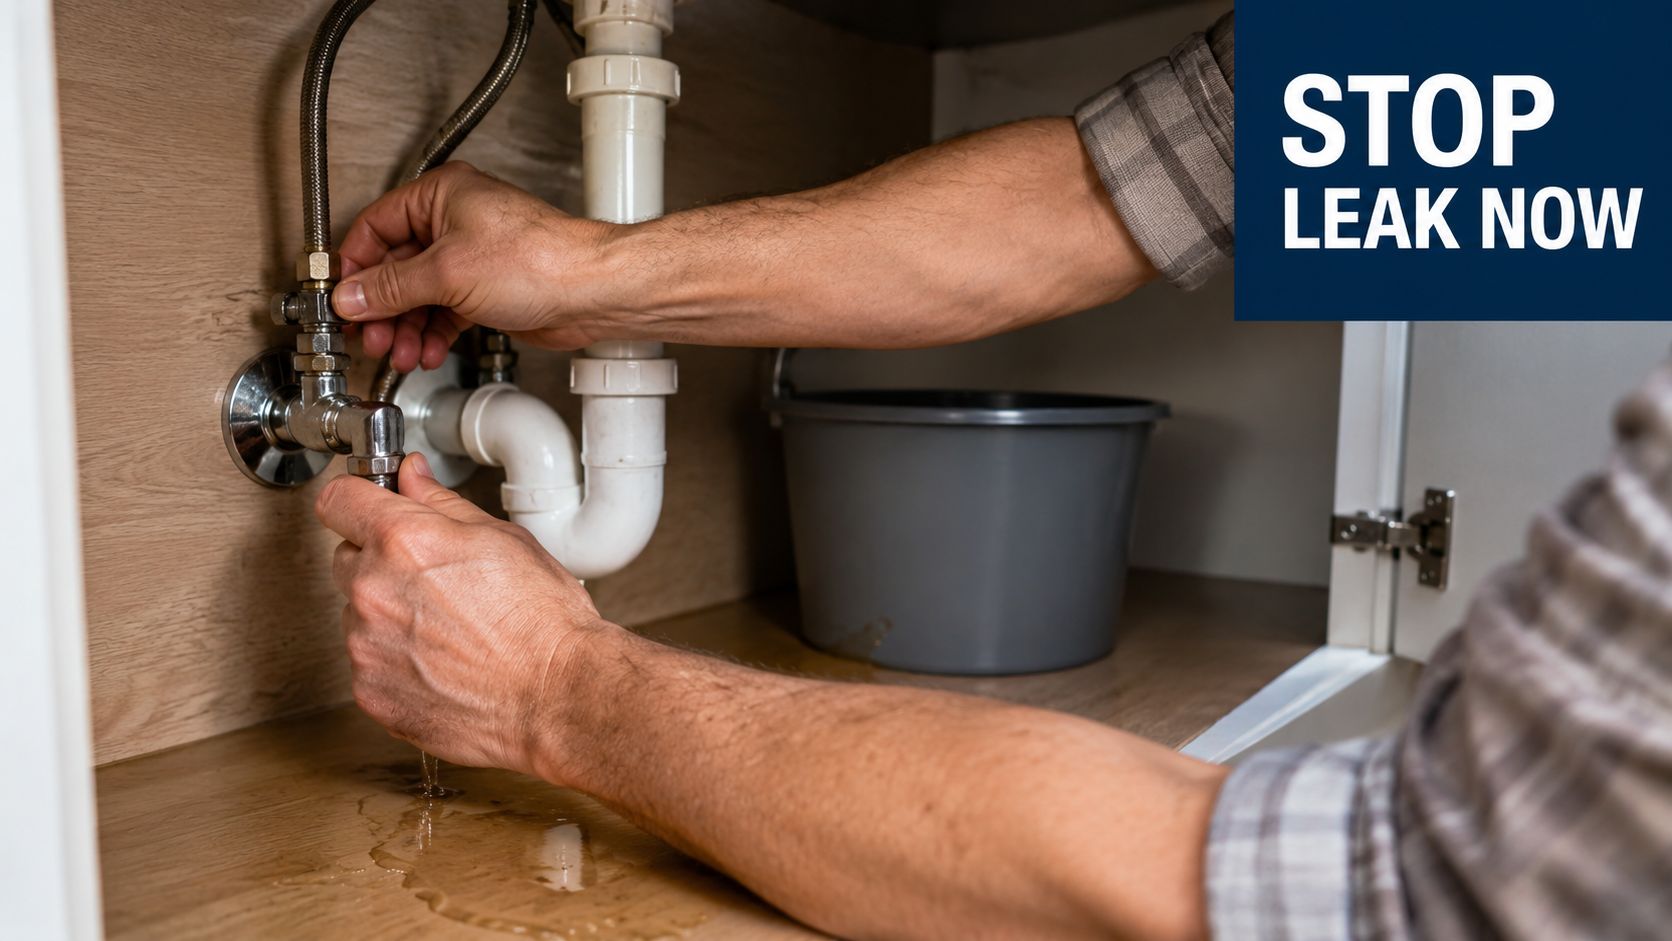
Shut off water before you touch the leak
If there's a local shutoff valve feeding the fixture, use that first. If the valve is stuck, missing, or leaking too, go to the main. If you aren't sure where it is, this walkthrough on how to shut off main water supply can help you move fast.
If the leak is severe, don't waste time searching for a perfect tool. Use a bucket or towels for immediate containment and get the water off.
For larger emergencies, especially when a line has burst or a ceiling is involved, it also helps to review immediate steps for burst water pipes so you don't miss the broader cleanup and damage-control steps.
Cut power if water is near wiring or outlets
This gets missed all the time. If water is near an outlet, light switch, appliance cord, or panel area, turn off power to that area before reaching into the leak zone.
Don't stand in pooled water and touch metal fixtures while testing anything electrical. If you can't safely isolate power, stop there and call a pro.
Identify the pipe before you choose a repair
Different pipe materials fail differently, and that changes what will hold.
- Copper pipe usually leaks from pinholes, bad solder joints, or corrosion at fittings.
- PVC pipe often cracks or leaks at glued joints.
- PEX pipe usually leaks at fittings, rings, or from physical damage rather than corrosion.
- Threaded galvanized or steel pipe often leaks where threads are worn, dirty, or over-tightened.
Look for the actual source, not just the lowest drip point. Water travels. A wet cabinet floor can come from a leak higher up.
If the pipe surface is heavily rusted, blistered, or crumbling under your fingers, skip the patch. The leak you see may be only one weak spot in a failing section.
Once the water is off, dry the line completely if possible. Temporary sealing products work much better on a clean surface than on a wet, dirty one.
Temporary Fixes to Stop Water Damage Fast
Temporary repairs work best when you use them as intended. They are meant to buy time, protect finishes, and keep a small problem from turning into a soaked wall or cabinet.
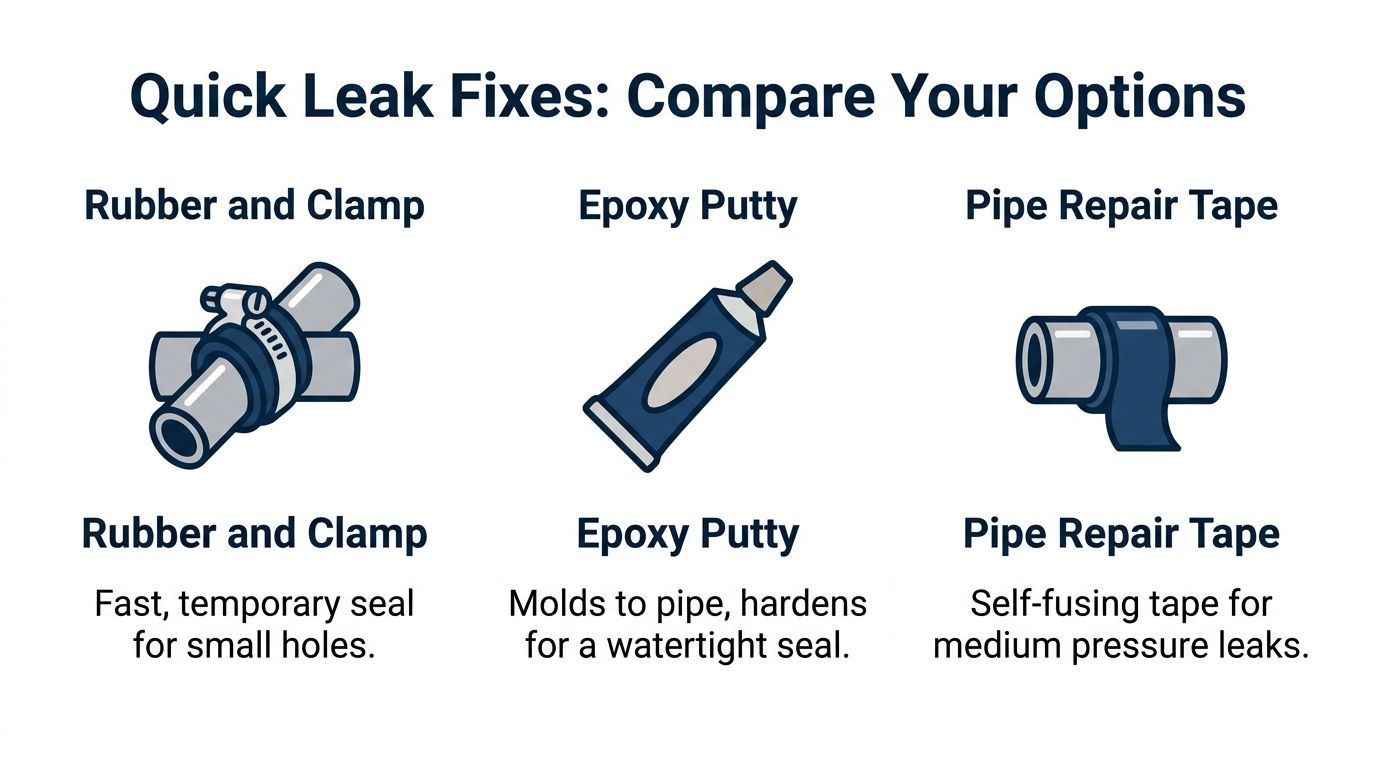
Epoxy putty for small localized leaks
Epoxy putty is a good option for a small hole, a weeping crack, or a damaged spot on a rigid pipe when you've shut the water off and dried the area well.
According to LePage's guide to sealing a pipe with tape or epoxy, the resin and hardener should be mixed for about one minute, then applied firmly over the leak and feathered out for a complete seal. Many sealants set in 30 minutes, but you need to wait for the full cure time before turning the water back on.
How to apply it well:
- Wipe the pipe dry.
- Remove loose rust, paint, or scale.
- Mix the epoxy thoroughly for the full minute.
- Press it over and around the leak, not just directly on the opening.
- Feather the edges so the patch transitions smoothly onto solid pipe.
- Let it cure fully before testing.
Common failure point: homeowners rush the cure or apply epoxy over a damp surface.
Self-fusing silicone tape for fast wrapping repairs
Self-fusing silicone tape doesn't rely on sticky adhesive. It bonds to itself under tension. That makes it useful for awkward spots where a molded patch is hard to shape.
It's especially useful when the leak is small, the line is curved or cramped, and you need a quick wrap. Start a few inches before the leak, stretch the tape tightly, and continue several inches beyond it. Build overlapping layers so the wrap compresses the area.
This method is often faster than epoxy, but it still depends on surface prep and wrapping tension. If the tape is laid on loosely, it won't seal well.
Repair clamp for larger ruptures or straight pipe sections
A pipe repair clamp uses a rubber or neoprene gasket placed over the leak and compressed tightly against the pipe by a metal clamp. This is one of the better temporary options for a more obvious split or larger hole on a straight pipe run.
Use it when:
- The damaged area is accessible
- The pipe is rigid and round enough for the clamp to seat properly
- You need mechanical compression, not just a surface coating
Tighten evenly. If the gasket sits crooked, water can track around it.
Choosing Your Temporary Leak Solution
| Method | Best For | Application Time | Durability |
|---|---|---|---|
| Epoxy putty | Small holes, weeping cracks, isolated damage on dry rigid pipe | Moderate | Good as a short-term patch if surface prep is solid |
| Self-fusing silicone tape | Small leaks, awkward areas, quick wrapping around accessible pipe | Fast | Fair to good for temporary control, depends heavily on tension |
| Repair clamp | Larger holes or splits on straight sections of rigid pipe | Fast to moderate | Good temporary containment when properly tightened |
A temporary fix only works if the pipe around it is still worth sealing. If the leak is part of broad corrosion, replacement is the lasting repair. In some cases, a contractor may also recommend a specialized option such as epoxy pipe repair for the damaged section rather than immediate full repiping, depending on access and pipe condition.
Sealing Specific and Tricky Leak Types
Some leaks fool homeowners because the basic advice sounds right but doesn't match actual conditions.
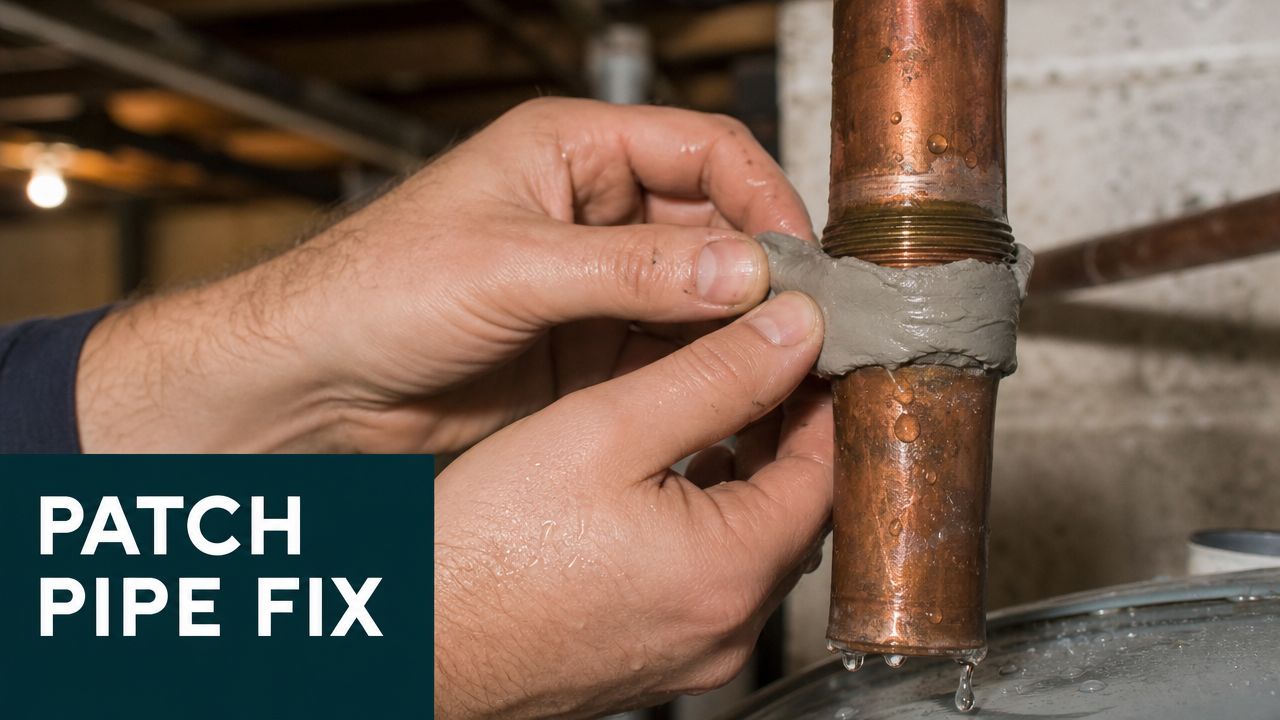
Threaded joints fail from technique, not just wear
A leaking threaded fitting often gets one of two bad DIY responses. Either the homeowner adds more tape than necessary, or they crank the joint down harder thinking tighter always means better.
That's not how these joints seal. For threaded pipe leaks, GE Sealants notes that a common pitfall is using tape on joints meant for soldering, and 30 to 45% of threaded joint failures come from improper tape application or excessive torque rather than material defects. The same guidance recommends wrapping PTFE tape 6 to 10 times in the direction of the thread so it doesn't unravel during tightening.
A sound method looks like this:
- Clean the male threads with a wire brush to remove burrs and debris.
- Wrap in the same direction the fitting will turn when tightened.
- Stay within 6 to 10 wraps. Too little can leak. Too much can distort the connection.
- Tighten to snug, not forced.
If the fitting is distorted, cracked, or corroded at the threads, tape alone won't save it.
More thread tape does not correct damaged threads. It usually makes assembly worse.
This same idea shows up in other home systems too. If you've ever looked into how contractors seal leaky ducts, the principle is similar. The product matters, but surface condition and application technique matter just as much.
How to handle a pinhole leak with pressure still on the line
Many guides fall short, especially in older Los Angeles homes with copper or steel lines. Many DIY articles assume the pipe is dry and fully depressurized. Real life doesn't always cooperate.
Data from plumbing trade journals shows that 40% of emergency leaks involve pressurized systems where standard epoxy or tape applications can fail immediately if they aren't done with specific techniques. One of the most useful adjustments is applying self-fusing silicone tape with tension from the side rather than trying to press directly over the pinhole first.
That matters because direct pressure over an active pinhole can let water push under the first wrap before the tape bonds to itself.
Use this approach:
- Dry the surrounding pipe as much as possible.
- Start the wrap on solid pipe beside the leak, not centered on the hole.
- Stretch the tape firmly so it fuses to itself under tension.
- Continue past the leak, overlapping each pass.
- Build compression over the damaged zone from anchored wraps on both sides.
For a visual on pipe repair handling, this short video is useful:
If you're dealing with plastic piping instead of copper, the repair path changes. A cracked plastic line often needs a different approach than a pinhole in metal. This guide on PVC pipe crack repair covers that side of the problem.
From Temporary Patch to Permanent Solution
A patch stops water. It doesn't remove the reason the pipe leaked.
Why patches stop water but don't remove the cause
If the issue is a loose threaded connection, a proper reassembly may become the permanent repair. But when a pipe leaks because of corrosion, abrasion, cracking, or a weakened joint, a temporary seal only covers the symptom.
Permanent repair usually means cutting out the damaged section and replacing it with new pipe and fittings. On copper, that may involve removing the failed segment and rebuilding the connection. On PVC, it often means cutting back to sound material and installing a new section with proper fittings. On PEX, the permanent fix usually centers on replacing the damaged length or redoing the fitting connection cleanly.
The practical question isn't “Did the patch stop the drip today?” It's “Would you trust that section of pipe behind a wall, above a ceiling, or over a hardwood floor?”
A temporary seal is acceptable when it buys safe time. It is not acceptable when failure would damage finished areas or create a hidden leak.
Slab leaks need diagnosis, not surface sealant
Some homeowners spend too long trying to seal the wrong thing because the leak is not on an exposed pipe. In California, slab leaks and other underground pipe failures account for 15 to 20% of residential plumbing emergencies, and 65% of DIY attempts fail repeatedly because external sealants can't fix internal fractures within a slab, based on the verified data provided for this article.
That's the key distinction. If the line is buried in or under concrete, surface products don't reach the actual failure point inside the run. The right fix may involve isolating the line, tracing the leak precisely, and using a professional repair method that matches the pipe material and location.
If you notice unexplained floor warmth, moisture with no visible pipe leak, water sounds below the slab, or recurring wet spots that don't match any exposed piping, stop thinking in terms of tape and putty. That's no longer a sealing job. It's a diagnostic job.
When to Skip DIY and Call EZ Plumbing
Good judgment is part of good home maintenance. A careful call for help can save walls, cabinets, flooring, and a lot of frustration.
Red flags that change the decision fast
Stop the DIY attempt and call a licensed plumber if any of these apply:
- The leak is inside a wall, ceiling, or floor. You may only be seeing the escape path, not the source.
- The pipe is badly corroded. Flaking metal, heavy rust, or multiple weak spots usually mean the section is failing.
- You can't get the water fully off. Temporary materials perform poorly when the leak is too active.
- The leak is on a hot water line near other utilities. Heat, pressure, and confined access raise the risk.
- The damaged area is split, crushed, or out of round. Clamps and wraps need a stable surface.
- You don't know whether the pipe is drain, supply, gas, or condensate. Misidentifying the line can make the situation unsafe.
If the leak has already affected drywall, flooring, cabinetry, or lower levels of the property, delaying service often creates a second problem. Then you're no longer dealing with just plumbing.
What a smart service call looks like
A good service visit should identify the actual cause, not just re-wrap the visible leak. That means checking the pipe condition around the failure, the pressure conditions, the connection type, and whether the problem is isolated or part of a larger issue.

EZ Plumbing serves Los Angeles with emergency and scheduled plumbing repair, so if the leak is beyond a safe temporary patch, getting a licensed technician involved is the protective move, not an overreaction. That matters even more in older homes and multi-unit buildings where one failing line can affect more than one space.
If you're a homeowner or property manager, the best time to call is when you've contained the water but before the temporary fix becomes something you trust too much.
Frequently Asked Questions About Leaky Pipes
How long can a temporary pipe seal last
It depends on the pipe condition, the leak type, and how well the patch was applied. A temporary seal can hold long enough to prevent immediate damage and allow proper scheduling, but it shouldn't be treated like a long-term substitute for replacing damaged material.
If the patch is on solid pipe and the leak was minor, you may get useful time out of it. If the pipe is corroded or the line cycles pressure frequently, the patch can fail much sooner. Check it regularly until the permanent repair is done.
Is a drain pipe leak treated the same as a supply line leak
No. A drain line usually carries wastewater with much lower pressure, so the repair strategy is different. A supply line leak is under pressure, and that pressure is what pushes weak temporary repairs apart.
That's one reason the standard advice online often disappoints homeowners. Many DIY guides don't address pressure well, even though verified trade-journal data shows 40% of emergency leaks involve pressurized systems where standard epoxy or tape can fail immediately without the right technique.
Can you seal a hot water pipe the same way
Sometimes, but be more cautious. Heat affects materials, cure times, and working conditions. Shut the line down and let the pipe cool enough to work safely before applying anything.
If the leak is near a water heater connection, a recirculation line, or a cramped wall cavity, that usually pushes the job closer to professional repair than casual DIY.
What if I think the leak is inside a wall
Turn off the water and call a plumber. Don't keep opening and closing the line to “see if it comes back.” Hidden leaks can spread into framing, insulation, flooring, and adjacent rooms before the visible stain grows enough to tell you the full story.
A wall leak also changes how you approach access. Blindly sealing exposed pipe under a sink won't help if the actual failure is in the wall behind it.
If you've stopped the water but you're not confident in the pipe, the safest next step is to contact EZ Plumbing. Their licensed team serves Los Angeles with emergency response and scheduled repairs, so you can move from a temporary patch to a repair that solves the problem.