
PVC Pipe Crack Repair: A DIY Homeowner’s Guide
You walk into the garage, under the sink, or out by an irrigation line and spot it right away. A bead of water. Then a drip. Then the sinking feeling that a small pvc crack might turn into a soaked wall, damaged flooring, or a weekend plumbing emergency.
The good news is that pvc pipe crack repair is often straightforward if you slow down, identify what kind of pipe you're dealing with, and choose the repair that matches the actual problem. The bad news is that a lot of DIY advice treats every crack the same. It isn't. A drain line crack, a pressurized supply line split, and an underground pipe stressed by Los Angeles soil movement each call for a different response.
Table of Contents
- First Steps When You Find a Cracked PVC Pipe
- Diagnosing the Crack and Gathering Your Tools
- Your Guide to DIY PVC Pipe Repair Methods
- Testing Your Repair and Preventing Future Cracks
- When to Skip DIY and Call a Licensed Plumber
- Frequently Asked Questions About PVC Repair
First Steps When You Find a Cracked PVC Pipe
That first minute matters more than the repair itself. If water is actively leaking, shut off the water supply first. Don't start wrapping tape around a live leak, and don't assume you can work faster than the water.
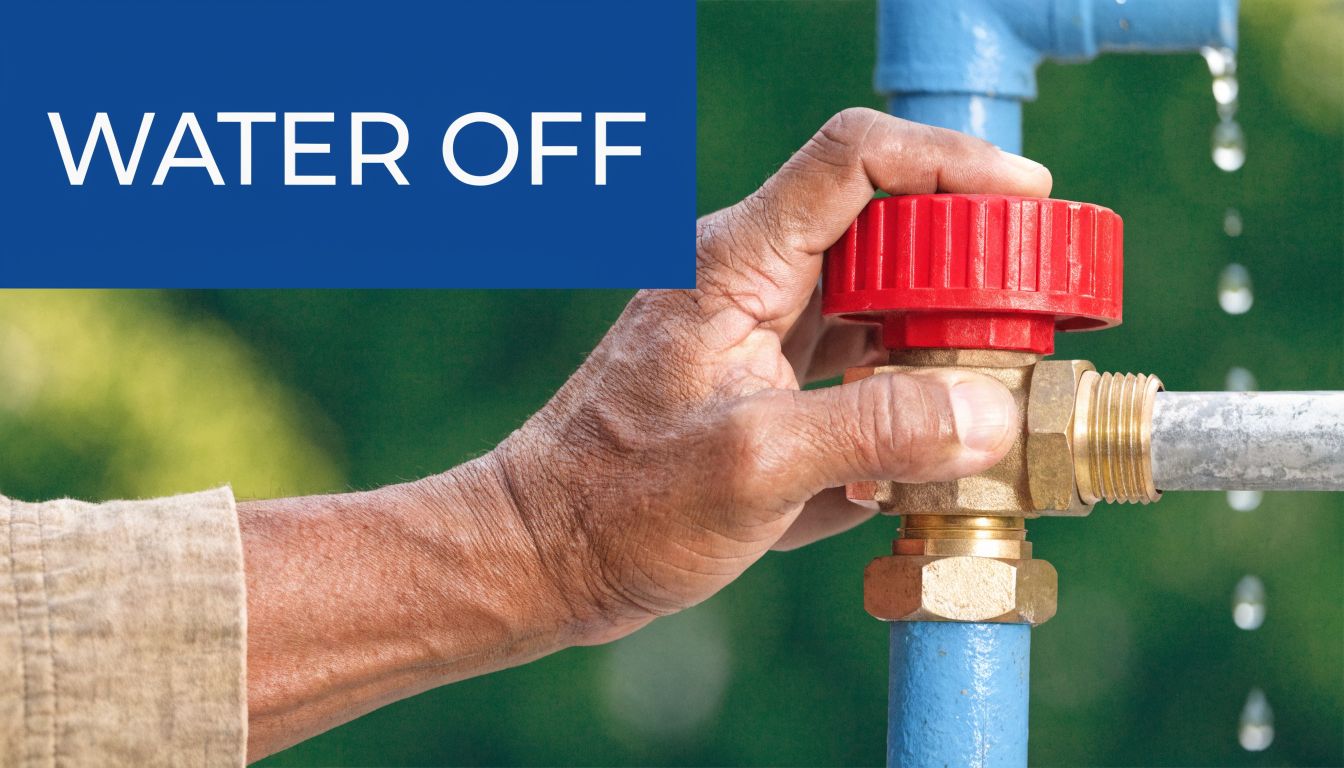
If it's a sink or toilet branch line with an accessible local stop valve, turn that valve clockwise to close it. If you're not sure which valve feeds the damaged line, go straight to the main shutoff. On many Los Angeles homes, that's near the front hose bib, by the water meter, or where the main line enters the house.
After shutoff, open a faucet at the lowest practical point in the house to drain pressure from the system. Flush nearby toilets if needed to clear remaining water. A pressurized line can hold enough water to keep dripping long after the valve is closed, and that leftover pressure can ruin a repair before it cures.
Practical rule: If the leak is still spraying after you think you shut the water off, stop and verify you closed the correct valve before touching the pipe.
Once the leak is stable, take a breath. A single crack usually doesn't mean your whole pvc system is failing. PVC pipe has demonstrated the lowest overall failure rate among major water distribution materials, and research indicates a service life that should exceed 100 years according to the PVC pipe longevity report from Uni-Bell. In plain language, one cracked section is often a localized problem.
That matters because homeowners tend to jump to the worst conclusion. Usually, you're dealing with one damaged area caused by impact, stress, movement, or a bad joint, not a house-wide replacement job.
If you're also weighing pipe materials for future remodels or replacements, this overview of Copper Pipes Vs PVC gives useful context on where each material makes sense.
What to do before touching the crack
- Dry the area so you can see the exact source of the leak.
- Check for electrical hazards if water is near outlets, garage equipment, or appliances.
- Look at the pipe label if visible. Schedule markings and pipe use can help you decide whether this is a drain or pressure line.
- Put a bucket or towel underneath even if the line is drained. Residual water always shows up when you least want it.
The repair gets easier once the panic part is over.
Diagnosing the Crack and Gathering Your Tools
A clean repair starts with a clean diagnosis. Before you buy cement, epoxy, couplings, or clamps, figure out what you're repairing and what the pipe is being asked to do.
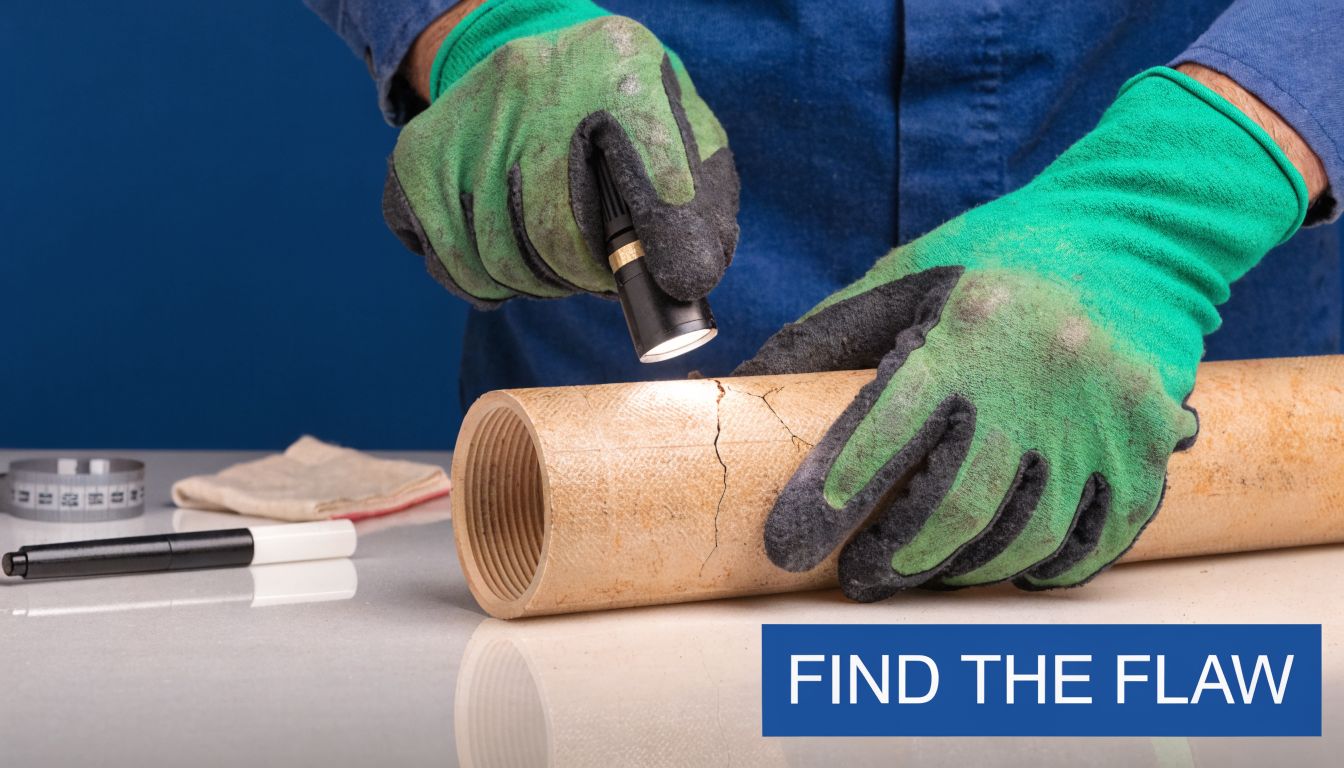
Figure out what kind of line you have
Start with the most important question. Is this a pressurized water line or a drain line?
A pressurized line usually gives itself away. You'll see a spray, a steady stream, or water that returns quickly when the supply is on. These pipes feed fixtures, irrigation zones, or other active water delivery points.
A drain line usually leaks differently. It may drip only when a sink, shower, washer, or appliance discharges water. When the fixture isn't running, the leak may stop completely.
That distinction changes everything. Patch-style repairs can sometimes buy time on low-pressure or non-pressurized drain lines. On a water supply pipe, the standard is much stricter.
If you suspect the leak is smaller than it looks, it helps to confirm whether your system is moving water elsewhere. This guide on how to read a water meter for leaks is useful when the crack is hidden behind finishes or under the house.
Read the crack before you buy anything
Now inspect the damage itself. Don't just ask, “Is it leaking?” Ask what shape the failure took.
Use this simple field check:
- Hairline crack on a straight run: Sometimes repairable if the line is non-pressurized, but still needs careful surface prep.
- Pinhole or tiny puncture: Often handled temporarily with a clamp or a rubber patch while you plan the permanent repair.
- Long split: Usually a cut-and-replace situation.
- Crack at a fitting, elbow, or tee: Treat this with caution. Fittings fail differently than straight pipe and usually shouldn't be patched.
- Pipe that looks chalky, brittle, or sun-damaged: Replacement is the smarter move.
If the crack follows the length of the pipe, assume stress is involved. That could be expansion, poor support, impact, or ground movement.
A flashlight helps. So does running your fingertip around the circumference after the pipe is dry. Some cracks are shorter than the visible stain they leave behind.
To see a basic repair process in motion, this walkthrough is helpful before you commit to tools:
Tools and materials worth having on hand
Don't buy everything in the plumbing aisle. Buy for the repair you've diagnosed.
For most pvc pipe crack repair jobs, the useful kit includes:
- Cutting tools: PVC ratchet cutter for smaller pipe, or a fine-tooth hacksaw for tighter spaces.
- Prep tools: Sandpaper in 120-grit and 220-grit, plus a deburring tool or utility knife.
- Cleaning gear: Rags, gloves, and a marker for cut lines.
- Joining materials: PVC primer and medium-body PVC cement for cut-and-replace work.
- Repair hardware: A repair clamp, hose clamps, and sheet rubber for emergency containment.
- Patch materials: Epoxy putty or fiberglass repair wrap for selected drain line repairs.
- Testing basics: Flashlight, dry paper towel, and patience.
Here's the practical mistake I see most often. Homeowners buy cement first and only later realize they needed a coupling, a slip coupling, or a short replacement section of matching diameter. Dry-fit planning saves repeat trips to the store.
Your Guide to DIY PVC Pipe Repair Methods
Not every crack needs the same answer. Some repairs are meant to stop water for the night. Some are meant to hold up for years. Some should never be attempted as a patch at all.
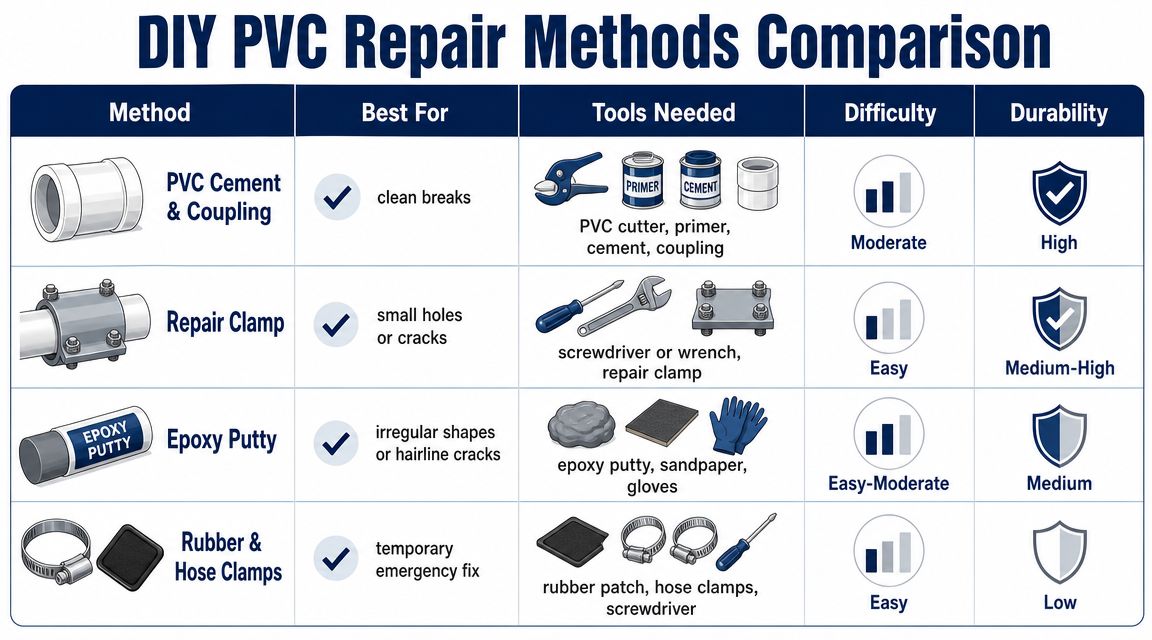
Choosing Your PVC Repair Method
| Method | Best For | Durability | DIY Time | Pressure Rating |
|---|---|---|---|---|
| PVC cement and coupling | Clean breaks and cracked straight sections you can cut out | Permanent when done correctly | Moderate | Best choice for pressurized lines when replacing damaged section |
| Repair clamp | Small holes or short cracks as an emergency measure | Temporary | Fast | Limited, use cautiously |
| Epoxy putty | Hairline cracks and irregular surfaces on drain lines | Moderate | Fast to moderate | Better for non-pressurized lines |
| Fiberglass wrap | Reinforcing a cracked drain section | Moderate | Moderate | Better for non-pressurized lines |
| Rubber patch and hose clamps | Emergency containment | Temporary | Fastest | Not a permanent pressure-line repair |
Quick temporary fixes
A temporary fix has one job. Control the leak until you can do the proper repair. If you expect tape or a clamp to solve a bad crack on a pressure line forever, you're setting yourself up for a second leak.
A rubber patch with hose clamps works for a pinhole or a very short split when you need to stop active dripping. Cut a piece of rubber that spans the damage fully, wrap it over the dry pipe, then tighten clamps on both sides of the crack. Keep the patch centered and don't crank the clamps so hard that you deform the pipe.
A metal repair clamp can work the same way on a straight section. It's a practical stopgap for accessible piping where you need control now and replacement later.
Use these methods when:
- The pipe is accessible and you can monitor it.
- The leak is localized and not blowing out a long seam.
- You need time to get the right fittings and clear a work area.
- The line is low-risk enough that a temporary hold won't damage the home if it weeps.
Don't use a temporary patch where you can't watch it. Inside a wall, under flooring, or above finished ceilings, hidden failure gets expensive fast.
A patch that stops the leak today can still be the wrong repair.
Epoxy putty and fiberglass wrap repairs
Epoxy putty and fiberglass wraps sit in the middle ground. They're more substantial than tape or a clamp, but they're still not the same as removing damaged pipe and solvent-welding in a new section.
For non-pressurized drain lines or emergency fixes, epoxy putty and water-activated fiberglass resin wraps have reported success rates of 85 to 95 percent for cracks under 6 inches in the benchmark data summarized by Total U-C. That same source notes epoxy can reach 1,500 to 3,000 psi tensile strength after full cure, and fiberglass wrap can exceed 2,500 psi shear strength when properly applied.
The catch is surface prep. It decides whether the patch bonds or peels.
For epoxy putty:
- Drain and dry the pipe completely.
- Sand the damaged area and extend your prep beyond the crack.
- Mix the putty thoroughly until color is uniform.
- Press it firmly over the crack and feather the edges.
- Let it cure fully before testing.
For fiberglass wrap:
- Wet the wrap as directed.
- Wrap with overlap and extend beyond the damaged section.
- Keep the layers smooth and tight.
- Let it harden before bringing the line back into service.
That same benchmark summary warns that inadequate surface prep causes 35 percent delamination, and moisture contamination can cut cure strength sharply, with 60 percent failure in wet conditions noted in the source. In other words, these products fail less because epoxy is weak and more because people apply them to dirty, wet, glossy pipe.
Use epoxy or fiberglass on a drain repair when replacing pipe immediately isn't practical. Don't use them as the first choice for a pressurized supply line.
Cut and replace with primer and solvent cement
This is the repair that most closely matches professional practice. If the crack is on a straight, accessible section and the pipe can be safely isolated, cutting out the damaged area and replacing it with new pvc joined by primer and solvent cement is the right permanent repair.
The benchmark data from Tech-Bond's PVC repair guide describes solvent welding as the professional standard and reports bond strength over 2,000 psi. It also states that using primer boosts success rates to over 98 percent, while skipping primer drops field performance sharply.
Here's the practical sequence that matters most:
Mark wider than the visible crack
Cut beyond the ends of the crack so you're working with sound material. If the pipe is stressed, the visible fracture may not show the full weak zone.
Make square cuts
Use a ratchet cutter if you can. On larger or awkward pipe, use a fine-tooth hacksaw carefully. Crooked cuts make alignment harder and can compromise the joint.
Deburr and sand
Remove burrs inside and outside the cut. The benchmark repair guidance notes that burrs contribute to leak failures, which is why this prep step matters. A rough edge also steals cement and can disrupt full seating inside the fitting.
Dry-fit first
Set your replacement piece and couplings in place before opening the cement. Make sure the pipe length is right and that you can assemble it in the available space.
Prime, then cement
Apply primer to the outside of the pipe and the inside of the fitting. The source describes primer contact for 10 to 15 seconds to soften the surface before cementing. Then apply medium-body cement evenly.
Insert with a slight twist
Push the pipe fully into the fitting with a quarter-turn twist, but don't overdo it. The same benchmark notes too much twisting can weaken the weld. Once seated, hold the joint for 30 seconds so the pipe doesn't push back out.
Respect cure time
The cited guidance recommends a minimum 2-hour cure at 70°F before pressurizing and notes full strength develops in 24 hours. If conditions are colder, tighter, or less than ideal, give it more time rather than less.
This method works because solvent cement isn't acting like ordinary glue. It chemically fuses the materials into a single joined assembly.
Best used for:
- Straight sections of cracked pressure pipe
- Visible and accessible repairs
- Long-term service, not just emergency control
- Homeowners comfortable with measuring, cutting, and proper cure time
Least suited for:
- Cracks at fittings
- Buried lines with active soil movement
- Tight concealed spaces where alignment is poor
- Multi-unit or code-sensitive pressure-line work
Testing Your Repair and Preventing Future Cracks
A repair isn't finished when the pipe looks good. It's finished when the line is back in service and stays dry.
How to test the repair safely
Don't snap the water back on full force. Bring the system back slowly and watch what the pipe tells you.
Use this sequence:
- Confirm cure time first. If you used primer and solvent cement, wait the full cure period you planned for.
- Open the shutoff gradually. Let the line fill slowly instead of hitting the repair with sudden pressure.
- Watch for weeping. A tiny bead of moisture around a joint means the repair didn't seal cleanly.
- Use a dry paper towel around the joint or patch. It finds moisture faster than your eyes.
- Check again later. Some weak repairs stay dry at first and start sweating once the pipe has been under service for a while.
If you see active leaking, shut the water back down and reassess. Don't stack product over a failed solvent-weld repair and hope it improves. If the joint didn't fuse, it usually needs to be cut out and done again.
Small drips are not harmless. They soak framing, attract mold, and turn a simple pipe repair into a restoration job.
It also helps to stay proactive about minor leaks elsewhere in the home. This article on why timely leak repairs save money and protect your home is worth reading if you've had more than one plumbing issue recently.
What usually causes cracks to come back
Some cracks are one-time damage. Others are symptoms of stress that hasn't been fixed yet.
Common repeat causes include:
- Poor support: Pipe that sags or vibrates keeps working the joint.
- Impact damage: Garage storage, yard tools, or foot traffic can crack exposed pvc.
- UV exposure: Sunlight can age exposed plastic over time.
- Thermal movement: Expansion and contraction can stress a rigid run.
- Soil movement: Underground lines in Los Angeles are especially vulnerable.
The ground issue matters here. In areas with expansive clay soils like the Los Angeles Basin, up to 35 percent of underground DIY PVC repairs can fail within two years due to soil movement, based on the repair analysis summarized in this Los Angeles soil movement discussion. That's why a buried patch that seems fine today may reopen later if the bedding, backfill, or support conditions are wrong.
If the cracked pipe is underground, prevention usually means more than sealing the pipe itself. It may require better bedding, better alignment, less point loading, or a repair method that accounts for movement instead of fighting it.
When to Skip DIY and Call a Licensed Plumber
Some repairs are homeowner-friendly. Others only look that way until the wall opens up, the slab gets involved, or code starts to matter.

Red flags that change this into a pro job
If any of these apply, stop thinking patch and start thinking professional repair:
- The crack is on a pressurized supply line and the line serves more than a simple isolated fixture.
- The damage is inside a wall, ceiling, or slab.
- The crack is at a fitting such as an elbow, tee, or valve connection.
- The pipe looks brittle, discolored, or heat-damaged.
- The line serves a rental, HOA, or multi-unit property.
- You can't fully drain and dry the pipe.
- You're not certain the pipe material or application is correct.
A good rule is simple. If failure would damage finished space or affect other occupants, DIY stops being a money-saving move.
For homeowners thinking about broader protection, it's also worth understanding what a warranty may or may not cover. BatchData's data on home warranties is a useful starting point before assuming a leak repair will be reimbursed.
Why Los Angeles code and insurance issues matter
A significant portion of online guidance is unreliable. While a patch might appear effective during a bench test in a garage, such a fix remains neither compliant nor insurable within an actual structure.
In Los Angeles, repairs on pressurized water lines in multi-unit properties often require full replacement by a licensed professional to comply with the California Plumbing Code, because patch-style repairs can fail and may void insurance, as summarized in this Los Angeles code-focused repair discussion. That matters for landlords, HOAs, and anyone responsible for damage that could spread beyond one unit.
If you're dealing with an active leak that's beyond a safe DIY fix, use a true emergency service rather than waiting for business hours. A licensed response team for emergency plumbing in Los Angeles is the right move when water is threatening walls, floors, or neighboring units.
The real cost of a bad repair usually isn't the pipe. It's the damage that follows when the repair fails out of sight.
Frequently Asked Questions About PVC Repair
Can you repair a cracked PVC fitting like an elbow or tee
Usually, no. A fitting is already a stress point, and cracks there often mean the fitting body or hub has failed. Patching the outside of an elbow or tee might slow a leak briefly, but it doesn't restore the structural integrity of the fitting. In most cases, replacement is the safe answer.
How long will a temporary PVC repair last
It depends on the pipe type, pressure, location, and how well the surface was prepared. A clamp or rubber patch is best treated as short-term containment. Epoxy or fiberglass can last longer on a suitable drain-line repair, but they still aren't the same as cutting out damaged pipe and rebuilding the section. If the pipe is concealed or pressurized, don't trust a temporary fix longer than necessary.
Does the type of PVC cement matter
Yes. Use a cement that matches the pipe application and follow the product instructions. Medium-body PVC cement is commonly used for repair work on standard pvc, and the right primer matters because the joint depends on chemical fusion, not surface stickiness. You also need the right fitting size, correct pipe schedule match, clean cuts, and full cure time. Good materials won't save a rushed installation.
If the leak is small and accessible, a careful homeowner can sometimes handle pvc pipe crack repair successfully. If the line is pressurized, concealed, underground, or serving multiple units, it's smarter to bring in a licensed pro before a manageable leak turns into major property damage. EZ Plumbing serves Los Angeles with emergency response, same-day service, and experienced technicians who know how to repair the pipe correctly and protect the rest of the property while they do it.