Shut Off Valve Leaking? A Step-by-Step LA Plumber’s Guide
You open the cabinet, see water beading on the valve, and hear that slow drip hitting the bottom panel. In Los Angeles homes, that moment usually means one of two things. You caught a small problem early, or a valve that has been sitting untouched for years just started failing.
A shut off valve leaking under a sink, behind a toilet, or near a water heater isn’t something to ignore and “watch for a few days.” Even a minor fixture leak adds up. The EPA says household leaks from failing fixtures, including shut-off valves, can waste over 9,300 gallons annually per average home, and fixing them can save about 10% on water bills according to EPA Fix a Leak Week guidance.
In Southern California, there’s another layer to the problem. Hard water leaves mineral buildup inside valves, around stems, and on sealing surfaces. That buildup makes old valves stiff, brittle, and unreliable. The result is a bad combination for homeowners and property managers: the valve looks fine until someone finally turns it, then it starts dripping or won’t fully shut off.
Table of Contents
- Your First Move When a Shut-Off Valve Starts Leaking
- Diagnosing the Drip and Identifying Your Valve Type
- Deciding Between a Quick Fix and a Full Replacement
- How to Replace a Leaking Shut-Off Valve
- When to Call a Licensed Plumber in Los Angeles
- Frequently Asked Questions About Shut-Off Valves
Your First Move When a Shut-Off Valve Starts Leaking
The first move is simple. Shut off the main water supply to the home or unit if the valve leak is active, worsening, or spraying. Don’t stand there studying it while water keeps running into the cabinet, wall, or floor.
If the leak is only a slow seep around the handle and the valve still responds normally, you may have a little time. But if you don’t know yet whether it’s stable, treat it like it could get worse when touched. Main shutoff first. Assessment second.
Shut the water down in the right order
Use this order because it gives you control fast:
- Turn off the fixture first if it’s safe to do so. If the shut-off valve under the sink or behind the toilet is the part leaking, stop there and go to the main.
- Go to the home or building main water shutoff. In houses, that may be near the meter, garage, side yard, or where the line enters the structure.
- Open the affected faucet after the main is off. That relieves pressure in the line and slows or stops the drip while you inspect.
- Dry the area with a towel. You need a dry valve body to see where fresh water appears.
Practical rule: If turning the small valve makes the leak worse, stop touching it and shut off the main immediately.
If you’re in a condo or apartment, the unit isolation valve may be in a utility closet, laundry area, or cabinet. If you manage multiple units, make sure maintenance staff and tenants know where those controls are before there’s an emergency. If you need help stabilizing the situation fast, this guide on handling a Los Angeles plumbing emergency with confidence is worth bookmarking.
Why speed matters
Water doesn’t need a dramatic burst to do damage. Cabinet bottoms swell. Drywall wicks moisture. Flooring edges lift. In multifamily buildings, leaks don’t stay politely inside one unit.
Get the water off first. Once the pressure is off the valve, you can think clearly and avoid turning a manageable leak into property damage.
After the area is dry and depressurized, you can figure out whether the valve needs a minor adjustment, a full replacement, or a licensed plumber.
Diagnosing the Drip and Identifying Your Valve Type
A leaking valve tells you what failed by where the water shows up. Don’t guess. Dry it completely, wait a minute, and watch for the first fresh bead of water.
Find the exact leak point
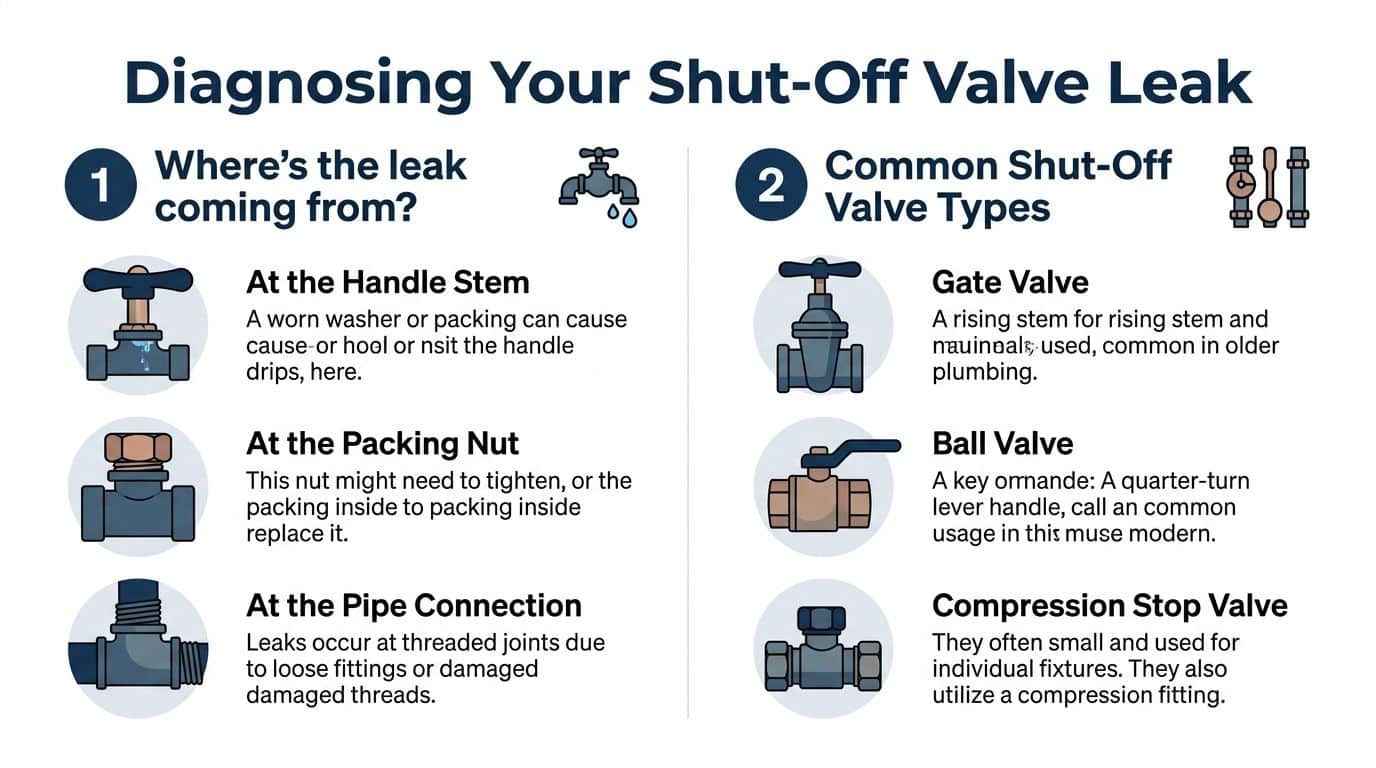
Most shut off valve leaking calls fall into three buckets.
- At the handle stem: Water appears right behind the handle. That usually points to worn packing or a failing stem seal.
- At the packing nut: The small nut behind the handle may have loosened slightly, or the material under it has deteriorated.
- At the pipe connection: Water forms where the valve meets the supply pipe or fixture line. That can mean a loose compression nut, bad ferrule seal, damaged threads, or corrosion on the pipe itself.
One helpful trick is to wrap a dry tissue around one area at a time. Tissue shows moisture immediately and makes the leak path easier to trace than a shiny metal surface does.
Know what kind of valve you have
The valve type matters because some are more forgiving than others.
Multi-turn stop valves use a round knob or oval handle that takes several turns to open and close. These are common in older homes. They tend to seize, drip from the stem after years of sitting still, and react badly to “just tighten it harder” repairs.
Quarter-turn ball valves use a lever handle. A short turn opens or closes the valve. These are more reliable and easier to operate, which is why many plumbers prefer them when replacing old fixture stops or branch shutoffs.
Compression stop valves are often the small valves under sinks and behind toilets. “Compression” describes how they attach to the pipe, not necessarily how the inside of the valve works.
A valve can leak from the seal, the stem, or the connection. Those are three different repairs. Start by identifying which one you actually have.
If you’re not sure whether you’re looking at a valve leak or water traveling from somewhere above, professional leak detection in Los Angeles can save a lot of unnecessary trial and error.
A final note for LA properties. Hard water buildup can make an old multi-turn valve feel “stuck,” then start leaking as soon as it’s exercised. That’s common enough that I never treat a seized older stop valve like a harmless part.
Deciding Between a Quick Fix and a Full Replacement
People often lose the plot at this point. They see a small leak, snug a nut, wipe it down, and decide the problem is solved. Sometimes that buys time. Sometimes it creates a false sense of security while the underlying failure keeps moving.
The right question isn’t “Can I stop the drip for now?” The right question is “Will this valve be dependable after I touch it?”
When a quick fix is reasonable
A quick fix can make sense when the leak is slight, clearly located at the packing nut, and the valve body is otherwise in good shape. In that narrow case, a careful, small tightening may stop the seep.
Quick triage is most defensible when:
- The leak is minor and stem-related. A light seep around the handle is different from active dripping at the body or connection.
- The valve isn’t corroded. If the metal is badly pitted, greened over, crusted with mineral deposits, or misshapen, skip the “easy fix.”
- You only need a short-term hold. For example, you’re stabilizing a unit until a scheduled replacement can happen promptly.
What doesn’t work well is using a temporary repair as a permanent decision. Analysis indicates that temporary fixes for leaking valves often fail, which can lead to hidden costs from water damage and liability for landlords, and many valves need full replacement within 6-12 months after a temporary repair according to this discussion of temporary valve repair outcomes.
Repair vs. Replace Decision Matrix
Repair vs. Replace Decision Matrix
| Factor | Quick Fix (e.g., Tightening Nut) | Full Replacement |
|---|---|---|
| Leak location | Best for a slight seep near the packing nut | Best for body leaks, connection leaks, repeated drips, or uncertain source |
| Valve age | More acceptable on a newer valve in otherwise solid condition | Better for older valves that have sat untouched for years |
| Corrosion and scale | Poor choice if mineral buildup is heavy | Better when hard water has stiffened or damaged internal parts |
| Risk to property | Risky in cabinets, shared walls, upper floors, and multifamily units | Safer long-term choice where water damage exposure is high |
| Downtime tolerance | Can buy a little time | Reduces repeat shutdowns and repeat access calls |
| Cost over time | Lower now, but can become expensive if it fails again | Higher upfront, but usually the cleaner long-term repair |
If you have to wonder whether the valve will survive the next turn, replacement is usually the safer call.
For homeowners, the decision often comes down to reliability. For property managers, it’s liability. A patched stop valve inside one unit can become a ceiling stain in the unit below. That’s why old valves in occupied buildings usually get judged more harshly than the same valve in a detached garage sink.
How to Replace a Leaking Shut-Off Valve
If you’ve decided to replace it yourself, do it slowly and do it cleanly. Most trouble comes from rushing the shutdown, failing to drain the line, or twisting the pipe in the wall because only one wrench was used.
In Los Angeles, hard water makes this repair less forgiving. Mineral buildup is a primary cause of shut-off valve failure, and proactive maintenance like exercising valves quarterly or installing water softeners is often overlooked according to this hard water valve maintenance discussion. That buildup can lock old nuts in place and make copper stub-outs easy to damage if you force them.
What to gather before you start
Lay out the parts first. Don’t shut water down and then realize you’re missing the replacement valve.
A typical fixture-stop replacement setup includes:
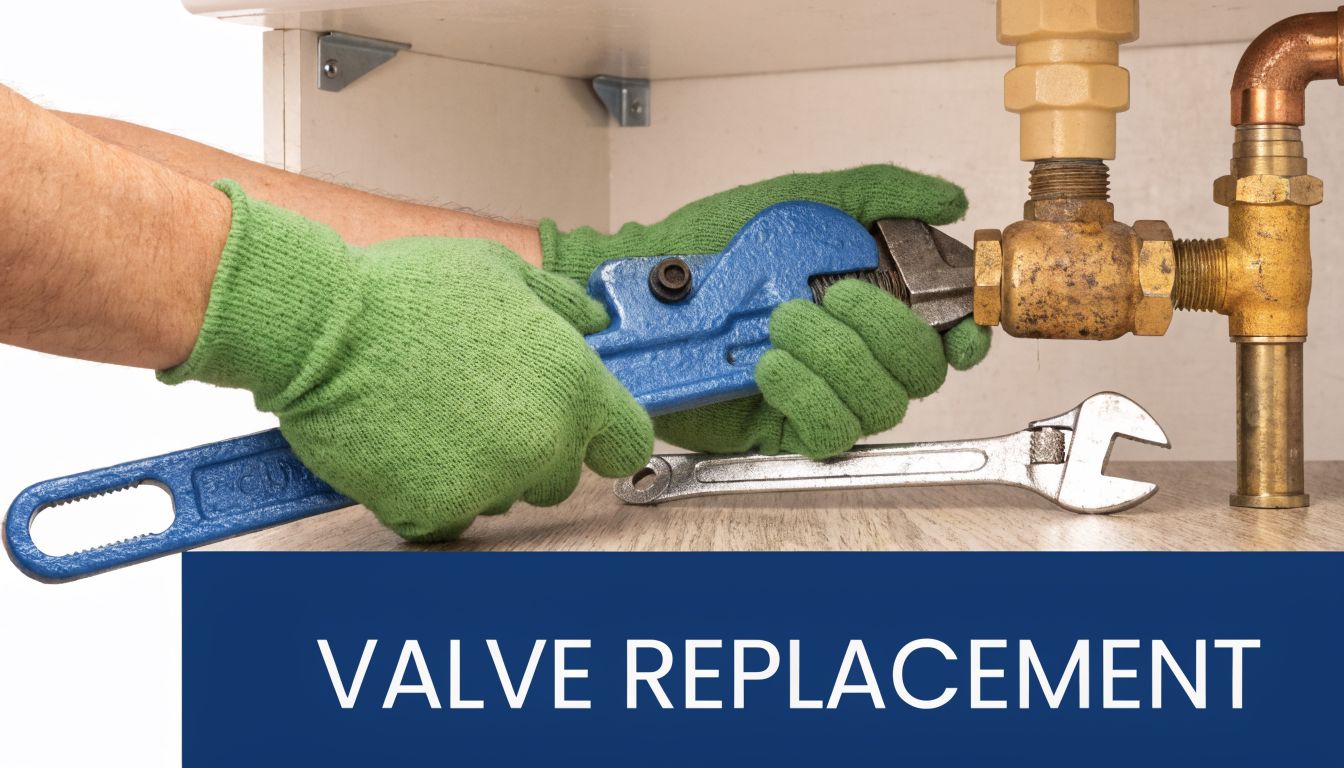
- Two adjustable wrenches or one adjustable wrench and one smooth-jaw pliers
- New shut-off valve sized for the pipe and fixture connection
- New compression nut and ferrule if you’re installing a compression valve
- Bucket and towels
- Tubing cutter if the pipe end is damaged and needs a clean cut
- Emery cloth or abrasive pad to clean the copper
- Flashlight
- Safety glasses and gloves
Don’t plan on reusing an old compression ring if you can avoid it. Old hardware often seals poorly once disturbed.
Replacement steps that prevent bigger problems
Start with the main off. Then open the affected faucet and any nearby lower fixture to drain pressure from the line. Keep a bucket under the valve because some water will stay trapped.
- Disconnect the supply line to the faucet or toilet. Once that line is free, inspect it. If it’s kinked, corroded, or old, replacement is often smarter than reusing it.
- Hold back with one wrench and loosen with the other. This is the two-wrench method. One tool stabilizes the pipe side. The other turns the valve nut. Without hold-back, you can twist the stub-out, loosen hidden joints, or crack an older connection inside the wall.
- Remove the old valve. If it’s a compression type, the ferrule may stay on the pipe. Some come off easily. Some need a ferrule puller or careful cutting by someone experienced.
- Clean and inspect the pipe. The pipe end should be round, smooth, and free of deep scoring. If it’s chewed up, don’t force a new valve onto a bad sealing surface.
- Install the new valve squarely. Follow the valve manufacturer’s instructions. Keep the outlet aligned with the fixture supply line so the connector doesn’t have to bend sideways under tension.
- Reconnect the fixture supply line.
- Turn the main on slowly. Fast pressure can shock old plumbing and make it harder to spot a fresh leak.
- Test under pressure and dry-check again. Wipe every joint dry, then look and feel for moisture.
This walkthrough helps if you want to see the process in action:
New valve, old pipe, bad alignment. That combination causes plenty of “brand new valve still leaks” complaints.
Stop the DIY job if the valve is soldered on, the pipe moves in the wall, the stub-out is too short, or the fitting won’t break free without force. Those are the moments when a small repair turns into a wall-opening repair.
When to Call a Licensed Plumber in Los Angeles
Calling a plumber isn’t giving up. It’s choosing the lower-risk path when the valve, the pipe, or the property makes the consequences too expensive.
Call a pro if the risk is bigger than the repair
Some shut off valve leaking situations are poor DIY candidates from the start.
- The main shutoff is unreliable. If the house or building main doesn’t fully close, don’t start dismantling fixture valves.
- The valve is on old or corroded piping. Galvanized, badly scaled copper, and fragile exposed stub-outs can fail while you’re trying to remove the old stop.
- The valve is soldered or installed in a tight wall cavity. Heat, flame clearance, and pipe stability matter.
- You manage tenant-occupied property. Water incidents in occupied units carry documentation and liability issues that go beyond the valve itself.
- The leak source isn’t certain. Water can track along tubing or from above and make the valve look guilty when it isn’t.
In multifamily work, the smart decision is often the one that reduces repeat entry, repeat shutdowns, and repeat complaints.
For landlords, HOAs, and facility teams, there’s a practical operations side to this. One “temporary” valve repair often becomes a recurring maintenance note, then a tenant callback, then a damage claim.
Why property managers should think beyond this one valve
In California multifamily and commercial settings, automated water shutoff systems can reduce water damage claims by up to 90% and cut water costs by 15-20%, with LADWP rebates of up to $100 per master valve, according to this overview of automated water shutoff systems for California properties. That matters most where one failed valve can affect several units or interrupt operations.
If you’re responsible for multiple units, a valve failure shouldn’t just trigger a repair order. It should trigger a review of how you track aging shutoffs, how often they’re exercised, and whether critical locations need better isolation or monitoring. This guide on managing plumbing repairs in Los Angeles step by step is a useful starting point for that side of the job.
Licensed plumbing service is the right move when the repair needs to be dependable the first time, documented properly, and safe for the surrounding property.
Frequently Asked Questions About Shut-Off Valves
How often should shut-off valves be exercised
In hard water areas, exercising valves quarterly is a practical habit. Turn the valve off and back on gently, then check for seepage around the stem or nut. This keeps mineral buildup from locking the valve in one position for years.
What’s the difference between a straight stop and an angle stop
A straight stop is used when the pipe comes straight out from the wall or floor and the outlet continues in a straight line. An angle stop turns the outlet, usually by a right angle, which is common under sinks and behind toilets where the supply line needs to change direction cleanly.
Can you reuse an old compression ring and nut
It’s not a good practice. Once a compression ferrule has been crushed onto a pipe, it may not reseal reliably after removal. New valve, new compression hardware is the safer combination.
Why would a new shut-off valve still leak
Most new-valve leaks come from installation issues, not a defective valve. Common causes include a scratched pipe, crooked installation, overtightening, undertightening, or a supply line pulling sideways on the valve after connection.
If a new valve leaks immediately, stop tightening blindly. Dry the area, identify the exact leak point, and correct that specific joint.
If you’ve got a shut off valve leaking and want the repair handled cleanly, safely, and without repeat callbacks, EZ Plumbing serves Los Angeles homeowners, property managers, HOAs, and commercial properties with licensed service, same-day scheduling, and 24/7 emergency response. Call (818) 908-2710 if the leak needs immediate attention or if you want a reliable replacement instead of another temporary patch.
Composed with Outrank app