
My Washing Machine Is Leaking: Fast Fixes & Expert Guide
You walk into the laundry room, step in a puddle, and your first thought is usually the same: my washing machine is leaking, and I need it to stop now. That reaction is normal. Water spreads fast, gets under baseboards surprisingly fast, and a leak that looks minor at the front of the machine can be coming from the back, underneath, or even the drain line in the wall.
The good news is that a lot of washer leaks still come down to a short list of causes. Some are simple homeowner fixes. Some are not appliance problems at all. If you know how to separate the two, you avoid wasting time, avoid replacing the wrong part, and protect the floor before the damage gets expensive.
Table of Contents
- Immediate Steps When Your Washing Machine Leaks
- How to Find the Source of the Washer Leak
- Simple DIY Fixes for Common Washing Machine Leaks
- When a Leak Signals a Job for a Licensed Plumber
- A Proactive Plan to Prevent Future Washer Leaks
- Your 24/7 Emergency Plumbing Partner in Los Angeles
Immediate Steps When Your Washing Machine Leaks
If water is actively spreading, don't start by pulling panels off the washer. Start with safety and control.
Cut power first
If you can reach the plug without stepping into standing water, unplug the washer. If you can't reach it safely, turn the laundry circuit off at the electrical panel first. Water and powered appliances are a bad combination, and no leak diagnosis is worth taking that risk.
Shut off both water valves
Behind most washers, you'll see two shutoff valves at the wall. One is hot, one is cold. Turn both clockwise until they stop. If your setup uses a single washer box with lever handles, move them to the off position.
This step matters because a washer leak can waste a lot more water than people think. A stuck check valve in a washing machine can waste 240 gallons in 30 minutes, and even a slow drip can waste over 450 gallons a month, according to Ringwood's water leak statistics guide.
Practical rule: If water is on the floor, treat it like an active leak until you've shut off the supply, even if the machine has already stopped running.
If one of those valves won't turn, or if the leak appears to be coming from the wall connection itself, go to the house shutoff. If you don't know where that is, this guide on how to shut off your main water supply is worth keeping bookmarked.
Contain the water and protect the floor
Use towels first, then a shallow pan, baking sheet, or bucket if the drip is still active. Pull nearby baskets, rugs, detergent containers, and anything cardboard or fabric away from the wet area. If the floor is hardwood or engineered wood, quick drying matters. This practical guide to Buff & Coat water damage repair is useful if you're trying to understand what water can do to wood flooring after even a short exposure.
Don't restart the machine yet
A lot of homeowners want to "just test it once" before drying the area. Hold off. First get the floor dry enough that you can see fresh water clearly. A clean, dry starting point makes the next step much easier.
How to Find the Source of the Washer Leak
Once the area is safe, the fastest way to diagnose the leak is to answer two questions:
- Where is the water showing up?
- When does it appear in the cycle?
That tells you much more than brand names or model numbers ever will.
Start with timing, not parts
Run a short cycle only after the floor is dry and the machine is safe to test. Watch closely.
- Water appears during fill. Think inlet hoses, hose connections, inlet valve, or overfill.
- Water appears during wash or agitation. Think door gasket, oversudsing, or internal tub-related issues.
- Water appears during spin or drain. Think drain hose, standpipe, pump area, or internal drain path.
- Water appears after the washer is done. That often points away from the washer itself and toward drain-back or a plumbing issue.
Water that shows up only at one stage of the cycle usually points you to one part of the system. Random guessing usually leads to wasted time.
Then use location as your second clue
A puddle at the front often suggests a front-load gasket problem, oversudsing, or water escaping from the door area.
A puddle at the back points more often to supply hoses, hose washers, or the drain hose connection.
Water under the center of the machine can suggest a pump leak, internal hose issue, or drain-related problem. It can also fool people, because water often travels along the base before it becomes visible.
Washing Machine Leak Diagnostic Chart
| Symptom | Likely Cause | Fix Level |
|---|---|---|
| Water at the back during fill | Loose or worn inlet hose connection | DIY |
| Water at the back during drain | Drain hose loose, kinked, or not seated well | DIY |
| Water from the front of a front-loader | Dirty, torn, or obstructed door gasket | DIY first, then repair if damaged |
| Water under machine during drain cycle | Pump filter blockage or internal drain path issue | DIY first |
| Water appears after cycle ends | Delayed drain-back from standpipe or laundry drain | Plumber |
| Water during spin with heavy vibration | Washer not level | DIY |
| Water from multiple areas or repeated overflow | Inlet valve, overfill issue, or internal failure | Professional diagnosis |
What to inspect with your hands and eyes
Open the space behind the washer enough to inspect the hoses with a flashlight. Look for bulges, cracks, wet threads at the connection point, mineral residue, and drips tracking down the hose.
On front-load machines, pull back the door boot gently and check for trapped lint, pet hair, small clothing items, or detergent residue. A dirty gasket leaks in a very different way than a split gasket. Dirt can often be cleaned. A tear usually means replacement.
At the drain side, make sure the hose isn't shoved too far into the standpipe and isn't kinked behind the machine. If you suspect an ongoing hidden leak elsewhere in the room, tracking usage with a meter can help. This walkthrough on how to read a water meter for leaks is useful when you're trying to tell the difference between an appliance event and a broader plumbing problem.
One mistake that wastes a lot of time
People often replace visible hoses because they're easy to reach, then the floor gets wet again because the primary issue was timing-related. If the leak only happens after draining, don't focus only on the fill hoses. Match the symptom to the cycle first, then inspect the likely path.
Simple DIY Fixes for Common Washing Machine Leaks
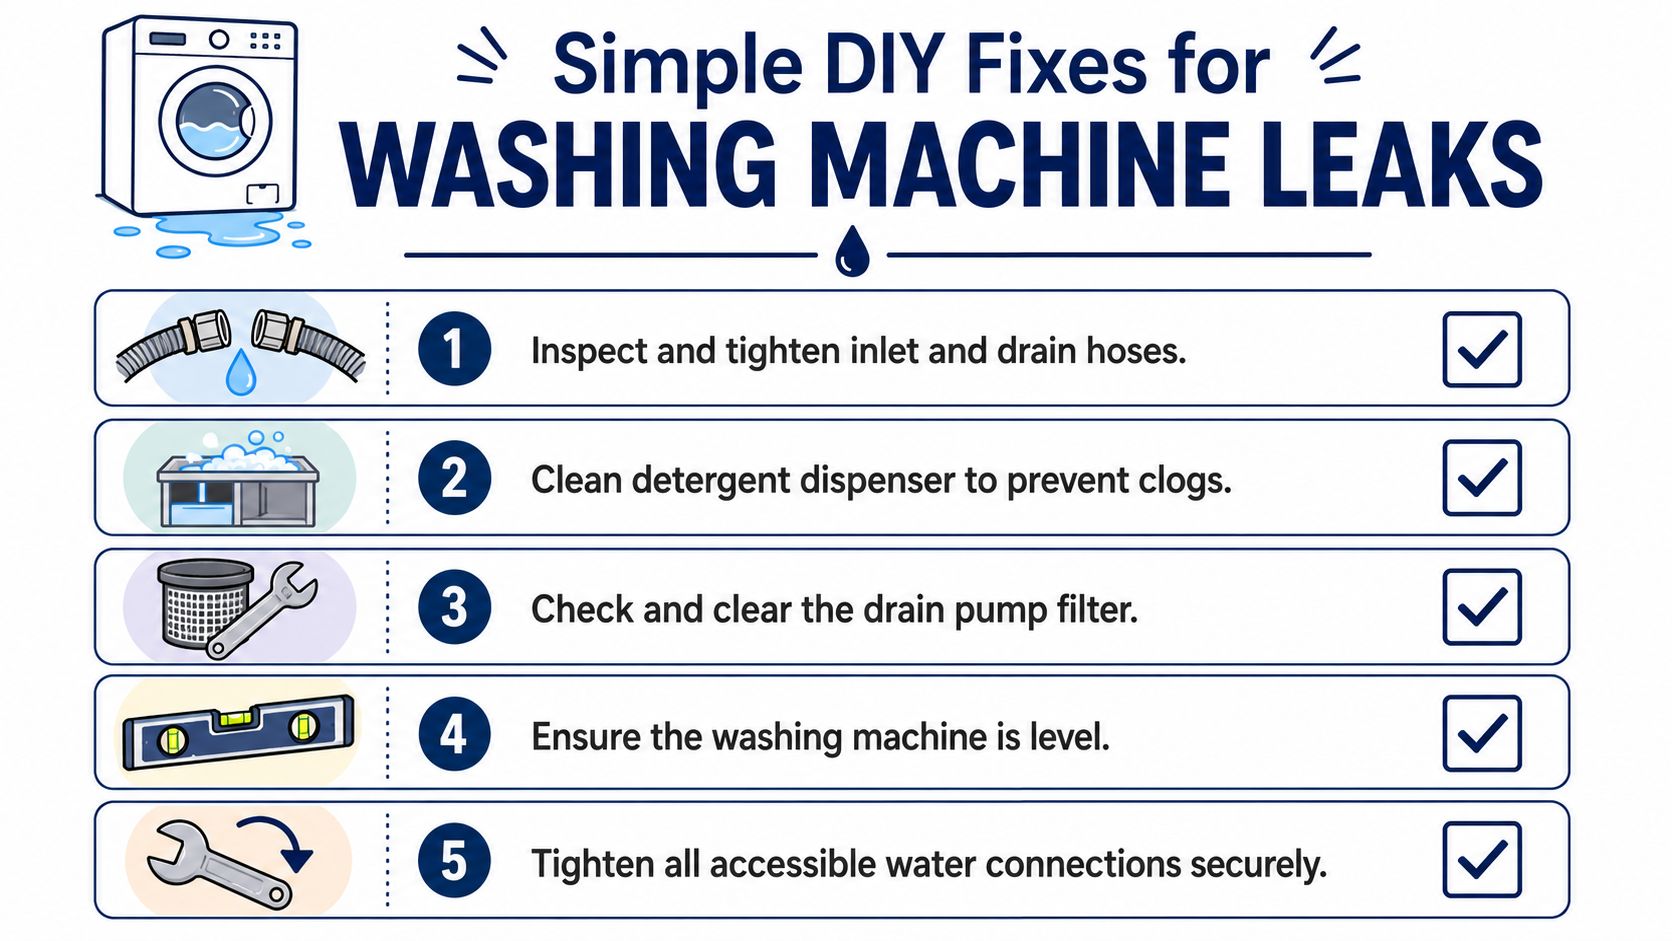
Most homeowners don't need to tear apart a washer to solve the first round of leak problems. About 65% of washing machine leaks can be resolved by addressing hose connections, clogged pump filters, or dirty door seals, based on the verified diagnostic guidance provided for this article.
Tighten and inspect the hose connections
This is the first fix I'd have most homeowners try because it's simple and often works.
Turn off the valves, place a towel under the connection, and check both ends of each inlet hose. If the fitting feels loose, snug it carefully. Don't force it. If you see a damaged rubber washer, corrosion, or a split hose, tightening won't solve it. That part needs replacement.
Clean the door gasket and the detergent mess
Front-loaders leak from the door area for boring reasons more often than dramatic ones. Soap residue, lint, and grime build up in the folds of the gasket and stop it from sealing cleanly.
Wipe the gasket thoroughly with a damp cloth. Check the bottom fold carefully. That's where debris hides. If the rubber is split, folded out of place, or permanently deformed, cleaning won't fix it.
A dirty seal can act like a bad seal. Clean it before you assume the part has failed.
Check the drain pump filter
If the washer leaks during drain or spin, the pump filter deserves attention. On many front-load machines, it's behind a small lower access door. Put towels down first because water often comes out as soon as you open it.
Remove lint, coins, pins, or other debris. Reinstall the cap firmly, but don't cross-thread it. A filter cap that's not seated correctly can create a leak that looks like a major internal failure.
Level the machine properly
A washer that rocks during spin can throw water where it shouldn't go. Adjust the feet until the machine sits solidly on the floor. A basic bubble level helps, but even a firm no-rock test is better than guessing.
If the leak seems to happen mainly during spin, levelness matters more than many people realize.
Secure the drain hose correctly
The drain hose should be secure, not kinked, and positioned properly in the standpipe. If it's twisted behind the machine or barely hanging in place, water can splash or discharge unpredictably.
A good DIY checklist looks like this:
- Feel every connection: Run a dry paper towel around hose fittings to catch light moisture you might not see.
- Clean before replacing: Residue on a gasket or filter can mimic a failed part.
- Test with a small load: A short wash makes it easier to isolate the leak than a full laundry day.
- Stop if you need panels removed: Once diagnosis moves inside the cabinet, the job changes.
When a Leak Signals a Job for a Licensed Plumber
Some leaks stop being appliance troubleshooting and become plumbing work. That's the point where trying to save a service call usually costs more time, more cleanup, and sometimes a second repair bill.
The biggest missed diagnosis is drain-back
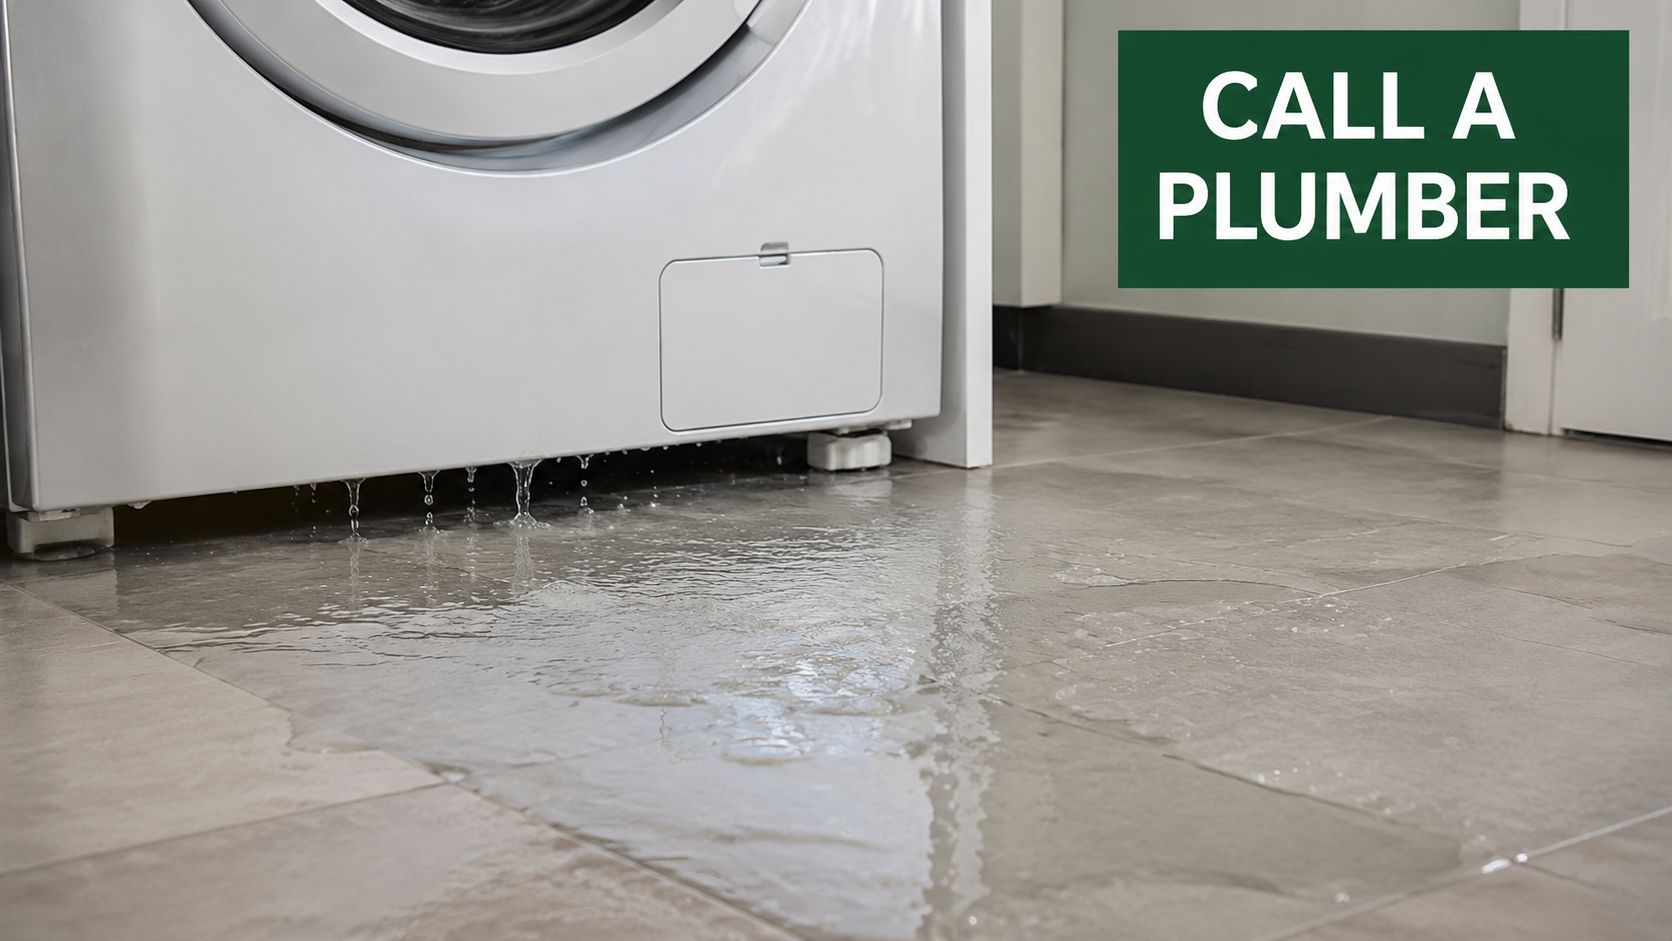
A lot of consumer advice stays focused on the washer itself. But one of the most overlooked causes of water under a washing machine is delayed drain-back from a partially blocked standpipe or laundry drain line. That's a plumbing system problem, not an appliance failure, as explained in this article on why hiring a licensed plumber for your home matters.
What that looks like in real life is simple. The washer drains, the cycle ends, and then water shows up on the floor after the machine seems finished. Homeowners often replace a hose, clean a filter, or blame the door seal because the puddle is under the washer. Meanwhile, the actual problem is a slow or backed-up drain line in the wall.
If the leak shows up after the washer has drained and shut off, stop thinking only about appliance parts.
Signs the washer itself may need appliance repair, not DIY
Some failures are beyond a basic homeowner fix even if the plumbing is fine.
Look for these red flags:
- Water from inside the cabinet: If you need to remove major panels to chase the leak, it usually isn't a quick fix.
- Repeated leaking from the center bottom: That can point to an internal hose, pump housing, or another component that needs proper disassembly.
- Overfill behavior: If the machine seems to take in too much water, the issue may involve a fill control problem.
- Visible cracks or damaged internal components: Those are repair-or-replace decisions, not quick patch jobs.
Here's a useful visual overview before you make that call:
When the call should go to a plumber first
If the standpipe overflows, the drain smells foul, other nearby fixtures act slow, or the leak appears after discharge rather than during fill, you're probably looking at a drainage problem. The verified guidance for this article specifically notes that delayed drain-back from a partially blocked standpipe or laundry drain line requires a professional plumber to diagnose and clear the obstruction, as described by Beacon Plumbing's note on water under a washing machine.
That distinction matters. An appliance tech can be the right choice for a torn boot or failed pump. A licensed plumber is the right first call when the wall drain, standpipe, or branch line is involved.
A Proactive Plan to Prevent Future Washer Leaks
Once you've dealt with the immediate mess, the smartest move is prevention. Washer leaks often give a little warning before they turn into a floor problem. The trouble is that these warnings often go unnoticed until water is already visible.
Washing machine hose failures are a leading cause of home water damage, contributing to an estimated $170 million in damages annually in the United States, according to Accutech Restoration's discussion of washing machine hose failures. That's why prevention isn't optional maintenance. It's property protection.
Replace aging hoses before they force the issue
If your washer still has older rubber supply hoses, upgrading them is one of the most sensible improvements you can make. Braided stainless-steel supply lines hold up better in real laundry room conditions, especially where the machine vibrates and gets pushed back toward the wall.
Don't wait for a hose to bulge or split. By the time that's visible, the risk is already there.
Keep the machine clean and balanced
A washer works better when the simple stuff is handled routinely.
- Clean the gasket and dispenser: Residue buildup leads to sealing issues and unpleasant moisture conditions.
- Use the right detergent amount: Too much soap can create suds problems and messy overflow behavior.
- Check levelness once in a while: A machine that starts walking or rocking should be corrected early.
- Inspect around the pump filter area: If your model has homeowner access, keep that area clear.
Use an annual laundry room check
Homeowners don't need a long maintenance ritual. A short annual check catches most of the preventable issues.
Walk through this list:
- Pull the washer forward carefully and inspect behind it with a flashlight.
- Run your hand along hose connections and look for moisture or residue.
- Check the drain hose position and make sure it hasn't shifted.
- Look at the shutoff valves for corrosion or slow seepage.
- Clean accessible seals and filters before they become leak points.
The best leak repair is the one you never need because you caught the weak spot early.
Your 24/7 Emergency Plumbing Partner in Los Angeles
In Los Angeles, washer leaks create bigger headaches than most homeowners expect. Tight laundry closets, second-floor laundry rooms, older drain lines, slab homes, and shared walls in condos all raise the stakes. When water shows up around the washer, you need the right diagnosis fast, not trial and error.
That matters even more when the issue isn't the machine at all. A blocked laundry line, a standpipe backup, or a hidden plumbing failure needs a plumbing contractor who can respond quickly and work cleanly inside an occupied home or managed property.

Los Angeles homes also deal with mineral-heavy water in many areas, which can shorten the life of valves, hoses, and appliances over time. If you're looking at broader prevention for the whole house, these hard water solutions for LA are a useful companion resource.
What a good emergency response should look like
When a washer leak turns into a plumbing call, the right service approach is straightforward:
- Fast isolation of the problem: Confirm whether the source is the appliance connection, the shutoff, the standpipe, or the branch drain.
- Clear next-step recommendations: You should know whether the problem belongs to a plumber, an appliance repair technician, or both.
- Clean work in finished spaces: Laundry rooms are often inside hallways, kitchens, and closets. Protection matters.
- A real fix, not a guess: Repeated callbacks usually come from misdiagnosis at the first visit.
Where local experience helps
In Los Angeles, one washer leak can involve several stakeholders. A homeowner wants the leak stopped. A tenant wants the machine working again. A property manager wants documentation and a durable repair. An HOA may care about shared-wall risk and downstream units.
That's why local plumbing support matters. A licensed, insured company that works daily in homes, condos, and managed properties can sort out whether you're dealing with a simple supply issue, a laundry drain backup, or something larger in the line.
If you're standing in a wet laundry room right now, the goal is simple. Make it safe, stop the water, and get the right professional involved before the floor, wall, or cabinet damage gets worse.
If you need help now, contact EZ Plumbing for fast, licensed service in Los Angeles. They offer 24/7 emergency response, same-day scheduling when available, and experienced technicians who can determine whether your washing machine leak is a hose issue, a drain backup, or a larger plumbing problem.