
How to Unclog a Drain Without Chemicals: A Pro’s Guide
You're usually not reading about drain cleaning on a good day. It's a weekday morning, the sink is filling instead of emptying, and what started as a slow drain has turned into standing water with toothpaste foam, soap scum, or greasy kitchen water sitting there daring you to be late.
In Los Angeles, that situation gets complicated fast. Older pipes, mineral-heavy water, and apartment or multi-unit plumbing layouts can turn a simple clog into a recurring problem if you attack it the wrong way. The good news is that a lot of everyday clogs can be cleared without harsh chemicals. The better news is that you can usually tell, early on, whether you're dealing with a simple blockage or the kind of issue that needs professional equipment.
Table of Contents
- Why You Should Skip Chemical Drain Cleaners
- Simple First-Aid for Slow Drains
- Using Manual Force with Plungers and Drain Snakes
- Advanced DIY Safely Removing and Cleaning the P-Trap
- When to Stop and Call a Pro in Los Angeles
- Frequently Asked Questions About Chemical-Free Unclogging
Why You Should Skip Chemical Drain Cleaners
A backed-up drain makes people reach for the bottle under the sink. That's understandable. It promises a fast fix, and when water is rising, fast sounds good.
In practice, chemical drain cleaners create as many problems as they solve. Clogged drains are already one of the most common plumbing emergencies, with 12% of U.S. households experiencing a blockage in 2022, and the move away from chemical cleaners picked up after 1970 as evidence mounted that these products can damage 15% of PVC pipes annually and contribute significantly to household hazardous waste, according to this overview of chemical-free drain cleaning.
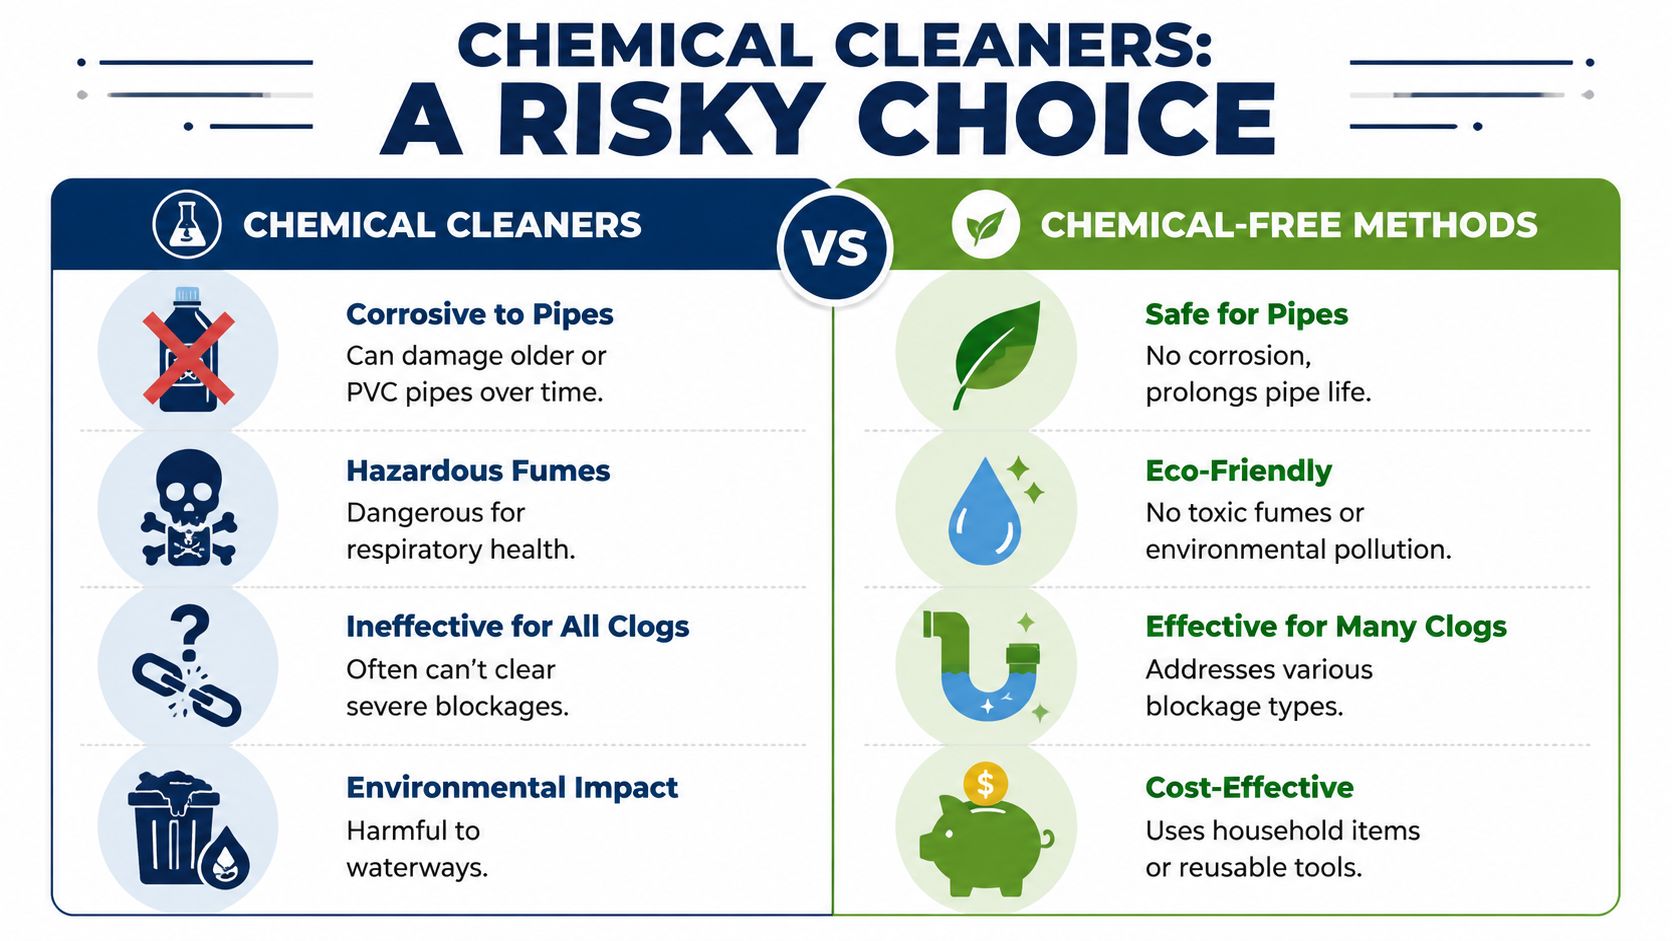
That matters even more in Los Angeles homes with older drain lines, mixed-material plumbing, or fixtures that have already seen years of wear. Caustic cleaners sit in the trap, heat up, and attack whatever is in front of them. If the clog doesn't move, you're left with the same blockage plus a pipe full of corrosive liquid that somebody still has to work on.
Practical rule: If a product burns skin, creates fumes, and can sit in your plumbing without clearing the blockage, it's not a low-risk first step.
There's also a basic effectiveness problem. Chemical products don't mechanically remove hair, dense grease, scale, or a foreign object. They may soften some buildup, but they won't pull out a wad of hair wrapped around the stopper assembly, and they won't diagnose a deeper line issue.
For a broader look at the same safety concerns in another coastal market with aging plumbing, Coral Plumbing's guide for Miami homeowners is worth a read. The local plumbing stock is different, but the trade-offs are the same.
What plumbers use first is simpler. Hot water for light grease. A plunger for an accessible blockage. A snake for hair or debris. Trap cleaning when the clog is under the sink. Those methods are slower than pouring from a bottle, but they're also more honest. They either work, or they tell you it's time to stop.
Simple First-Aid for Slow Drains
If the drain is still moving, even slowly, you've got the best chance of fixing it with simple, low-risk steps. Homeowners should begin here, especially before buying tools they may not need.
Start with hot water when the clog is grease or soap
For a kitchen sink with light grease buildup, hot water is the cleanest first move. It helps soften grease and soap residue so it can move through the line instead of clinging to the pipe wall.
Use it like this:
- Remove standing water first so the hot water can reach the clog instead of cooling off in the sink bowl.
- Pour the hot water slowly rather than dumping it all at once.
- Pause and test drainage after each pour.
- Stop if nothing changes after a couple of rounds.
This works best when the line is sluggish, not sealed shut. It also makes more sense in the kitchen than in the bathroom. Bathroom clogs are usually hair, soap paste, and grooming residue. Hot water alone rarely fixes that for long.
If the water level doesn't improve at all, stop treating it like a soft clog. You're probably dealing with a physical blockage.
Use baking soda and vinegar for the right kind of clog
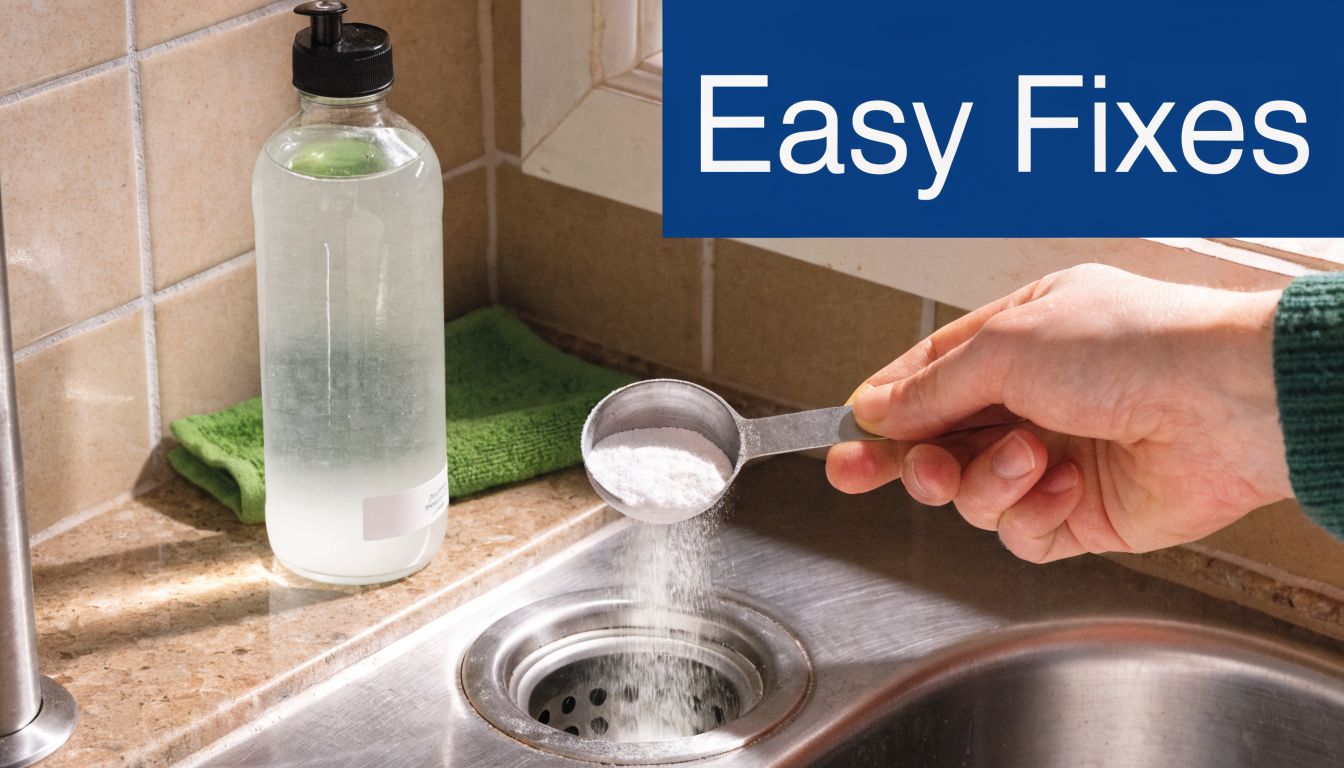
A lot of DIY advice makes this sound universal. It isn't. The baking soda and vinegar method works best on partially clogged drains, not total blockages. The recommended protocol is ½ cup of baking soda followed by 1 cup of vinegar, and it's most effective on soft buildup in bathroom drains. For Los Angeles homes with mineral-heavy water, an annual vinegar treatment is also recommended to help prevent mineral accumulation, as described in this chemical-free drain guide.
Here's the practical version:
- Boil water first if the drain is merely slow. A small flush of hot water helps clear the path so the fizzing action reaches buildup instead of sitting at the top.
- Add ½ cup of baking soda. Try to get as much of it down the drain opening as possible.
- Follow with 1 cup of white vinegar. You want the reaction inside the drain, not all over the sink.
- Let it sit. Give it time to work on soft residue.
- Flush with hot water. Then test the drain.
This is a maintenance method as much as a fix. It can help with bathroom sinks, tubs, and showers that are getting sluggish from soap, light grime, and minor buildup. It's much less useful for kitchen drains packed with grease.
A few situations where this method is the wrong call:
| Drain condition | Good DIY candidate | Bad DIY candidate |
|---|---|---|
| Bathroom sink draining slowly | Yes | |
| Tub with hair near the top | Sometimes, but mechanical removal is better | |
| Kitchen line with dense grease | Yes | |
| Completely blocked drain with standing water | Yes |
One more warning matters. Don't use baking soda and vinegar after a commercial drain opener has already gone down that line. At that point, the job shifts from cleaning to avoiding a chemical exposure problem.
Using Manual Force with Plungers and Drain Snakes
When water treatments stall out, you need a tool that moves the blockage. Most successful DIY drain clearing occurs with such tools.
A plunger only works if the seal is right
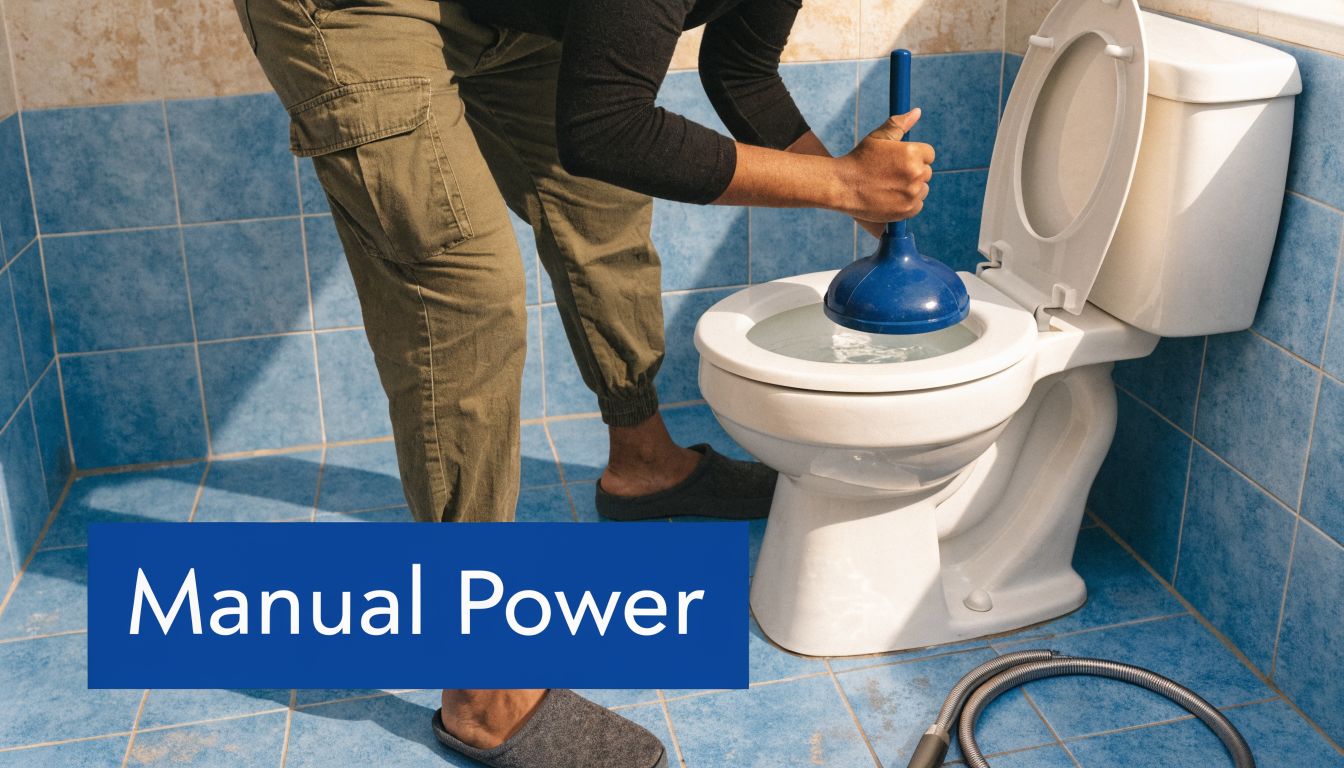
People often say they “tried plunging” when what they really did was push water around. A plunger works by creating pressure and suction. If the seal leaks, you lose the force.
Effective plunging requires a proper vacuum seal, and petroleum jelly on the cup lip can help improve it. For bathtubs, plugging the overflow valve with a wet washcloth is critical to hold pressure. These methods work best on clogs in the P-trap and upper drain lines, not on main sewer line blockages, based on this plunging and drain clearing demonstration.
For sink and tub drains:
- Use the right plunger. A cup-style plunger is for flat sink and tub surfaces.
- Cover any overflow opening. If air escapes there, the plunger can't build force.
- Keep water over the cup. Water carries pressure better than air.
- Pump sharply, then pull back. The pull is often what breaks the clog loose.
For bathtub drains, the overflow opening is a detail often overlooked. Cover it with a wet washcloth and hold it firmly. That one change can turn a useless effort into an effective one.
If you want a cleanup-focused walkthrough for shower drains, Calibre Cleaning's guide for clearing drains does a good job showing the debris-removal side of the job.
A drain snake works by grabbing or breaking the blockage
A hand snake or small auger is the next step when plunging doesn't do it. This is the tool for hair, matted soap residue, and deeper debris that sits beyond the stopper or just past the trap.
The technique matters more than force:
- Remove the stopper if you can. Hair often catches there first.
- Feed the snake slowly. Let the cable follow the pipe, especially through turns.
- Watch for resistance. A soft, springy stop often means hair or sludge.
- Twist, don't jam. You're trying to hook or break up the blockage.
- Withdraw slowly. Be ready for a mess.
- Run water to test. Then repeat if needed.
A good snake job has a feel to it. You feed the cable, it starts to drag, then you get a little bite. When you pull back, you'll usually know immediately whether you found the clog. Sometimes it comes out as a nasty knot of hair. Sometimes the water suddenly drops and the line starts moving again.
For kitchen drains, the path can be trickier because grease coats the line and the cable may punch a hole through the middle without cleaning the pipe wall. If that's the fixture you're working on, EZ Plumbing has a practical walkthrough on how to snake a kitchen sink.
This visual is useful if you want to see the basic hand motion and tool handling before you try it yourself.
Don't force a snake through hard resistance. If the cable won't advance, you may be hitting a tight bend, a fitting, or a blockage that needs a different approach.
Advanced DIY Safely Removing and Cleaning the P-Trap
If the sink still won't drain and the blockage seems local to that fixture, the P-trap is the next logical place to check. Under bathroom sinks especially, that U-shaped section often holds the exact sludge that stops every other DIY method.
What to set up before you loosen anything
Don't start by grabbing pliers. Start by controlling the mess.
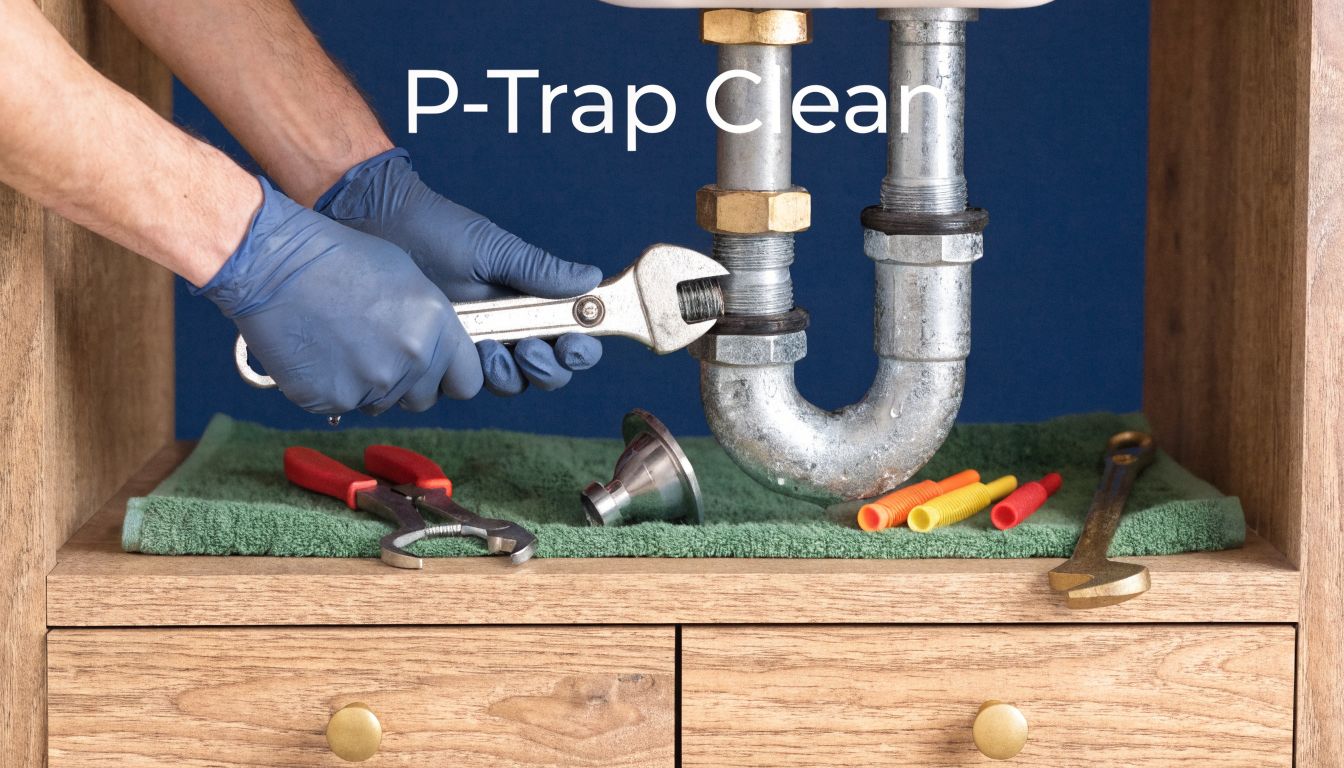
You need:
- A bucket under the trap. There will be water in it.
- Old towels or rags. Put them under the bucket and around the cabinet base.
- Gloves. Trap sludge is foul.
- A flashlight. You want to see the washers and slip nuts clearly.
This method is safer for the plumbing than repeated chemical attempts. Using mechanical tools like drain snakes for deep blockages can reduce pipe wear by up to 50% compared to corrosive acids, which is one reason physically cleaning a trap is a better long-term move for pipe health, according to this overview of non-chemical drain clearing methods.
How to remove clean and reinstall the trap
Most sink traps are held by slip nuts. Many can be loosened by hand. Some need pliers. Either way, go slowly.
- Loosen the nuts carefully. Support the trap with one hand as the final threads release.
- Lower the trap into the bucket. Let the water and debris empty out.
- Inspect both ends. Hair, paste-like soap buildup, and greasy sludge often sit right in the bend.
- Clean the trap fully. Use a bottle brush, gloved fingers, or a small plastic tool. Don't gouge the pipe.
- Check the washers and gaskets. If one is cracked, warped, or missing, reassembly may leak.
- Reinstall hand-tight first. Then snug the fittings just enough.
The biggest DIY mistake here is overtightening. Slip-joint connections aren't wheel lugs. If you crank down too hard, you can warp a washer or damage the fitting and create a leak that didn't exist before.
A cleaned trap with a bad gasket won't stay fixed. If it drips after reassembly, shut the water off to that fixture and correct the seal before using it normally.
If the sink still drains slowly after the trap is clear, the blockage is farther down the branch line. At that point, it helps to separate clog symptoms from odor problems. If you're also dealing with stink under the sink, common causes of sink drain smells can help narrow down whether you're looking at residue, a vent issue, or a deeper line problem.
When to Stop and Call a Pro in Los Angeles
Some drain problems announce themselves early. Others let you waste a weekend first. The key is knowing when your clog has stopped being a DIY task and started being a line problem.
The warning signs that point past a simple clog
The biggest red flags are gurgling sounds, water backing up in more than one drain, recurring clogs, or sewage odor. Those symptoms usually mean the issue isn't sitting at the sink or tub opening anymore.
According to AAA's discussion of chemical-free unclogging and escalation signs, telltale signs like gurgling and multi-drain backups indicate a main line issue that DIY methods can't fix, and professional diagnostics can pinpoint deep problems like grease buildup that matter for Los Angeles homeowners, HOAs, and multi-unit landlords.
That's especially relevant in LA. Older buildings, shared lines, and long lateral runs change the stakes. If an upstairs unit backs up when a downstairs fixture drains, or the shower gurgles when the toilet flushes, you're no longer dealing with one clogged trap.
Why pushing harder can make it worse
At that stage, more DIY effort usually means one of three bad outcomes:
- You lose time while wastewater conditions get worse.
- You push debris farther into the line without fully clearing it.
- You miss the actual cause such as heavy grease, scale, or a deeper obstruction.
Camera inspection and line cleaning are often sensible steps. If a main line or branch line needs a full-wall cleaning instead of a poke through the center, hydro jetting for stubborn drain and sewer buildup is one of the standard professional options because it uses pressurized water rather than chemicals.
A good rule for homeowners is simple. If one fixture is slow, try the fixture-level fixes. If multiple fixtures are involved, or the same clog keeps coming back after you clear it, stop before you turn a drain issue into a cleanup job.
Frequently Asked Questions About Chemical-Free Unclogging
Is this safe for a garbage disposal
Sometimes, but use judgment. Hot water and gentle flushing are one thing. Shoving tools into a disposal throat is another. If the clog is in the disposal chamber, clear it carefully with power disconnected. If it's beyond the disposal, treat it like a normal drain line.
Can a wet dry vacuum help
It can on some shallow or loose blockages, especially when you can create a tight seal. It's less predictable than a plunger or snake, but it can be worth trying before trap removal.
What if I smell sewage
Stop using that fixture until you know what's going on. Sewer odor can point to a deeper drainage issue, a trap problem, or a venting issue. That's not something to cover up with cleaner.
What's the best way to prevent clogs
Hair traps and strainers. They're simple, cheap, and they stop a huge amount of trouble before it enters the pipe. In kitchens, keep grease out of the drain in the first place.
Should I try DIY work during a bathroom remodel
Only if you're clear on where the line is clogged and what you're opening. Once fixtures are moved or reconnected, drain work overlaps with renovation plumbing. For that kind of project coordination, articles about expert plumbing for renovations are a useful reminder that remodel work and drain work often intersect.
If your drain is slow, backing up, or showing signs of a deeper line problem, EZ Plumbing can inspect the issue, clear the blockage without relying on harsh chemicals, and tell you plainly whether it's a simple fixture clog or something farther down the line.