
Water Heater Installation Guide for Homeowners
Replacing or installing a water heater is one of the most consequential plumbing jobs you can tackle at home. Follow the right water heater installation guide and you protect your household from water damage, carbon monoxide risk, and code violations that can complicate a future home sale. Skip the right steps and you are looking at voided warranties, failed inspections, or a unit that fails within months. This guide walks you through preparation, the physical installation process, verification, and the critical decision of when to call a licensed plumber instead.
Table of Contents
- Key takeaways
- What the water heater installation guide covers first
- Step-by-step installation process
- Verifying the installation
- DIY versus professional installation
- My take after years of water heater calls
- Let Ez-plumbing handle your water heater installation
- FAQ
Key takeaways
| Point | Details |
|---|---|
| Permits are often required | Most municipalities require a permit for water heater installation, even for a like-for-like replacement. |
| Dry firing destroys elements | Never power on an electric water heater before the tank is full and air is purged from the lines. |
| T&P valve placement is safety-critical | The discharge pipe must terminate correctly and use approved materials to prevent injury. |
| DIY works best for simple swaps | A tank-to-tank electric replacement is the most manageable DIY scenario; gas and tankless are higher risk. |
| Professional help protects warranties | Certified installers handle permits, inspections, and manufacturer warranty requirements in a single visit. |
What the water heater installation guide covers first
Before you touch a single pipe, preparation separates a smooth installation from a costly mistake. The first thing to check is whether your city or county requires a permit. Permits are typically required for water heater replacement or installation, particularly when a fuel source changes or the unit relocates. In Los Angeles, the Department of Building and Safety enforces this consistently. Skipping a permit does not just risk a fine. It can mean having to tear out and redo work when you sell the home.
Assessing your home before buying the unit
Check your home’s water pressure with an inexpensive gauge attached to an outdoor hose bib. Residential pressure should sit between 40 and 80 psi. If it runs higher, a pressure reducing valve may be needed before installation. For electric units, verify your electrical panel has an open 240-volt, 30-amp breaker slot. For gas units, confirm the existing gas line diameter is adequate for the new unit’s BTU rating.
Choosing the right type and capacity matters more than most homeowners realize. A 50-gallon tank is standard for a household of three to four people. If you are considering a tankless water heater or a heat pump model, the spatial and electrical requirements change significantly. Heat pump units need 450 to 1,200 or more cubic feet of air space around them, proper condensate drainage, and seismic strapping in earthquake-prone areas like much of Southern California.
Tools and materials you will need
| Item | Purpose |
|---|---|
| Pipe wrench and channel-lock pliers | Disconnecting and reconnecting water supply lines |
| Voltage tester | Verifying power is off before touching electrical connections |
| Teflon tape and pipe compound | Sealing threaded fittings on water and gas connections |
| Flexible stainless steel connectors | Code-compliant water line connections that handle minor movement |
| Seismic strapping kit | Required in California for securing the tank to the wall |
| Thermal expansion tank | Required on closed plumbing systems to absorb pressure increases |
Pro Tip: Download the manufacturer’s installation manual before purchasing the unit. Specs like minimum clearances, wire gauge requirements, and vent pipe diameter are unit-specific and will affect what materials you buy.
Step-by-step installation process
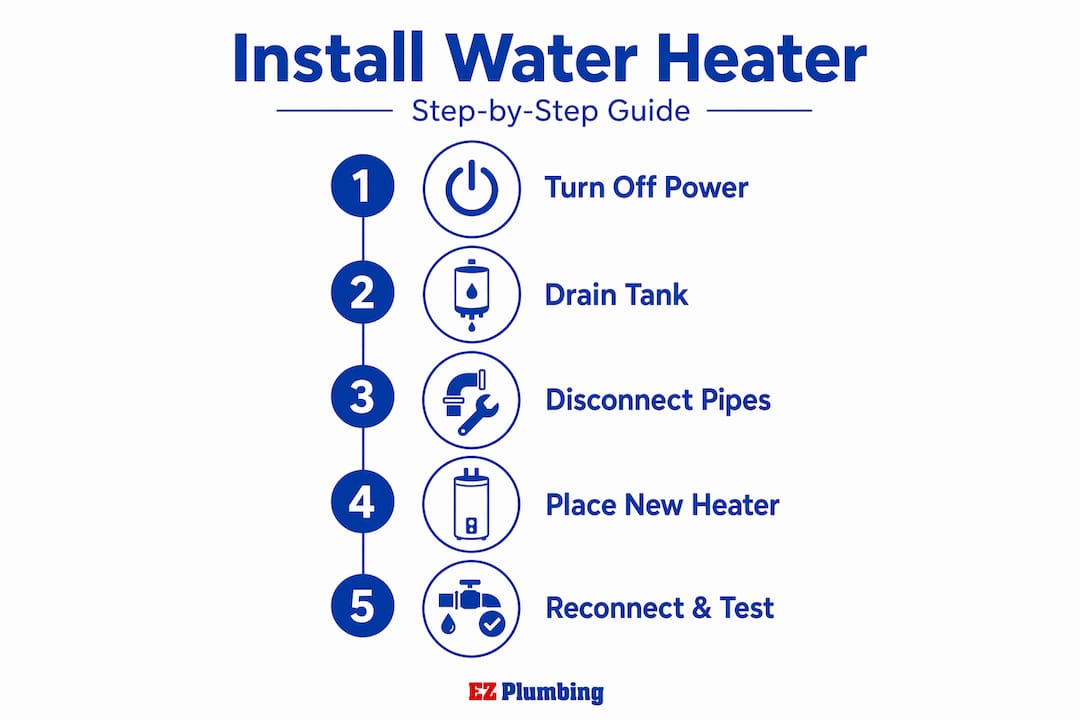
This sequence applies primarily to a standard electric tank replacement, the most common DIY scenario. Gas and tankless installations require additional steps not fully covered here.
-
Shut off power and water. Turn off the dedicated breaker at your electrical panel. Open a hot water tap in the house to confirm no power is flowing to the heating elements. Then close the cold water supply valve feeding the heater.
-
Drain the old tank. Connect a garden hose to the drain valve at the base of the tank and run it outside or to a floor drain. Open the drain valve and open a hot tap in the house to allow air in so the tank empties fully.
-
Disconnect the old unit. Use a voltage tester on the wiring before touching any connections. Disconnect the electrical wires and cap them temporarily. Unscrew the water supply connections at the top of the tank. On older homes, corroded galvanized nipples sometimes require significant torque. Apply penetrating oil if needed.
-
Position and level the new unit. Set the new heater in place and use a torpedo level on the side of the tank. A unit that sits even slightly off level can cause sediment buildup and reduce efficiency over time. In California, attach the seismic strapping brackets to wall studs at the upper and lower third of the tank.
-
Install the T&P relief valve. This is a non-negotiable safety component. The T&P discharge pipe must run to within six inches of the floor using approved materials such as copper or CPVC, with no restrictions, caps, or valves on the line. Learn more about proper setup in this homeowner’s T&P guide. Routine T&P valve checks prevent dangerous pressure buildup and extend the life of the unit.
-
Connect the water lines. Flexible stainless steel connectors or dielectric unions are the standard here. Dielectric unions separate dissimilar metals to prevent galvanic corrosion, which is a common source of early failure on copper-to-steel connections. Hand-tighten first, then snug with pliers. Do not overtighten.
-
Install the thermal expansion tank. If your home has a check valve, pressure reducing valve, or backflow preventer on the supply line, you have a closed plumbing system. Expansion tanks are required by code in these situations to absorb the thermal expansion of heated water and protect the system from overpressure.
-
Make electrical connections. Standard electric water heaters use 10-gauge wire on a 30-amp, 240-volt circuit. Connect black to black, white to white, and ground to the green grounding screw in the junction box. Double-check that the wire is fully seated under each terminal screw.
-
Fill the tank and purge air. Open the cold water supply valve. Open a hot tap at a nearby sink and let it run until water flows steadily with no spitting or gurgling. This confirms the tank is full and air has been cleared.
-
Restore power and set temperature. Turn the breaker back on. Set the thermostat to 120 degrees Fahrenheit, which is the recommended setting to balance comfort, energy use, and the prevention of scalding or bacterial growth.
Pro Tip: Powering an electric water heater before the tank is completely full destroys the heating elements almost immediately. This is called dry firing, and the damage is not covered under warranty.
Verifying the installation
Once the unit is running, a thorough check is worth the extra 20 minutes it takes. Start by inspecting every threaded connection for drips. Run your hand or a dry paper towel along each fitting; even a slow seep will show up. Check the T&P discharge pipe to confirm it is not dripping at rest. A small amount of discharge during the first heat-up cycle is normal, but persistent dripping signals an overpressure condition or a faulty valve.
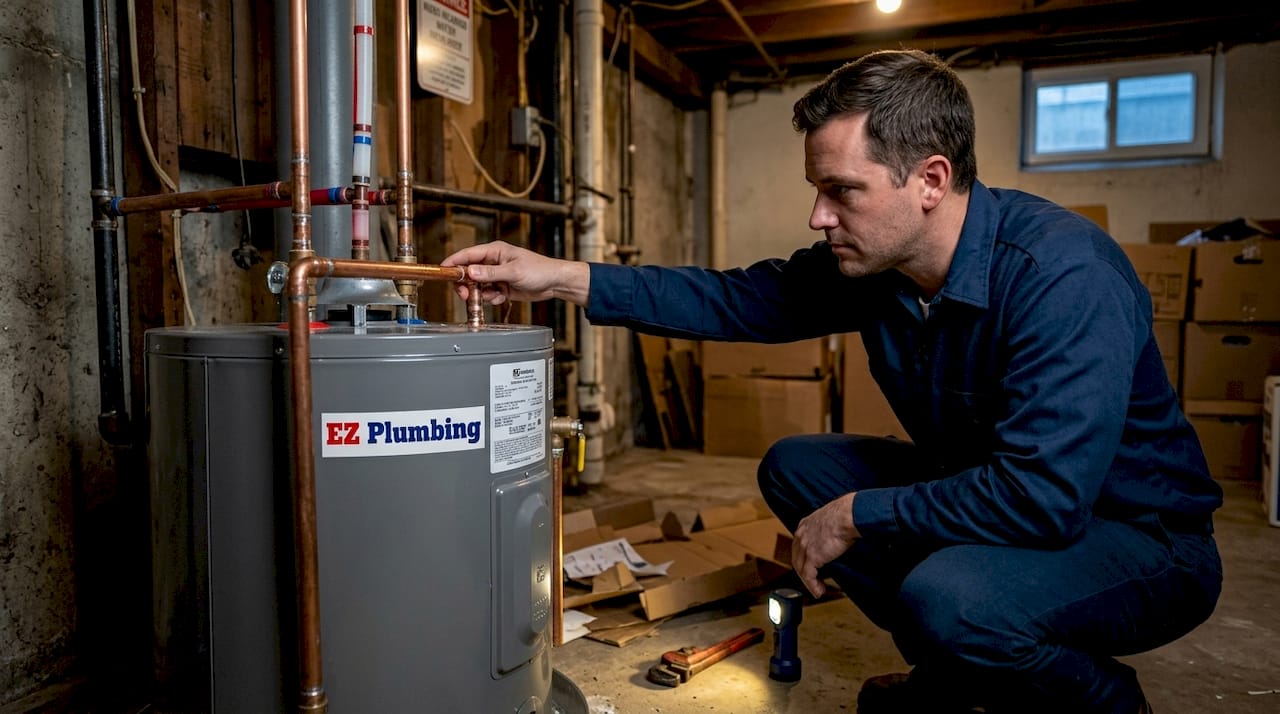
Listen to the unit during the first heating cycle. A low humming is normal for electric units. Loud popping or rumbling usually means sediment has built up in the tank. On a brand-new unit, this can indicate the tank was not fully purged before energizing.
At the electrical connection, check for any burning smell or warm spots on the junction box cover. If either is present, shut off the breaker immediately and call a licensed electrician. Similarly, if your water pressure drops noticeably after installation or the tank produces no hot water within the first hour, the heating element may have been damaged or a connection is loose.
Safety checkpoint: Test the T&P valve by lifting the lever briefly. You should hear a rush of water into the discharge pipe. If nothing happens or the valve leaks after releasing the lever, replace it before using the water heater.
Pro Tip: Schedule a visual inspection of your water heater annually. Check the anode rod every three to four years and flush sediment from the tank once a year. These steps alone can extend the life of a unit by five years or more.
DIY versus professional installation
The honest answer is that not every installation is equal. A straight electric tank swap with the same voltage, capacity, and location as the old unit is the most manageable project for a mechanically capable homeowner. The connections are straightforward and the risks, while real, are manageable with careful work.
Gas water heaters are a different category. An improperly sealed gas connection or a misaligned vent pipe can cause carbon monoxide accumulation, which is odorless and life-threatening. Professional installation is strongly recommended for heat pump units as well, given the airflow, condensate, and electrical complexity involved. Wiring errors on any type carry real fire and electrocution risk, particularly for novice installers.
| Factor | DIY installation | Professional installation |
|---|---|---|
| Cost | Lower upfront; no labor fee | Higher upfront; includes labor |
| Permit handling | Your responsibility | Typically managed by the contractor |
| Warranty protection | At risk if installation errors occur | Manufacturer requirements met |
| Gas and complex work | High risk; not recommended | Trained and licensed for all types |
| Code compliance | Homeowner must research local codes | Built into the service |
When you do hire a professional, verify their state license and ask whether the quote includes permit fees and a final inspection. A licensed plumber will handle the permit process, schedule the inspection with the building department, and ensure the finished installation meets current code.
My take after years of water heater calls
I’ve responded to a lot of jobs that started as DIY water heater installations. The most common problems I see are not the dramatic ones. They are the quiet ones: a T&P valve installed without a discharge pipe, flex connectors tightened so hard the fittings cracked, or a tank energized before anyone bled the air out. The homeowner had good intentions and read enough to get 90% of the job right. That last 10% is where the damage happens.
What I’ve found actually works is treating the manufacturer manual like a legal document, not background reading. Every unit has specific requirements for wire gauge, vent diameter, and minimum clearances. Ignoring them because “the old unit was fine” is how code violations get built in.
My advice is this: if you are doing a like-for-like electric tank replacement and you are comfortable with basic electrical work, go for it carefully. If anything involves gas, a panel upgrade, or a heat pump unit, call someone who does this daily. The cost of a professional installation is far less than the cost of fixing what goes wrong when it is done incorrectly.
— EZ
Let Ez-plumbing handle your water heater installation
If this guide has clarified the scope of the job and you would rather have it done right the first time, Ez-plumbing is ready to help. Our licensed team (C-36 License #583868) serves the greater Los Angeles area and handles the full range of residential water heater work, from standard tank replacements to tankless system installations and heat pump units. We pull permits, schedule inspections, and carry full insurance so every job is code-compliant and warranty-protected.
Our water heater installation services cover every step from removal of the old unit to final pressure testing, giving you hot water and peace of mind without the guesswork. Contact Ez-plumbing today to schedule an installation or get a straightforward quote for your home.
FAQ
Do I need a permit to replace my water heater?
Permits are required in most municipalities for water heater replacement, particularly when fuel type or location changes. Check with your local building department before starting work.
What size water heater does my home need?
A 40 to 50-gallon tank handles most households of two to four people. Larger families or homes with high simultaneous demand may need a 75-gallon unit or a properly sized tankless system.
Can I install a gas water heater myself?
Gas installation carries serious risks including carbon monoxide exposure from vent misalignment or gas leaks. Most manufacturers and local codes strongly recommend licensed professional installation for gas units.
How do I know if my new water heater is working correctly?
The tank should produce hot water within one hour of power-on. Check all fittings for leaks, confirm the T&P valve is not dripping at rest, and listen for normal operation sounds during the first heating cycle.
What is a thermal expansion tank and do I need one?
A thermal expansion tank absorbs pressure increases that occur as water heats in a closed plumbing system. It is required by code in homes with a check valve, pressure reducing valve, or backflow preventer on the supply line.