Sewer Line Inspection Process: LA Homeowner Guide
The sewer line inspection process involves inserting a high-resolution waterproof camera into your home’s sewer pipes to visually assess their condition, detect blockages, identify cracks, and locate structural defects before they become costly failures. Known in the industry as CCTV pipe inspection or sewer scope inspection, this diagnostic method gives homeowners and property managers in Los Angeles a clear picture of what is happening underground without any excavation. The camera feeds live video to a monitor above ground, and a trained technician logs every finding by footage distance and defect type. Understanding this process helps you ask the right questions, interpret your report accurately, and make informed decisions about repairs.
What tools and preparations are needed for a sewer inspection
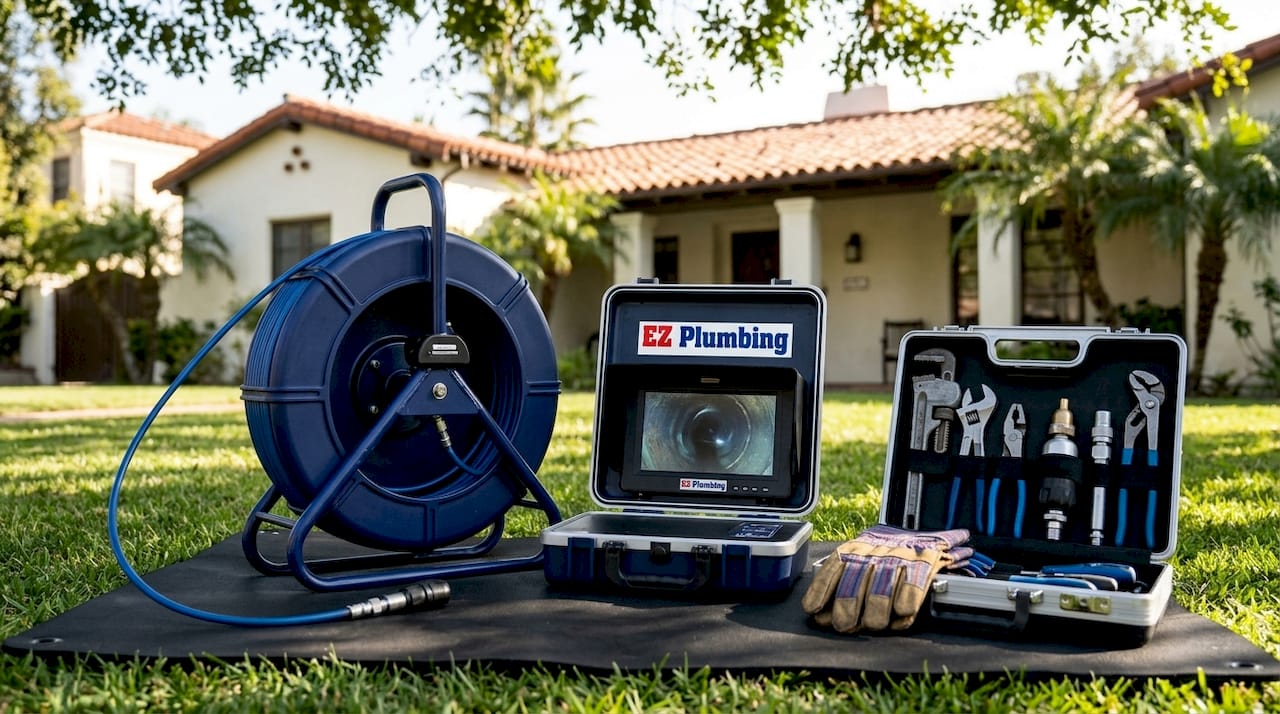
A successful sewer line inspection depends on specialized equipment, not just a camera on a cable. Sewer cameras typically range from 1 to 1.5 inches in diameter, mounted on flexible push cables with integrated LED lighting, and are designed to traverse pipes ranging from 2 to 12 inches in diameter. The camera head transmits live color video to a surface monitor, giving the technician real-time visibility inside the pipe.
Beyond the camera itself, several supporting tools make the inspection accurate and defensible:
- Distance counter: Tracks exactly how far the camera has traveled into the pipe, so every defect gets logged at a precise footage mark.
- Sonde radio transmitter: Integrated into the camera head, the sonde emits a signal that a surface receiver picks up to mark the exact ground location above any defect.
- Live video monitor: Displays real-time footage so the technician can pause, zoom, and document findings as the camera moves.
- Pre-cleaning equipment: Hydro-jetting or snaking may be needed before the camera run if heavy grease or debris blocks the view.
Access is the other critical preparation factor. The camera enters through a cleanout, which is a capped pipe fitting located near your home’s foundation, in the yard, or sometimes at the base of a drain stack. If your property lacks an accessible cleanout, the technician may need to pull a toilet or use another drain entry point. Older Los Angeles homes, particularly those built before 1970 with clay sewer laterals, often have cleanouts that are buried, cracked, or missing entirely.
Pro Tip: Before scheduling your inspection, locate your cleanout cap and clear any soil or landscaping covering it. This saves time on the day of service and prevents access delays that can affect scheduling.
How does the sewer camera inspection process work, step by step?
The inspection process is minimally disruptive and typically takes between 30 and 60 minutes for a standard residential line running from the home to the city connection or septic tank. That timeframe covers a thorough pass through the entire lateral, not just the first few feet. Here is what happens at each stage:
-
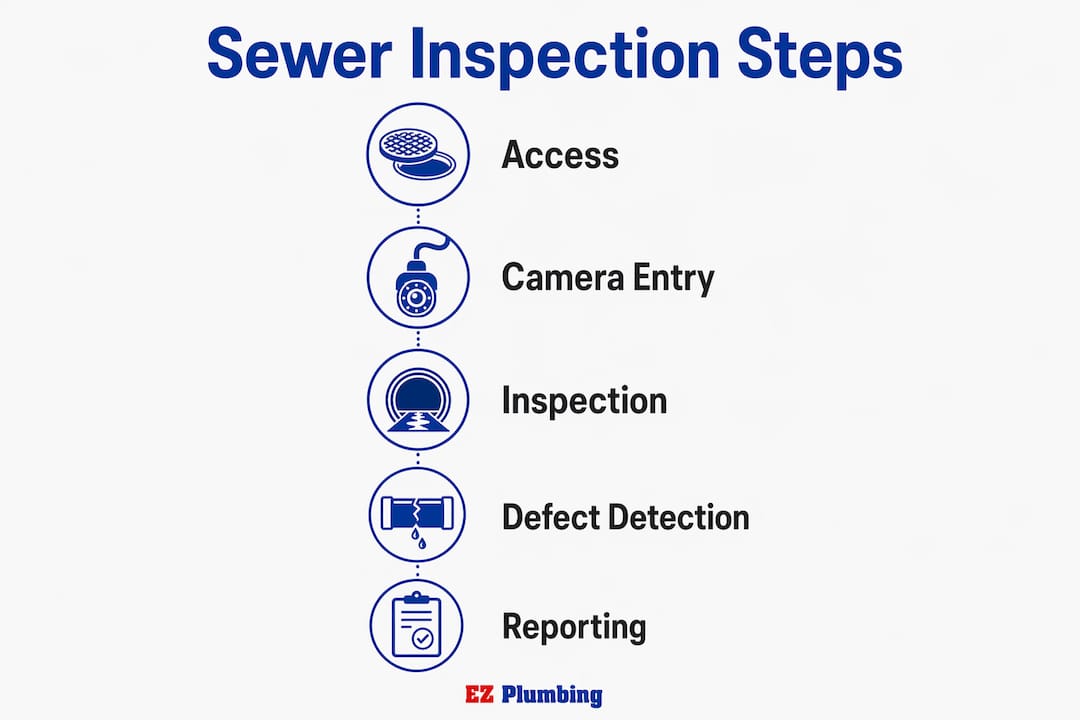
Locate and open the access point. The technician finds the cleanout nearest to the home’s foundation, removes the cap, and confirms the line direction toward the street or septic system.
-
Insert and feed the camera. The push cable is fed into the pipe while the technician monitors live video on the surface display. The cable flexes around bends and through joints without stopping.
-
Log footage positions. As the camera advances, the distance counter records its position continuously. Every defect observed is noted with its corresponding footage mark, creating a precise location record.
-
Identify and document defects. The technician pauses at any anomaly, such as a crack, root intrusion, grease buildup, or pipe sag, and captures still images alongside the continuous video recording.
-
Use the sonde to mark surface locations. When a defect requires repair, the sonde locates the exact surface point above it. The technician marks the ground with spray paint or a flag so excavation targets the right spot precisely.
-
Retrieve the camera and compile findings. The camera is withdrawn, cleaned, and the technician reviews footage to prepare the inspection report with all documented defects, footage positions, and repair recommendations.
| Stage | Key Action | Output |
|---|---|---|
| Access | Open cleanout or drain entry | Confirmed line direction |
| Camera run | Feed cable with live video | Continuous footage recording |
| Distance logging | Counter tracks footage position | Precise defect location data |
| Defect capture | Images and video at each anomaly | Visual documentation |
| Sonde marking | Surface receiver marks repair point | Ground-marked excavation target |
| Report | Compile video, images, and findings | Written inspection report |
Pro Tip: Ask your technician to narrate findings aloud during the camera run. This helps you follow along on the monitor and understand what you are seeing in real time, rather than waiting for the written report.
What common defects do sewer cameras reveal?
CCTV inspection uncovers a wide range of pipe conditions, from minor surface scaling to imminent structural collapse. Knowing what each defect looks like and what it means for your system helps you prioritize repairs without guessing.
Structural defects are the most serious findings. These include longitudinal or circumferential cracks in the pipe wall, collapsed sections where the pipe has caved inward, and joint separation where pipe segments have pulled apart. In Los Angeles, older clay and cast iron pipes are particularly prone to cracking from soil movement and root pressure.
Root intrusion is one of the most common findings in LA neighborhoods with mature trees. Ficus, pepper trees, and eucalyptus are notorious for sending roots into sewer joints. Once inside, roots expand and eventually block flow entirely. Camera footage shows root masses ranging from fine hair-like tendrils to dense clumps filling the pipe cross-section.
Sewer bellies, also called sags or dips, form when the soil beneath a pipe shifts and the pipe loses its downward slope. Bellies trap wastewater and solid waste, causing pooling, stagnation, and recurring backups. Camera footage shows standing water in the low point of the belly, which is a clear indicator of a slope problem.
Grease and debris buildup accumulates on pipe walls over years of use, narrowing the effective pipe diameter and slowing flow. This is especially common in kitchen drain lines and older galvanized pipes where corrosion adds surface texture that traps grease.
Defect severity is not left to subjective judgment. The NASSCO PACP grading system assigns numerical grades from 1 to 5 to each observed defect, where Grade 1 indicates a minor condition and Grade 5 signals imminent failure requiring immediate action. This standardized coding system means any licensed contractor reading your report interprets the findings the same way, which matters when you are comparing repair bids.
| Defect Type | Cause | Impact on Pipe |
|---|---|---|
| Cracks and fractures | Age, soil movement, root pressure | Structural weakness, infiltration |
| Root intrusion | Tree roots entering joints | Flow restriction, blockage |
| Belly or sag | Soil settlement, pipe support loss | Wastewater pooling, backups |
| Grease buildup | Cooking oils, soap residue | Reduced flow, recurring clogs |
| Joint separation | Ground shift, pipe age | Leakage, soil infiltration |
What does a sewer inspection report include?
A thorough sewer inspection report contains four core elements: continuous video of the entire line, still images captured at each defect, written findings linked to specific footage distances, and repair recommendations. Each element serves a distinct purpose when you are deciding how to proceed.
The video record is your most complete reference. It shows the full pipe interior from access point to the city main, allowing you or a second contractor to review conditions independently. Still images provide quick reference for specific defects without scrubbing through footage.
Written findings are where the NASSCO PACP grading matters most. Each defect entry lists the footage position, defect type, severity grade, and a brief description. Defect locations are legally defensible only when distance counter data and sonde surface markings are both included. A report that lists “root intrusion somewhere in the middle of the line” gives a contractor no reliable target for repair. A report that states “root intrusion at 47 feet, sonde-marked at the northwest corner of the front yard” does.
The repair recommendations section translates findings into options. A Grade 1 or 2 defect may only require monitoring or hydro-jetting. A Grade 4 or 5 defect typically calls for trenchless pipe relining or full excavation and replacement. Your report should specify which method applies to each finding and why.
Pro Tip: Request a digital copy of the full video file, not just a summary clip. If you get a second opinion or hire a different contractor for repairs, they can review the same footage rather than scheduling a repeat inspection.
What are the next steps after a sewer line inspection?
Your inspection report is a decision-making document, not just a record of problems. The findings determine which repair path makes sense, and the precision of the location data determines how disruptive that repair will be.
-
Review the defect grades. Grade 1 and 2 findings typically allow a scheduled repair timeline. Grade 4 and 5 findings require prompt attention to prevent sewage backup or pipe collapse.
-
Confirm substrate conditions if needed. Camera footage identifies visible pipe damage and slope irregularities, but physical excavation or hydro-excavation may be required to confirm soil and bedding conditions around a belly or collapsed section. Skipping this step can lead to a repair that addresses the symptom but not the underlying cause.
-
Choose the right repair method. Trenchless pipe relining works well for cracks and minor joint separation in otherwise structurally sound pipes. Full excavation is necessary for collapsed sections, severe bellies, or pipes with significant joint displacement. Your report’s findings and grades should guide this choice directly.
-
Verify contractor qualifications. Ask any contractor you hire whether they use standardized NASSCO PACP coding and whether their reports include sonde location data. Standardized defect coding is the baseline for consistent communication across contractors and ensures you are comparing equivalent assessments.
-
Schedule routine follow-up inspections. For Los Angeles properties over 30 years old, or any home with large trees near the sewer line, a camera inspection every 2 to 3 years is a practical maintenance interval. Knowing the right timing for inspections prevents emergency repairs that cost significantly more than planned maintenance.
Pro Tip: If your report recommends trenchless relining, ask the contractor to show you the pre-lining and post-lining camera footage side by side. This confirms the liner was installed correctly and the defect is fully addressed.
Key takeaways
A complete sewer line inspection combines precise camera technology, standardized defect grading, and accurate location data to give homeowners a reliable basis for repair decisions.
| Point | Details |
|---|---|
| Camera technology matters | Sonde-equipped cameras with distance counters produce location data that is accurate enough to guide excavation. |
| NASSCO PACP grading standardizes findings | Grades 1 to 5 give every contractor and homeowner a shared language for defect severity. |
| Reports must include location data | Footage distance and sonde surface markings make defect locations defensible and repair-ready. |
| Follow-up may require excavation | Camera footage alone cannot always confirm substrate conditions; hydro-excavation verifies soil and bedding. |
| Routine inspections prevent emergencies | Properties over 30 years old in Los Angeles benefit from inspections every 2 to 3 years. |
What I’ve learned from years of sewer inspections in Los Angeles
Camera inspections are one of the most valuable diagnostic tools we use at Ez-plumbing, but I want to be direct about what they can and cannot do. A camera run gives you a clear visual record of pipe interior conditions. It does not tell you everything about why a belly formed or whether the soil around a cracked section has already eroded. That distinction matters when you are choosing between a relining job and a full replacement.
In Los Angeles specifically, the combination of aging clay laterals, expansive soils, and aggressive tree root systems means that camera findings often point toward substrate issues that need physical verification. I have seen properties in the San Fernando Valley and Silver Lake where the camera showed a moderate belly, but hydro-excavation revealed the pipe was sitting on a void with no bedding support at all. Relining that section without addressing the soil would have failed within a few years.
My honest recommendation for any LA homeowner is this: treat the camera inspection as the starting point, not the final answer. Get a report with NASSCO PACP grades, sonde location data, and repair recommendations from a contractor who can explain each finding clearly. If the findings are significant, ask about physical verification before committing to a repair method. The preparation steps you take before and after an inspection directly affect the quality of the outcome.
— EZ
Schedule your sewer inspection with Ez-plumbing in Los Angeles

Ez-plumbing provides professional sewer camera inspection services throughout the greater Los Angeles area, using sonde-equipped camera systems that deliver the precise location data your repair decisions depend on. Our licensed technicians (C-36 License #583868) are experienced with the specific challenges of LA’s aging infrastructure, from clay laterals in older neighborhoods to root-heavy lots across the San Fernando Valley. Every inspection includes a full video record, NASSCO-coded findings, and clear repair recommendations so you understand your options before any work begins. Whether you are managing a pre-purchase evaluation or addressing recurring drain problems, Ez-plumbing gives you the diagnostic clarity to act with confidence. Contact us to schedule your inspection, or explore our sewer line repair services if your report has already identified defects that need attention.
FAQ
What is the sewer line inspection process?
The sewer line inspection process involves feeding a waterproof camera mounted on a flexible push cable through a cleanout or drain access point to visually assess the interior of your sewer pipes. The camera transmits live video to a surface monitor while a distance counter and sonde transmitter log the position and surface location of any defects found.
How long does a sewer camera inspection take?
Most residential inspections take between 30 and 60 minutes, covering the full line from the home cleanout to the city connection or septic tank. Pre-cleaning for heavy blockages may add time before the camera run begins.
What are the most common sewer line issues found during inspection?
The most frequently identified problems are root intrusion, pipe cracks, grease and debris buildup, sewer bellies caused by soil settlement, and joint separation. In Los Angeles, root intrusion from ficus and pepper trees and cracking in older clay pipes are particularly common findings.
What does NASSCO PACP grading mean on my inspection report?
NASSCO PACP is a standardized defect coding system that rates each observed problem on a scale from Grade 1 (minor condition) to Grade 5 (imminent failure). These grades give you and any contractor a consistent basis for prioritizing and planning repairs.
Do I need a sewer inspection before buying a home in Los Angeles?
A pre-purchase sewer scope is strongly recommended for any Los Angeles home over 20 years old, particularly those with large trees near the sewer line or a history of slow drains. The inspection reveals hidden defects that are not visible during a standard home inspection and can significantly affect repair costs after purchase.