
Tankless Water Heater Repair: Troubleshooting and Costs
You step into the shower expecting hot water, but the unit only clicks, fires briefly, and shuts down. You reset it, try another faucet, and perhaps get lukewarm water for a moment before the same problem returns. That pattern is frustrating, but it also gives a technician useful information.
Tankless water heater repair starts with separating a simple flow restriction from an ignition fault, scale buildup, or an installation problem. A clean inlet screen may restore operation. A recurring combustion code may require a licensed plumber to test gas pressure, venting, and the original system design. The difference matters because resetting a symptom won't correct an upstream defect.
Table of Contents
- Why Your Tankless Water Heater Stops Working
- Common Tankless Water Heater Problems and Symptoms
- Safe Troubleshooting Steps You Can Try at Home
- When Installation Flaws Cause Recurring Failures
- Tankless Water Heater Repair Costs and Replacement Timelines
- Preventative Maintenance That Extends Unit Life
- Professional Tankless Water Heater Repair in Los Angeles
Why Your Tankless Water Heater Stops Working
A tankless unit doesn't store a reservoir of heated water. It responds when water moves through the system, activates the burner or heating elements, transfers heat through the exchanger, and shuts down when demand ends. That sequence makes the appliance efficient, but it also makes it sensitive to flow, pressure, water quality, gas supply, and venting.
The first broad category is flow or pressure. A clogged inlet filter, partly closed isolation valve, dirty flow sensor, or restrictive plumbing connection can keep the unit from detecting enough demand. The fixture may still produce water, but the heater may not see enough flow to ignite reliably. Rinnai troubleshooting material identifies diagnostic conditions associated with flow below 2.1 gallons per minute, while field guidance cited in the same repair context places many ignition minimums around 0.4 to 0.8 gallons per minute. The manufacturer troubleshooting reference helps technicians distinguish a flow problem from a failed burner.
Three failure patterns
Ignition and combustion faults form the second category. A weak igniter, dirty flame sensor, inadequate gas pressure, blocked intake, or poorly configured exhaust can make the unit light and then shut down. A failed control board or high-limit safety can create similar symptoms, which is why replacing parts without testing often wastes money.
Scale and debris create the third category. Mineral deposits inside the heat exchanger restrict flow and reduce heat transfer, while dirt on an inlet screen can imitate a larger mechanical failure. Annual flushing is a common maintenance benchmark, and harder-water locations may need service every 6 months to control buildup. This practical guide to water heater maintenance and repair provides useful background on why recurring service matters.
Practical rule: If a reset helps only briefly, treat the reset as a clue, not a repair.
A tankless system often fails because several components are responding to the same underlying condition. A temperature swing may come from scale, crossed plumbing, low flow, or recirculation design. A repeated ignition code may point to gas sizing or venting instead of a defective gas valve. The repair plan should identify that cause before anyone orders an expensive component.
Common Tankless Water Heater Problems and Symptoms
The visible symptom rarely identifies one part by itself. A technician begins by confirming the complaint at the fixture, reading the stored fault history, checking inlet and outlet conditions, and then testing the components involved in the ignition and heating sequence.
| Symptom | Likely Root Cause | Diagnostic Benchmark |
|---|---|---|
| No hot water | Low activation flow, failed flow sensor, ignition fault, gas-supply problem, or safety shutdown | Many units need roughly 0.4 to 0.8 GPM to ignite, according to field guidance cited in Rinnai's troubleshooting reference |
| Water turns hot, then cold | Scale restriction, unstable flow, recirculation issue, or combustion interruption | Annual descaling is a common baseline, with harder-water systems often needing service every 6 months. See independent descaling guidance |
| Temperature fluctuates | Mineral-clogged heat exchanger, crossed plumbing, flow sensor issue, or system sizing mismatch | A cited benchmark reports about 1.5 mm of scale can reduce efficiency by up to 12%, according to heat-exchanger maintenance guidance |
| Repeated error codes | Restricted flow, failed sensor, ignition problem, venting fault, gas-pressure issue, or condensate obstruction | The exact code must be matched to the brand and model. A flow-related Rinnai diagnostic condition references below 2.1 GPM |
| Clicking, popping, or rumbling | Scale inside the exchanger, burner contamination, or fan wear | Noise combined with reduced output points more strongly toward restricted heat transfer |
| Water leaking near the unit | Loose connection, relief-valve discharge, exchanger damage, or condensate drainage problem | Internal leaks require prompt professional inspection |
Codes such as E0, E1, and E2 don't mean the same thing across every manufacturer. Even within a brand, the meaning can change by model. Photograph the display, record when the code appears, and avoid clearing the history before a technician can review it.
Scale deserves particular attention because it can produce several symptoms at once. A layer cited at roughly 1.5 mm may reduce efficiency by up to 12%, while a thicker 1/8-inch layer can reduce heat transfer by about 20% to 30%, according to the independent source above. Homeowners researching broader hard water fixes should remember that treating the incoming water can reduce future buildup, but it won't remove scale already lodged in the exchanger.
A proper diagnostic sequence checks the inlet filter, isolation valves, flow sensor, gas supply, vent termination, condensate path, burner, and exchanger in an order that matches the symptom. A unit showing “no hot water” may have a failed sensor, a tripped safety, or a blocked drain. Replacing the heat exchanger first would be guesswork.
Safe Troubleshooting Steps You Can Try at Home
Start with safety, not disassembly. If you smell gas, see soot, hear unusual combustion, or find water inside the cabinet, stop testing and leave the appliance alone. Move away from the unit, avoid switches or flames if gas is suspected, and contact a licensed professional or the gas utility according to local safety guidance.
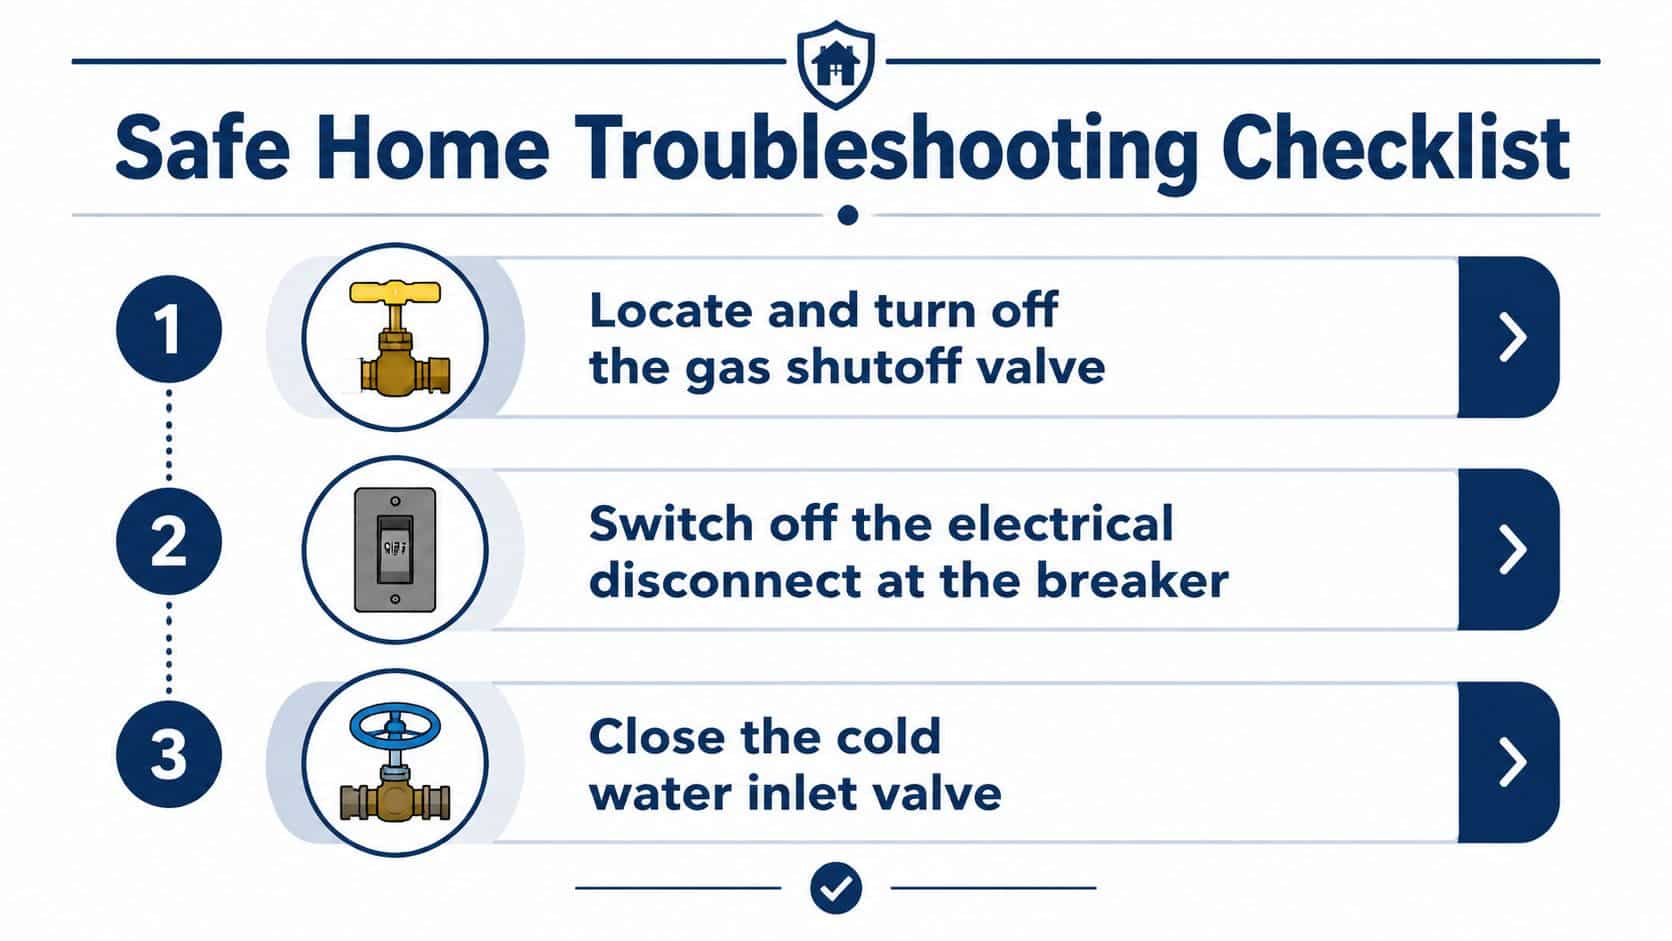
A homeowner-safe checklist
- Confirm power. Check the dedicated breaker and any visible electrical disconnect. A tripped breaker may indicate a temporary interruption, but if it trips again, don't keep resetting it.
- Confirm fuel supply. Check whether other gas appliances operate normally. Don't adjust the gas valve, regulator, manifold, or combustion settings.
- Check water valves. Make sure the cold-water isolation valve is fully open and that no service valve was left partly closed after earlier work.
- Clean the inlet screen. Follow the owner's manual, shut off the water supply first, and expect some residual water. Rinse the screen gently. If you're unsure how to isolate the unit, stop and call a plumber.
- Test flow at a fixture. Remove a clogged showerhead aerator or try another hot-water fixture. If only one outlet has trouble, the restriction may be in that fixture's plumbing.
- Inspect visible vent terminations. Look for leaves, debris, nests, or obvious obstruction outside. Don't dismantle the vent or reach into the combustion path.
- Perform the manufacturer's reset. Use the control panel procedure in the manual. Record the code before resetting because the history can help diagnosis.
You can learn the safe isolation and draining sequence from this guide on how to drain a tankless water heater, but draining is not the same as opening the combustion cabinet or servicing gas components.
What not to open
The casing protects gas controls, burners, flame sensors, electrical wiring, and combustion chambers. Leave condensate traps and internal drains closed as well. Opening the cabinet can create a shock, fire, combustion, or water-damage risk, and it may affect warranty requirements.
If the unit still fails after the external checks, call a licensed plumber. The same applies immediately to gas odor, internal leakage, repeated breaker trips, damaged venting, or a fault involving the gas valve, burner, control board, or heat exchanger.
When Installation Flaws Cause Recurring Failures
A blinking error code doesn't prove that the water heater is defective. In Los Angeles service work, a recurring fault often deserves an installation review before another component is installed. The system may have been connected to an undersized gas line, vented outside manufacturer requirements, or paired with a recirculation arrangement that creates unstable operating conditions.
The hidden causes behind repeat calls
An undersized gas line can let the appliance appear normal during light demand, then starve the burner when several fixtures call for hot water. The technician should measure operating gas pressure under load, not just confirm that a static pressure exists. A gas type mismatch or incorrect regulator arrangement can create the same misleading pattern.
Venting must also match the appliance and installation instructions. An obstructed termination, incorrect pipe material, excessive length, poor slope, or improper intake and exhaust arrangement can trigger combustion faults. On condensing systems, a blocked or missing condensate path can interrupt operation and damage surrounding components.
Recirculation creates another common blind spot. A loop without the correct check-valve arrangement can send hot water through unintended paths, confuse temperature sensing, and cause repeated cycling. Crossed hot and cold connections, bypass-valve problems, or water-pressure mismatch can produce temperature swings that look like a bad exchanger.
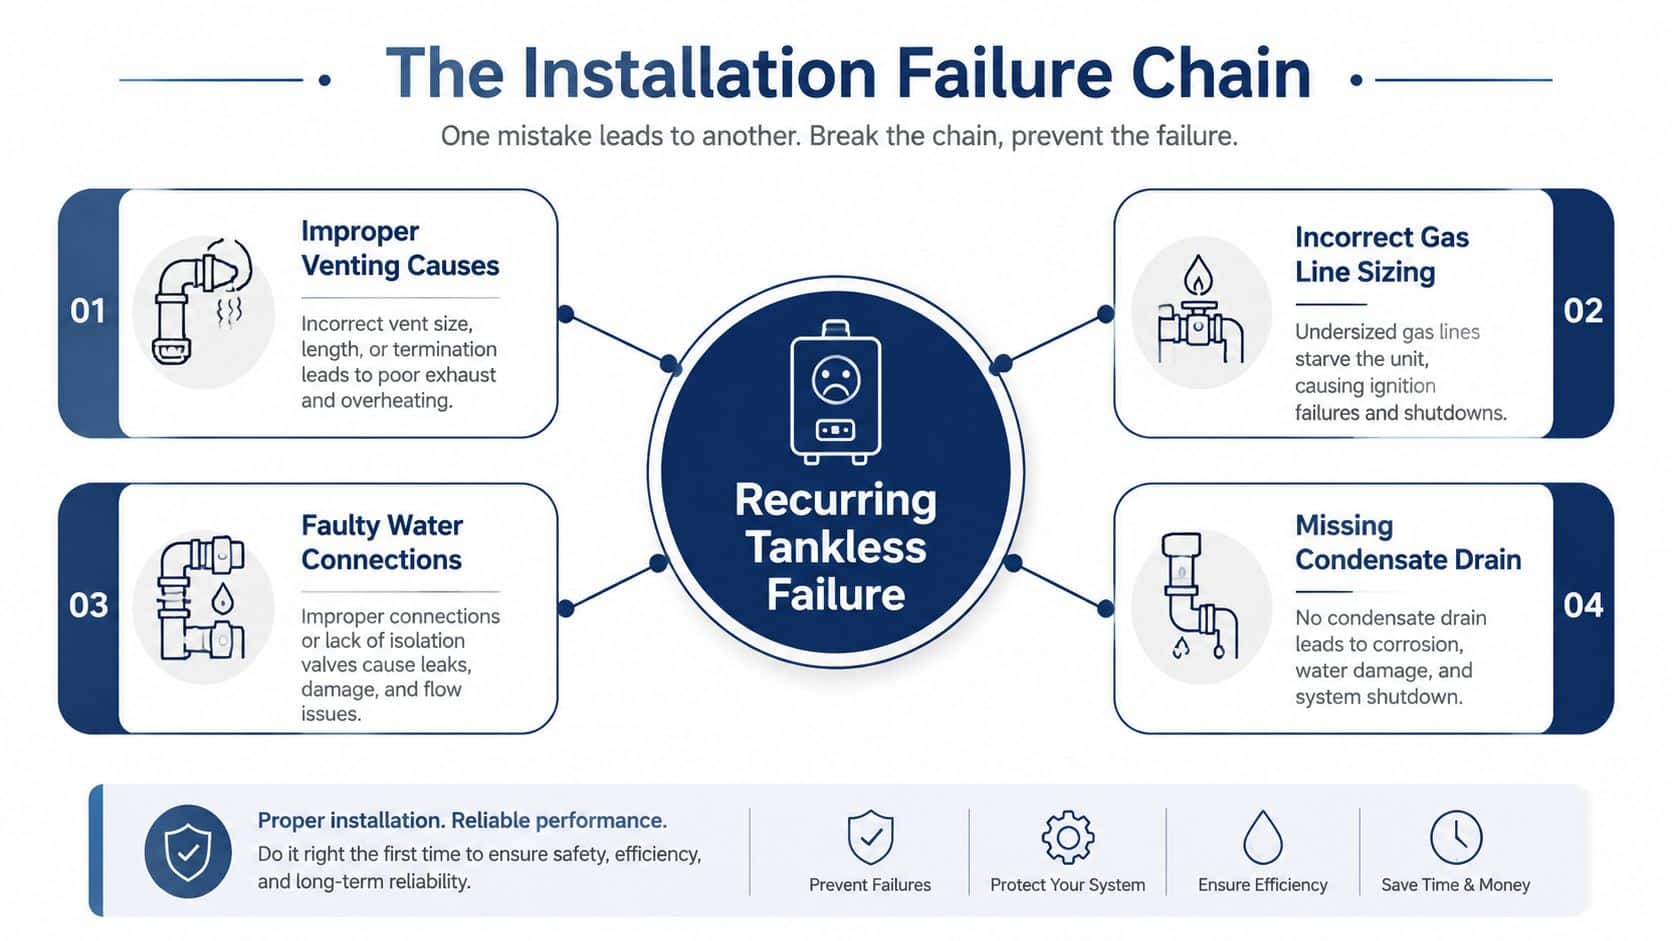
A properly commissioned installation should verify gas type, pressure, flow, venting, plumbing connections, recirculation configuration, and water hardness against the manufacturer's requirements. Independent troubleshooting guidance also emphasizes these upstream checks in this tankless water heater diagnostic resource.
If the same part fails again after replacement, stop blaming the part and inspect the conditions that made it fail.
Watch this installation-focused visual after reviewing those system checks:
A technician who only clears the code may leave the original defect untouched. A technician who tests the complete system can determine whether the appliance needs a component repair, a correction to the gas or vent system, or a redesign of recirculation and water connections.
Tankless Water Heater Repair Costs and Replacement Timelines
Repair economics depend on the failed component, access, model, parts availability, and whether the original installation needs correction. Consumer pricing guidance places tankless water heater repairs at about $150 to $1,300, with a common average near $600. This 2026 repair-cost reference notes that higher-end work is often associated with heat-exchanger repairs.
That broad range is more useful than a single advertised price. A minor sensor or connection issue may stay near the lower end, while a heat exchanger, control assembly, or combined repair and installation correction can move substantially higher. Ask whether the quote includes diagnosis, labor, parts, permits where applicable, disposal, and follow-up testing.
| Service Type | Typical Cost Range | Timeline | Warranty Coverage |
|---|---|---|---|
| Diagnostic visit and minor correction | Varies by contractor and fault | Often scheduled promptly | Depends on the part and original warranty |
| Component-level repair | Part of the broader $150 to $1,300 repair range, according to consumer repair pricing guidance | May be completed during the visit when the correct part is available | Manufacturer or contractor terms may apply |
| Heat-exchanger repair | Toward the higher end of the repair range | Depends on model and parts availability | Check exchanger and labor coverage separately |
| Full replacement | Requires a project-specific quote | Depends on venting, gas, permits, and equipment availability | New-unit warranty applies under its conditions |
The unit's unusually long service life affects the decision. Major market guidance commonly places tankless models at about 15 to 20 years, compared with roughly 8 to 12 years for conventional tank models, as summarized in this lifespan reference. A repair may make sense when the exchanger and cabinet remain sound, the installation is correct, and the manufacturer still supports the model. Replacement becomes more reasonable when failures recur, parts are difficult to source, or the repair would only preserve a flawed installation.
For a balanced look at operating trade-offs before replacing the unit, review tankless water heater pros and cons. Don't approve a replacement solely because a reset failed. First determine whether the appliance, its components, or the surrounding system caused the shutdown.
Preventative Maintenance That Extends Unit Life
Tankless maintenance works best as a scheduled task rather than a reaction to a cold shower. Published guidance commonly recommends an annual flush or descaling, while harder-water areas may require service every 6 months. The practical interval depends on mineral load, usage, inlet filtration, and the symptoms the unit develops between visits.
A workable maintenance calendar
- At regular intervals, inspect and rinse the inlet-water filter. A partially blocked screen can reduce activation flow and make the heater appear unreliable.
- Annually, schedule a professional descaling service using a manufacturer-approved solution. The technician should isolate the unit, circulate the solution through the exchanger, rinse the system, and verify operation afterward.
- For condensing models, inspect the condensate drain and neutralizing components during service. A restricted drain can interrupt operation even when the burner and exchanger are functional.
- Whenever performance changes, note reduced flow, temperature swings, new noise, or unexplained energy use. Those signs justify earlier inspection rather than waiting for the calendar.
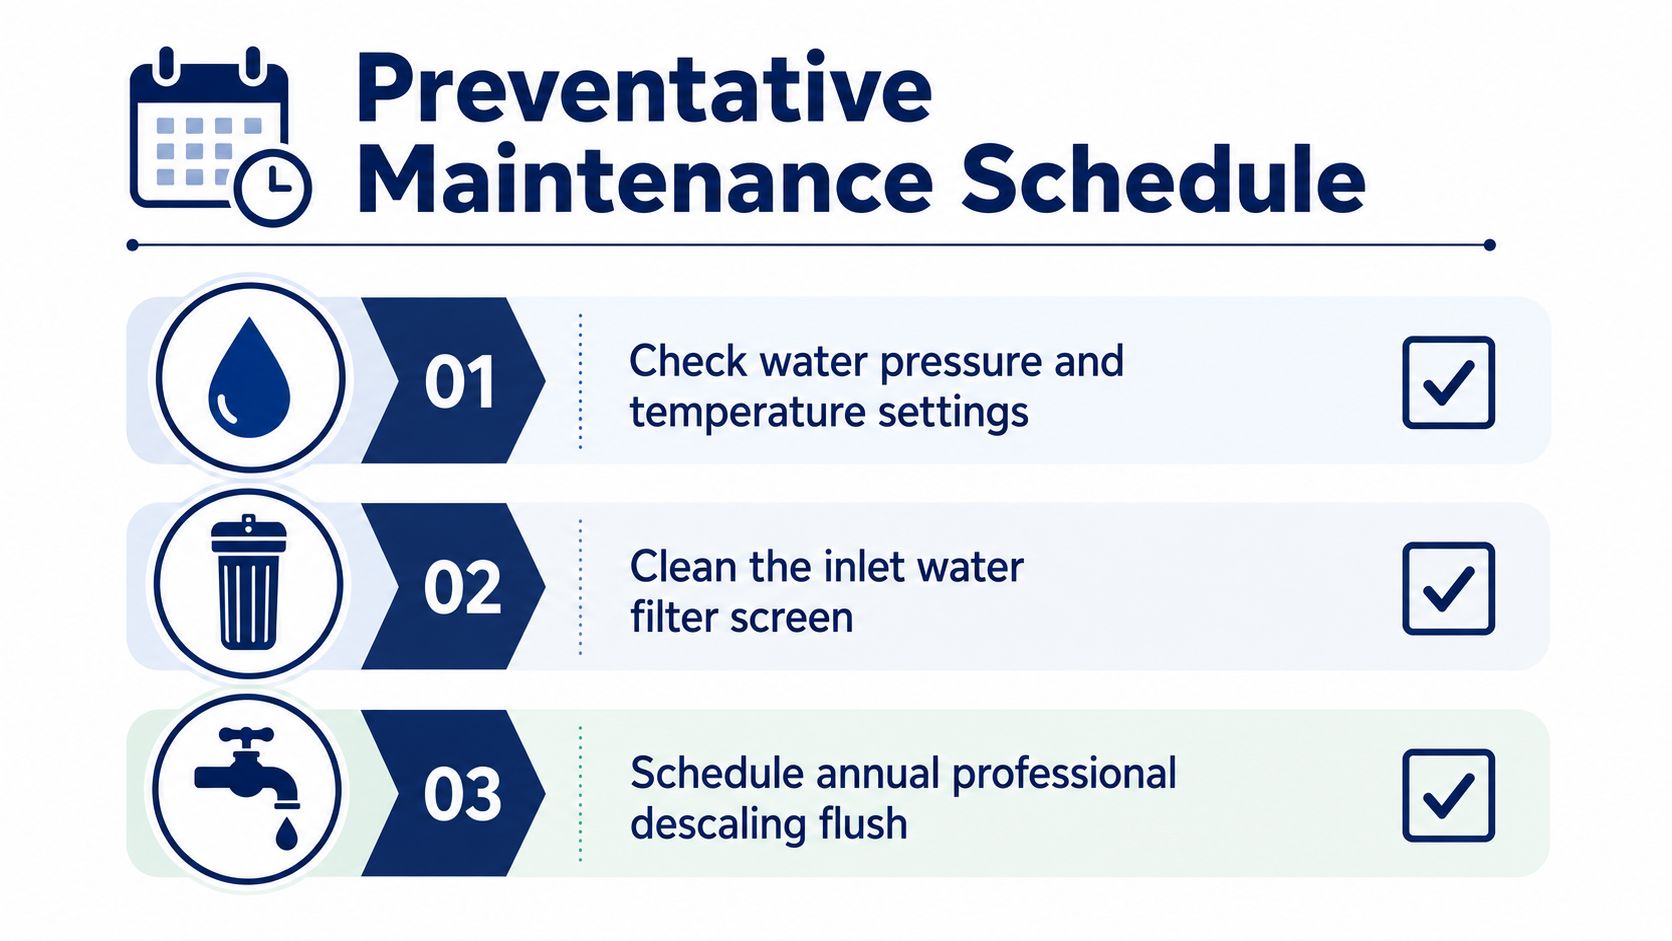
Scale can restrict the exchanger and force the burner to work harder. Independent guidance cites a 1.5 mm scale layer as capable of reducing efficiency by up to 12%, while a thicker 1/8-inch deposit may reduce heat transfer by about 20% to 30%. Those figures explain why descaling is not cosmetic, but the service interval should still follow the actual water conditions and the manufacturer's instructions.
Water treatment can help, but it doesn't eliminate service. A softener or whole-house filter may reduce incoming mineral load, while poorly managed treatment can introduce its own material-compatibility concerns. Have a plumber evaluate the water-treatment setup, exchanger material, and maintenance history together rather than assuming one device solves every scale problem.
Professional Tankless Water Heater Repair in Los Angeles
A professional repair should start with more than the displayed code. The technician should confirm the complaint, inspect the inlet filter and flow path, test operating gas pressure, examine vent integrity, check condensate drainage where applicable, and evaluate scale inside the exchanger. That process distinguishes a failed component from a design or installation issue that would otherwise cause another call.
EZ Plumbing provides tankless water heater service in Los Angeles communities including the San Fernando Valley, Westside, and surrounding areas. Its Los Angeles tankless water heater repair service addresses problems such as ignition faults, temperature changes, low flow, error codes, mineral buildup, leaks, and unexpected shutdowns.
For homeowners, property managers, and HOAs, useful service includes clear communication before work begins, an explanation of the diagnostic findings, and a written repair recommendation. A licensed plumber should also explain whether the proposed work corrects the cause or only replaces the failed part. That distinction is especially important when a unit has repeated codes or a history of premature component failures.
If the unit is under warranty, provide the model and serial information before the appointment. The technician can then determine whether authorized parts, documentation, or manufacturer procedures apply. For an emergency leak or gas concern, shut down the appropriate supply when it can be done safely and request immediate professional help.
EZ Plumbing can diagnose tankless water heater failures, correct installation-related causes, and handle repairs or descaling for Los Angeles homes and properties. Visit EZ Plumbing to request service and get a clear next step before a recurring error code becomes a larger problem.