
How to Stop a Leaky Pipe: An Emergency Guide for 2026
You walk into the kitchen, hear a drip that wasn't there yesterday, and see water collecting under the sink. Or worse, you spot a dark ring spreading across a ceiling in the middle of the night. In that moment, most homeowners do the same thing. They freeze for a second, then rush straight toward the wet spot.
That's normal. The good news is that the first response to a leaking pipe is usually simple if you stay calm and do it in the right order. The bigger issue isn't just how to stop a leaky pipe for the next hour. It's knowing when a DIY patch is reasonable, and when the leak has crossed into “stop touching it and call a plumber now” territory.
For Los Angeles homeowners, that decision matters even more in older houses, multifamily buildings, and remodel-heavy properties where one leak can travel through cabinets, walls, flooring, and neighboring units fast.
Table of Contents
- Immediate Steps to Control a Leaky Pipe
- How to Diagnose the Leak's Source and Severity
- Three Temporary Fixes to Stop a Leak Now
- Why Temporary Patches Fail and What a Permanent Repair Looks Like
- When to Skip DIY and Call a Los Angeles Plumber
- Protecting Your Property with Proactive Pipe Maintenance
Immediate Steps to Control a Leaky Pipe
The first job is not repair. The first job is control.
If water is actively escaping, shut off the nearest fixture valve if you can identify it quickly. If you can't, shut off the main water supply to the home. If you're not sure where that valve is, this guide to shutting off the main water supply helps you find the right control point before the leak gets worse.
Shut off water first
A practical emergency workflow used across repair guidance is to shut off the nearest isolation valve or the main supply, open a nearby faucet to relieve line pressure, then clean and fully dry the pipe before applying any temporary seal, as outlined in Roto-Rooter's leak repair guidance.
That order matters. Homeowners often waste time reaching for tape or putty while water is still pushing through the line. Pressurized water will keep sneaking under your repair and ruin the bond.
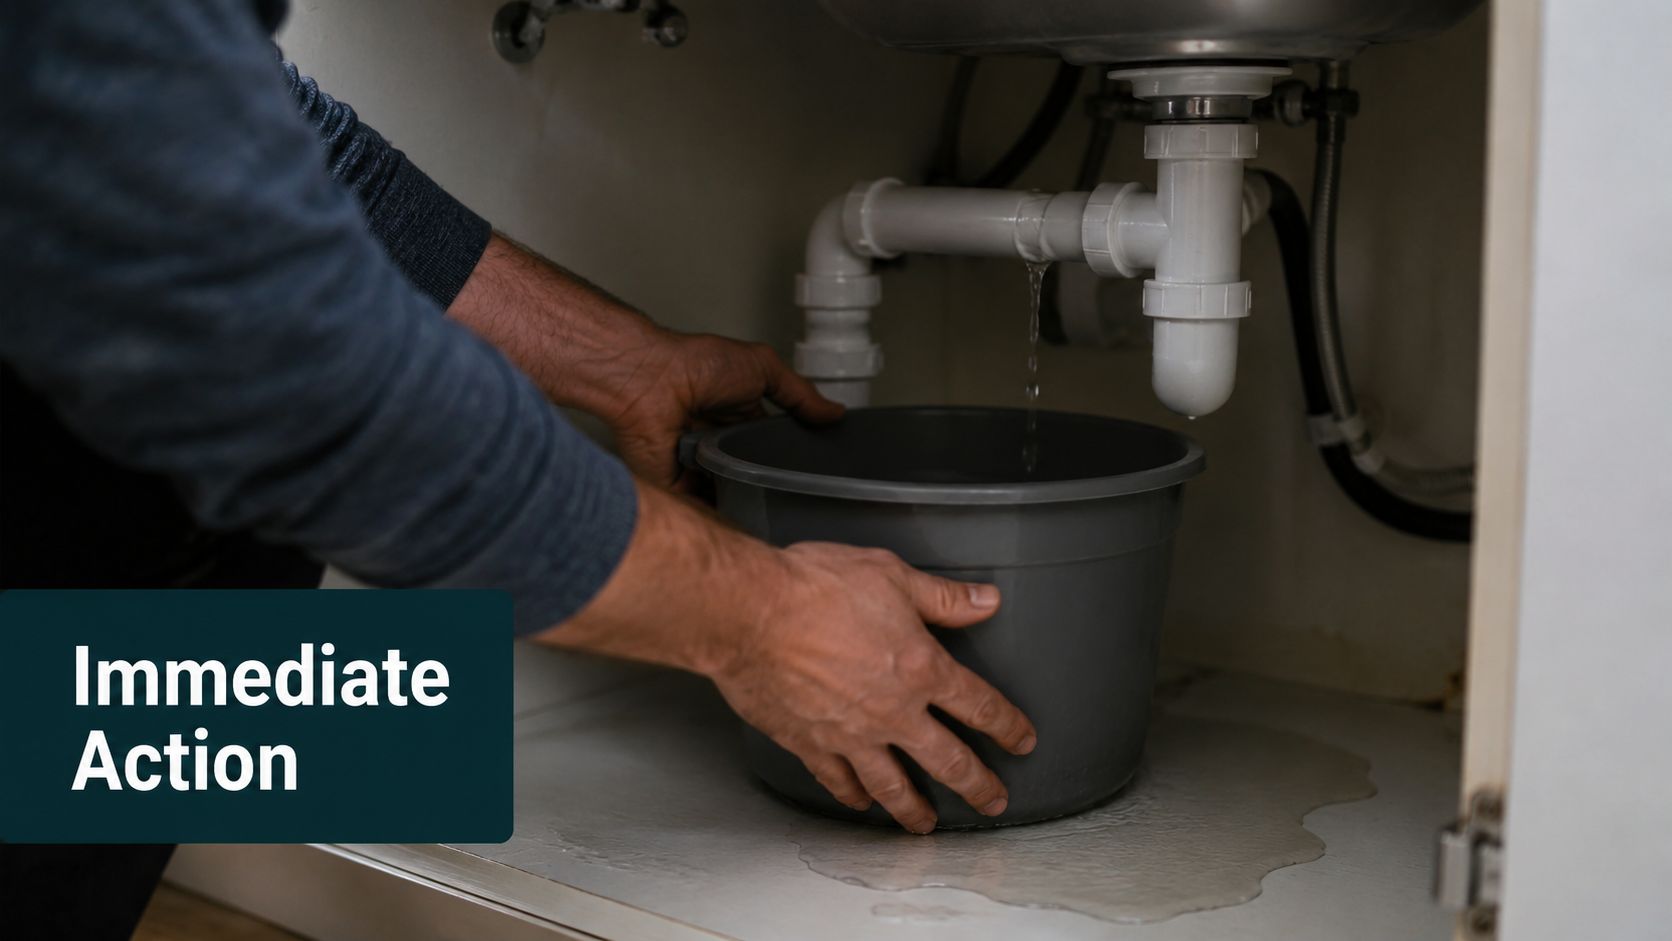
Put a bucket, roasting pan, or thick towels under the leak right away. That doesn't solve the pipe problem, but it does protect cabinet bottoms, flooring, and drywall while you get the water under control.
Check for electrical danger and relieve pressure
Before you put your hands into a wet cabinet or utility area, look for anything powered nearby. Under-sink disposals, dishwasher outlets, water heater controls, and extension cords change the risk. If water is near an outlet or appliance connection and you can't safely separate yourself from it, stop and call for help.
Then open a nearby faucet after the water is shut off. Let the line drain down. You want the pipe as empty as possible before you touch the damaged section.
Practical rule: A leak you can't dry is a leak you usually can't patch.
If the water seems to be coming from above rather than from the visible pipe, you may also be dealing with a roof entry point or water traveling from somewhere else. In that situation, it helps to compare plumbing symptoms with these actionable steps for roof leaks, because ceiling stains and wall moisture don't always start where they show up.
Once the line is depressurized, wipe the pipe clean. Remove soap residue, dust, loose paint, and moisture. If your repair area is greasy or gritty, your odds of a temporary fix holding drop fast.
How to Diagnose the Leak's Source and Severity
A good diagnosis saves time, drywall, and bad repair attempts.
Before you reach for tape or epoxy, identify two things: where the water is escaping, and whether the pipe is still safe enough for a temporary fix. That decision matters even more in Los Angeles homes with older galvanized lines, mixed-material repairs, or pipes tucked into tight walls and slab-adjacent areas. Some leaks are manageable for an hour or a day. Others are your signal to stop, contain water, and call a plumber now.
What kind of leak are you looking at
Start at the exact point where water appears to leave the system.
A leak in the middle of a straight pipe run often comes from a pinhole, corrosion spot, or impact damage. A leak at a joint, valve, or threaded connection points to a loose connection, failed seal, pipe movement, or a fitting that is starting to fail. If the crack sits right next to a fitting, take it more seriously. That area carries more stress, and temporary repairs are less likely to hold.
Then look at how the leak behaves.
- Slow, steady drip: Often a small localized failure
- Fine spray or mist: Usually pressurized damage, with a higher chance the opening will widen
- Water showing up below the pipe, but no visible opening: Water may be traveling along the pipe, cabinet, wall, or framing from another spot
- Staining, flaking, green buildup, rust, or scale: The visible leak may be only one weak point in a larger section of failing pipe
Hidden leaks are where homeowners get into trouble. If water disappears into a wall, ceiling cavity, or floor assembly, you are no longer dealing with a simple surface repair. You are assessing possible structural moisture, mold conditions, and damage you cannot see.
A simple severity check
Use this table as a quick risk filter.
| What you see | What it usually means | DIY chance |
|---|---|---|
| Slow drip from exposed straight pipe | Small localized defect | Reasonable for a temporary patch |
| Leak at a slip nut or threaded connection | Connection issue, or movement stressing the joint | Sometimes manageable if access is good |
| Crack near fitting or valve body | High-stress failure point | Low |
| Water stain with no visible pipe opening | Hidden source | Low |
| Heavy spray, widening crack, or leak that returns fast | Active pressure problem or failing pipe section | Very low |
Here is the decision point I want homeowners to be clear on. Stop your DIY attempt and call a professional immediately if you see pipe movement, a cracked fitting, water entering electrical areas, staining without a visible source, multiple corrosion spots, or a leak inside a wall, ceiling, or slab area. Those are not good candidates for a quick patch. They are warning signs that the damaged section may be larger than it looks.
If the wet spot does not match what you can see, confirm whether the system is still drawing water. This guide on how to read a water meter for leaks can help you verify whether a hidden leak is still active.
One more practical call. If you shut the water off, dry the area, and the pipe still looks twisted, split, heavily corroded, or loose at the support points, do not force a repair. That judgment is a valuable skill. In an emergency, knowing when to stop is often what prevents a small plumbing problem from turning into cabinet damage, wall repairs, or an insurance claim.
Three Temporary Fixes to Stop a Leak Now
Once the line is off, drained, and dry, you've got three common emergency options that are reliable choices for the toolbox. None is a permanent repair. All can buy time if you choose the right one for the right defect.
Many emergency repairs are meant as temporary containment, and household water pressure should generally stay around 40 to 60 psi, since higher pressure puts extra stress on joints and fittings that often trigger leaks, as noted in this pipe leak guidance from Harvey Water Softeners.
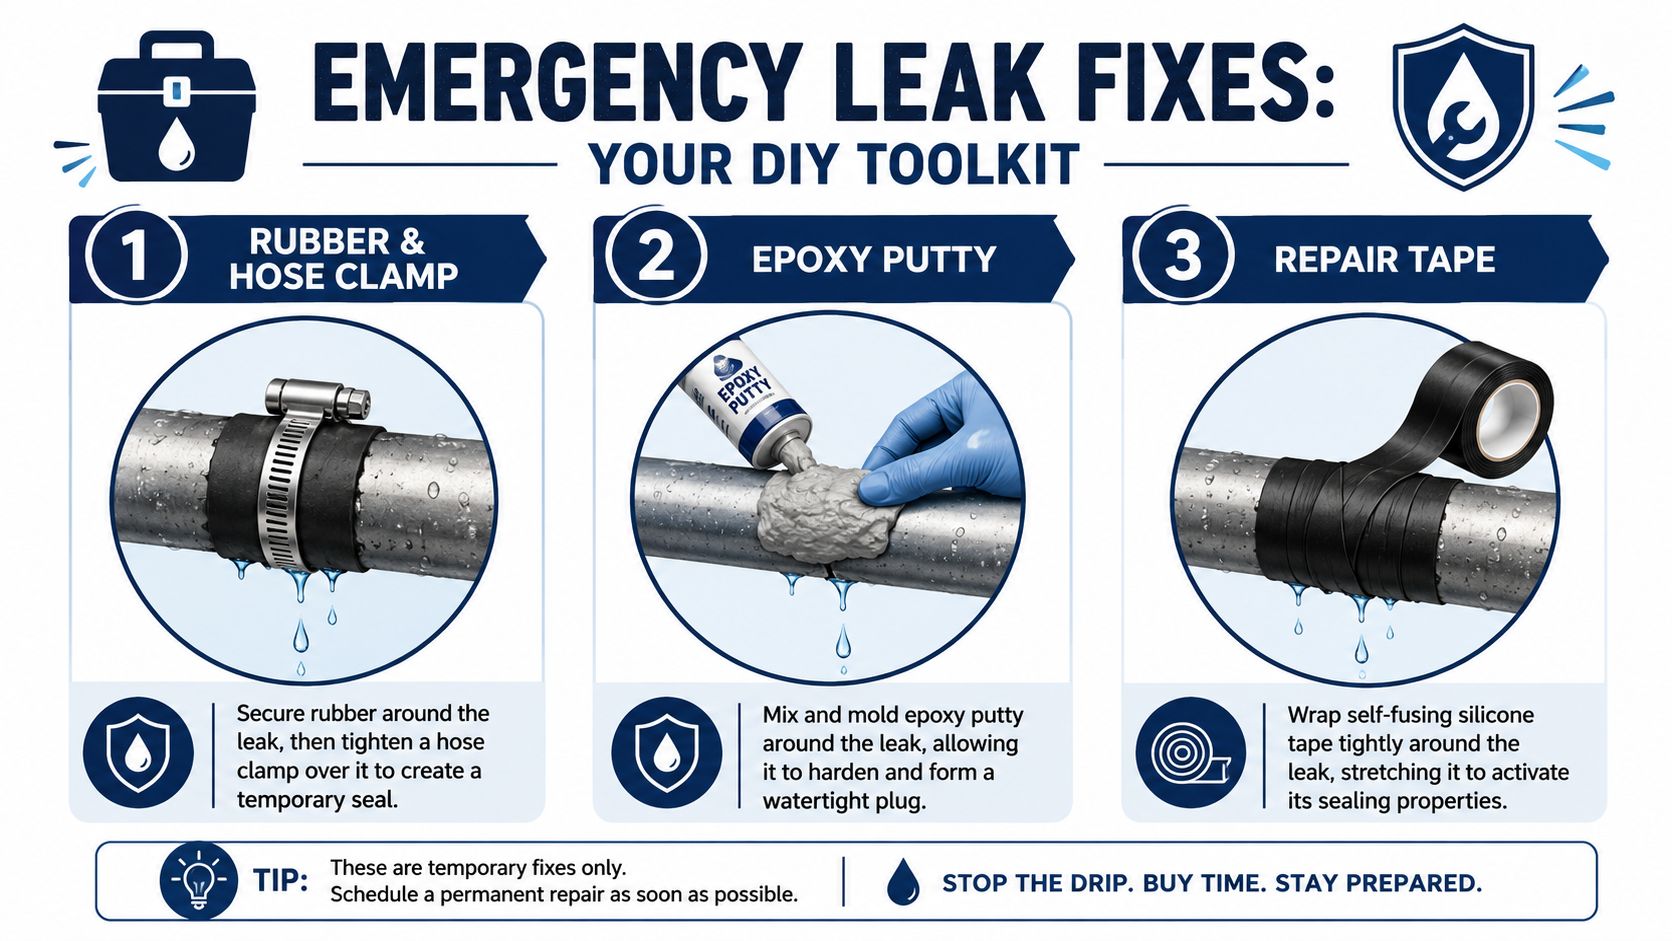
Use a clamp when pressure is the problem
A repair clamp is the strongest of the common temporary fixes for a small hole or hairline split on exposed pipe.
What works:
- Rubber against the leak: The rubber gasket or patch needs to sit directly over the damaged area.
- Even compression: Tighten the clamp evenly so the force is centered.
- Solid pipe around the defect: A clamp needs enough healthy pipe on both sides to grab.
What doesn't:
- Trying to clamp crushed pipe
- Using a clamp over a fitting
- Ignoring sharp burrs or rough edges that can cut the rubber
If the pipe is still round and the leak is localized, a clamp gives you a mechanical seal instead of relying only on chemistry.
Use epoxy putty for cracks and irregular damage
Epoxy putty is useful when the damage isn't perfectly shaped and you need to mold material into a small crack, pinhole, or rough spot.
The trick is surface prep. Sand or roughen the area if the product allows it, wipe away residue, and press the putty firmly around and over the defect. Feather the edges onto sound pipe so the patch has something to grip.
Use epoxy when:
- The leak is small and accessible
- You can keep the area dry while it sets
- The pipe wall still feels structurally solid
Don't use it when the pipe is flexing, crumbling, or wetting back through the repair area right away.
Use self-fusing silicone tape on small leaks and joints
Self-fusing silicone tape works differently from standard adhesive tape. It bonds to itself, not the pipe, so technique matters more than people expect.
Wrap it under tension. Start over the leak, overlap each pass, and extend the wrap well beyond the damaged spot on both sides. The stretch creates the compression. Loose wrapping usually fails.
Standard household tape is not a plumbing repair. It peels, shifts, and traps moisture.
This is the lightest-duty of the three options, but it can help on very small leaks and awkward spots where a clamp won't fit and putty isn't ideal.
A good emergency kit for homeowners usually includes a stainless repair clamp, self-fusing silicone tape, two-part epoxy putty, sandcloth, nitrile gloves, a rag, and an adjustable wrench. That kit won't solve every leak, but it gives you a real shot at containment.
Why Temporary Patches Fail and What a Permanent Repair Looks Like
A stopped drip feels like success. In one sense, it is. You've limited damage and bought time.
It still isn't fixed.
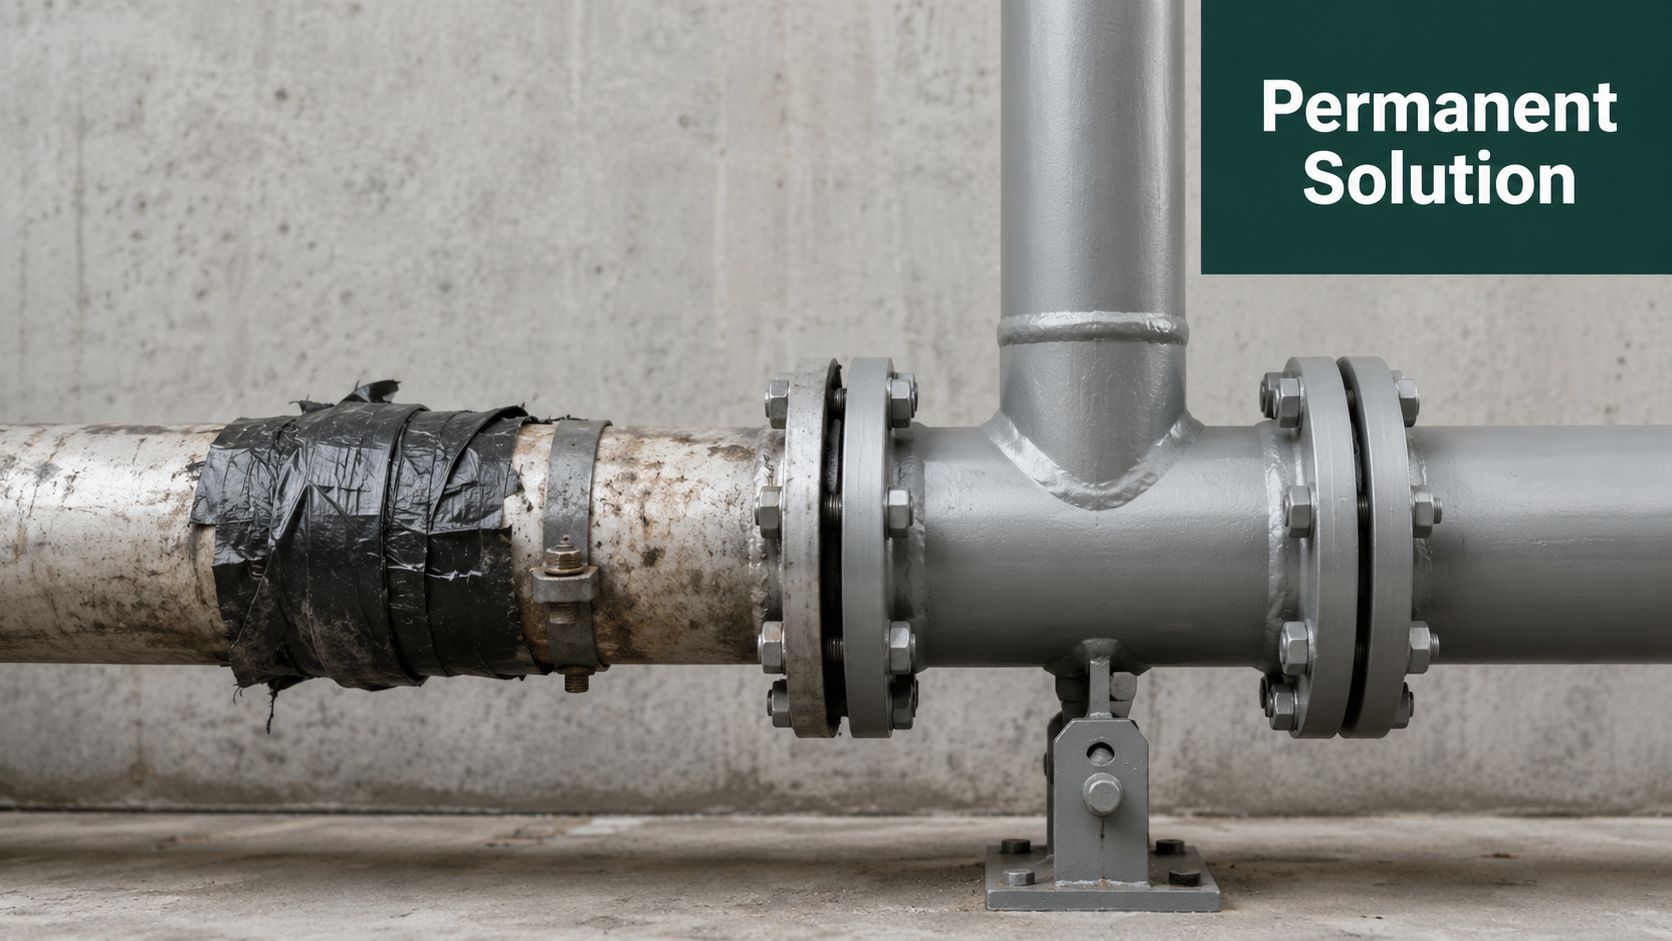
Professional repair practice treats tape, putty, and clamps as stopgaps because the most reliable permanent solution is usually replacing the damaged pipe section, not patching over it, as discussed in this professional repair reference on permanent pipe fixes.
Why a patch holds today and fails later
Temporary repairs fail for predictable reasons.
- The pipe keeps moving: Pressure changes every time fixtures open and close.
- The surface was never ideal: A little residue, a damp spot, or a rough edge is enough to weaken the seal.
- The visible leak wasn't the full problem: Corrosion often extends beyond the one wet spot you can see.
- The wrong repair got matched to the wrong defect: Tape on a widening crack, or putty on pipe that should have been clamped, won't last.
That's why a patch can hold through the evening and fail the next morning. The patch didn't betray you. It was doing a temporary job on a permanent problem.
What a real repair involves
A permanent repair usually means isolating the damaged section, removing compromised material, and installing sound pipe and fittings in its place. The exact method depends on the system. Copper, PEX, galvanized steel, and drain lines all require different tools and joining methods.
A plumber also checks whether the leak is isolated or a symptom. If a section failed from age, pressure stress, or corrosion, nearby areas may be close behind.
Here's a useful visual example of how professionals approach replacement and repair work in the field:
A temporary patch answers one question. “How do I stop water right now?”
A permanent repair answers the real one. “Why did this pipe fail, and what has to be replaced so it doesn't happen again?”
That difference matters in walls, ceilings, slab-adjacent runs, and older Los Angeles properties where one bad section can be part of a larger aging system.
When to Skip DIY and Call a Los Angeles Plumber
This is the decision point most homeowners need. Not every leak deserves a second trip to the hardware store.
Some leaks are manageable. Others are warnings.

Red flags that change the decision immediately
Stop your DIY attempt and call a plumber right away if any of these are true:
- The leak is inside a wall, ceiling, or floor: You can't judge the full spread or source from the stain alone.
- The pipe is bulging, badly corroded, flaking, or split near a fitting: That points to structural weakness, not just a simple hole.
- Water is spraying aggressively or the patch won't hold after proper prep: The line condition or pressure problem is beyond a basic containment fix.
- The leak involves a water heater, gas line area, or major shutoff assembly: Those systems carry higher consequences if handled wrong.
- You can't safely isolate electricity from the wet area: Water and energized equipment are where DIY should end.
A practical call-now framework
Use this framework in order.
- Can I shut it off safely? If no, call.
- Can I clearly see the damaged section? If no, call.
- Is the pipe itself solid enough to hold a temporary repair? If no, call.
- Do I trust my repair enough to leave the area unattended? If no, call.
If you reach that point in Los Angeles, EZ Plumbing's emergency plumber service is one local option for active leaks, hidden pipe failures, and urgent containment when a temporary DIY repair isn't the right move.
The same judgment applies in other parts of the house too. Homeowners often push too far on exterior repairs because the leak looks simple from the surface. If you want a good example of where DIY has limits, this piece on expert DIY roofing advice is worth reading. The principle is the same. Quick access doesn't always mean low risk.
A smart homeowner doesn't try to win every repair alone. A smart homeowner knows when the downside of being wrong is too expensive.
Protecting Your Property with Proactive Pipe Maintenance
A lot of bad water damage starts with a leak that gave small warnings for weeks.
In Los Angeles, I'd pay close attention to any home with older supply lines, past patch jobs, hard water buildup, or unexplained stains under sinks and around appliance connections. Preventive maintenance is not about doing more work than you need. It is about spotting the kind of pipe condition that should never be left to a future emergency.
The goal is simple. Catch the problems that turn a manageable repair into a call-now situation.
What to check before the next leak happens
Walk the house and look at the exposed sections that are easiest to ignore during normal life.
- Check for corrosion and mineral buildup: White crust, green staining, rust, and pitting around fittings usually mean the pipe or connection is aging out.
- Look for past leak history: Water marks inside cabinets, swollen base material, stained drywall, and old repair tape tell you the line may have failed before.
- Watch for movement at startup and shutoff: Pipes should stay supported. If they jump, knock, or twist when a fixture runs, the stress is going somewhere.
- Inspect appliance and heater connections closely: Laundry hoses, water heater connectors, and shutoff valves often show wear before a pipe in the wall does.
- Treat any temporary patch as a countdown, not a cure: A clamp or tape repair buys time to plan the proper fix. It should not become part of the plumbing system.
This is also where homeowners need a clear stop point. If you see active corrosion on multiple sections, moisture coming from inside a wall or slab, recurring leaks in the same area, or damage around a main shutoff or water heater connection, stop planning a weekend DIY repair and schedule a licensed plumber. Those are signs the problem is larger than the drip you can see.
A simple maintenance habit helps. Know where each shutoff is. Open the cabinets where plumbing lives once in a while. Put your hand on the pipe insulation near suspicious spots and check for dampness. If something looks worse from one month to the next, act on it then, not after the line lets go.
Keep a small leak kit at home if you want to limit damage in an emergency. Just be honest about what that kit can and cannot do. Homeowners who avoid major repair bills are usually not the ones who try to fix everything themselves. They are the ones who recognize early warning signs, protect the house fast, and call for permanent repair before water reaches drywall, flooring, or framing.
If you need help from a licensed local team, EZ Plumbing handles leaky pipe diagnosis, emergency shutoffs, leak detection, and permanent pipe repair for Los Angeles homes, HOAs, and property managers.