Kitchen Plumbing Tips Every Homeowner Should Know
Effective kitchen plumbing tips are defined as the preventive practices and repair techniques that keep your sink, faucet, and drain system running without costly breakdowns. Professional kitchen sink repairs average $330, and neglected issues can push that figure past $950. Most of those costs are avoidable. With the right plumbing maintenance advice, a basin wrench, some plumber’s putty, and braided supply hoses on hand, you can handle the majority of common kitchen leaks and minor repairs yourself. This guide covers the practical steps that protect your kitchen plumbing and your wallet.
1. Inspect under the sink every month
The space under your kitchen sink is where most common kitchen leaks start and go unnoticed the longest. Pull everything out of that cabinet once a month and look for moisture on the cabinet floor, white mineral deposits on pipe joints, or soft spots in the wood. A slow drip from a supply hose connection or P-trap joint can saturate the cabinet base over weeks before you notice any visible damage. Catching it early means a $5 washer replacement instead of a $400 cabinet repair.
Pay attention to the braided stainless supply hoses connecting your faucet to the shut-off valves. These hoses degrade over time, and a burst supply hose can flood a kitchen in minutes. Replace them every five to seven years as standard plumbing maintenance, even if they look fine on the outside.
2. Use a sink strainer without exception
A mesh sink strainer is the single lowest-cost item that prevents the most expensive drain problems. It catches food scraps, coffee grounds, and fibrous debris before they enter the drain line. Drain clogs most often result from grease, fibrous foods, and coffee grounds accumulating inside the pipe. A strainer costs under $10 and eliminates the majority of that risk.
Clean the strainer after every meal prep session. A clogged strainer that you ignore defeats its purpose entirely. If your current strainer basket leaks around the drain opening, the fix is usually a fresh application of plumber’s putty. Leaking strainer baskets most often result from failed putty seals, not cracked hardware.
3. Never pour grease down the drain
Grease is the most destructive substance your kitchen drain encounters. It flows down as a liquid when hot, then solidifies on the pipe walls as it cools, narrowing the drain opening with every pour. Over months, that buildup traps food particles and creates a blockage that a plunger cannot clear. Enzyme-based drain cleaners like Bio-Clean or Green Gobbler can break down organic grease buildup, but prevention is far more effective than treatment.
Pour cooled grease into a sealed container and dispose of it in the trash. For pans with residual grease, wipe them with a paper towel before washing. This one habit alone extends the life of your drain line significantly.
4. Clean drains monthly with baking soda and vinegar
Monthly use of baking soda and vinegar prevents drain clogs without corroding your pipes, unlike chemical drain cleaners that degrade PVC and older galvanized pipe walls. Pour half a cup of baking soda down the drain, follow with half a cup of white vinegar, let the mixture fizz for 15 minutes, then flush with a full kettle of hot water. This process breaks down soap scum and light organic buildup before it becomes a blockage.
Avoid products like Drano or Liquid-Plumr for routine maintenance. They work on acute clogs but cause long-term pipe damage with repeated use. The baking soda and vinegar method is safe for all pipe materials, including the older cast iron drains common in Los Angeles homes built before 1970.
Pro Tip: Add a tablespoon of salt to the baking soda before pouring it in. The abrasive texture helps scrub the pipe walls as the mixture works.
5. Clean faucet aerators every three months
Low water pressure at your kitchen faucet is almost always a clogged aerator, not a pipe problem. Cleaning faucet aerators restores water pressure without any plumbing replacement. Unscrew the aerator from the faucet tip by hand or with channel-lock pliers wrapped in tape to protect the finish. Soak it in white vinegar for 30 minutes to dissolve mineral deposits, then rinse and reinstall.
In Los Angeles, hard water accelerates mineral buildup inside aerators. If you are on a municipal water supply in the San Fernando Valley or South Bay, quarterly cleaning is the right interval. Aerators cost $3 to $8 to replace if cleaning does not restore full flow.
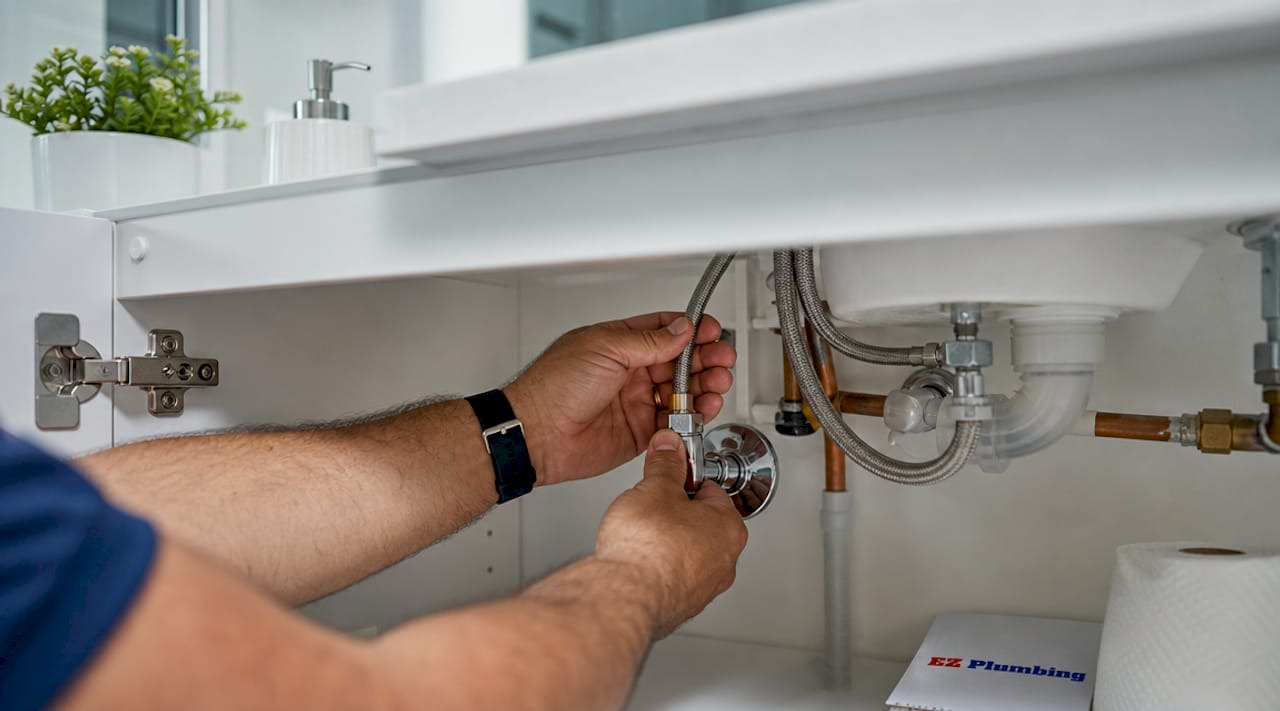
6. Know where your shut-off valves are before you need them
Every kitchen sink repair starts with turning off the water supply. Many older homes lack dedicated sink shut-off valves, which means a faucet replacement requires shutting off the main water supply to the entire house. Locate your shut-off valves now, before a leak forces you to find them under pressure. Test each valve by turning it clockwise until it stops, then verify the water is off at the faucet.
If a shut-off valve is corroded, stiff, or leaking at the stem, replace it before starting any other repair. A valve that fails mid-repair turns a simple faucet swap into a flooded kitchen. Ball valves are more reliable than older gate valves and are the current standard for under-sink installations.
7. Troubleshoot slow drains before they become full clogs
A slow drain is a warning, not an inconvenience. Address it within a week of noticing it. Start with a cup plunger, not a flange plunger, which is designed for toilets. Cover the drain opening completely, add enough water to submerge the plunger cup, and use 10 to 15 firm plunges. This dislodges most soft blockages caused by soap and food buildup.
If the plunger does not clear the drain, use a hand-operated drain snake, also called a drain auger, to reach deeper into the pipe. Feed the cable in slowly and rotate it as you push. Avoid using a powered auger on kitchen drain lines without experience, as the torque can crack older PVC fittings. For persistent slow drains, Ez-plumbing’s professional drain cleaning service uses hydro-jetting to clear buildup that manual tools cannot reach.
8. Replace worn faucet washers to stop drips
A dripping kitchen faucet is not a cosmetic issue. A faucet dripping once per second wastes roughly 3,000 gallons of water per year, according to the EPA. The fix for a compression-style faucet is almost always a worn rubber washer at the base of the stem. Turn off the water supply, remove the handle with a Phillips screwdriver, unscrew the packing nut, pull the stem, and replace the washer at the bottom. The entire repair takes under 30 minutes with basic tools.
For ball-type or cartridge faucets, brands like Moen and Delta sell complete repair kits that include every component likely to wear out. Using the manufacturer’s kit rather than generic parts prevents fit issues and repeat repairs.
Pro Tip: Take the old washer to the hardware store with you. Washer sizes are not standardized, and matching by sight is faster and more accurate than guessing by faucet brand.
9. Install and vent drain components correctly
When replacing a P-trap or drain assembly, dry-fitting all components before final tightening prevents misaligned connections that leak. Lay out every piece, connect them loosely, check that the P-trap sits level and the outlet pipe slopes slightly downward toward the wall, then tighten. A P-trap that sits too high traps water above the outlet and causes slow drainage.
Proper venting is equally important. Air admittance valves (AAVs) provide a code-compliant venting solution when running a new vent stack is not practical. An AAV must be installed above the trap weir and remain accessible for inspection. Without proper venting, your kitchen drain will gurgle, drain slowly, and allow sewer gas into the kitchen.
One detail that causes most DIY drain leaks: the beveled edge of slip-joint washers must face the fitting, not away from it. Incorrectly oriented washers are the most common source of leaks after a drain reassembly.
10. Prepare your kitchen plumbing for seasonal changes
Insulating exposed pipes before winter prevents frozen and burst pipes, which are among the most expensive plumbing failures a homeowner can face. In Los Angeles, this applies primarily to pipes in uninsulated garage spaces or exterior walls in hillside homes where temperatures drop below 40°F during winter nights. Foam pipe insulation sleeves from Home Depot or Lowe’s cost under $1 per foot and install without tools.
Spring is the right time to flush your water heater tank to remove sediment buildup. Sediment accumulation reduces heating efficiency and shortens tank life, directly affecting the hot water supply to your kitchen. Flushing the tank annually is a 20-minute task that extends heater life by years. Ez-plumbing’s water heater installation guide covers the full flushing procedure and when replacement makes more sense than maintenance.
A simple home maintenance calendar with quarterly plumbing checks prevents the majority of emergency repair calls. Schedule aerator cleaning, drain treatments, and under-sink inspections on the same day each season so none of them get skipped.
11. Recognize when to call a licensed plumber
DIY kitchen plumbing covers a defined range of tasks: replacing washers, clearing soft clogs, cleaning aerators, and swapping supply hoses. Beyond that range, the risk of making a problem worse increases significantly. Call a licensed plumber when you see water stains on the ceiling below a kitchen, when a shut-off valve fails to stop water flow, when you smell sewer gas near the sink, or when a drain stays slow after snaking. These are signs of issues inside the wall, under the slab, or in the main drain line that require camera inspection or hydro-jetting equipment.
For Los Angeles homeowners, common plumbing problems in older homes often involve galvanized corrosion in supply lines or deteriorating clay sewer laterals, neither of which is a DIY repair. Knowing the boundary between a manageable fix and a professional job protects both your home and your budget.
Key takeaways
Consistent preventive maintenance is the most cost-effective kitchen plumbing strategy, reducing emergency repair costs and extending the life of fixtures, drains, and supply lines.
| Point | Details |
|---|---|
| Prevention beats repair | Monthly inspections and drain treatments cost almost nothing compared to a $330 to $950 repair bill. |
| Grease is the primary drain threat | Never pour grease down the drain; use enzyme cleaners and natural methods for routine maintenance. |
| Shut-off valve knowledge is critical | Locate and test your valves before starting any repair to avoid flooding during the job. |
| Correct assembly prevents leaks | Orient slip-joint washers correctly and dry-fit drain components before final tightening. |
| Seasonal care protects the system | Insulate pipes before winter and flush the water heater each spring to prevent costly failures. |
What years of kitchen calls have taught us
After handling hundreds of kitchen plumbing service calls across Los Angeles, the pattern is consistent. The homeowners who call us with the largest repair bills are not the ones who attempted DIY repairs and made mistakes. They are the ones who noticed a slow drain or a drip under the sink three months ago and decided to deal with it later.
A slow drain that costs $150 to clear professionally becomes a $600 hydro-jetting job with camera inspection once the blockage fully closes off. A dripping faucet that costs $40 in parts becomes a $280 faucet replacement when the seat corrodes from constant moisture. The math on preventive maintenance is not subtle.
The tools that make the biggest difference for homeowners are not expensive. A basin wrench for reaching faucet mounting nuts in tight spaces, a set of channel-lock pliers, and a hand drain snake handle 80% of the kitchen plumbing tasks you will ever face. Brands like Ridgid and Irwin make durable versions of both for under $60 combined. Pair those with a plumbing maintenance checklist and you have a system that prevents most emergency calls.
The one thing I would tell every homeowner: learn where your main water shut-off is and make sure it actually works. We have seen situations where a burst supply hose caused significant water damage simply because the homeowner could not find the shut-off in time. That is a five-second fix that prevents a five-figure insurance claim.
— EZ
When Ez-plumbing can help

When a kitchen plumbing problem goes beyond what a wrench and a drain snake can solve, Ez-plumbing is ready to step in. We serve the greater Los Angeles area with licensed, insured plumbing services including professional drain cleaning and clog removal, leak detection for hidden under-sink and in-wall leaks, and water heater installation and maintenance. Our technicians are C-36 licensed (License #583868) and code-compliant with all LA municipal requirements. If your kitchen drain is slow, your faucet keeps dripping after a washer replacement, or you suspect a leak inside the wall, contact Ez-plumbing for a professional inspection and a clear, honest assessment.
FAQ
How often should I clean my kitchen drain?
Use a baking soda and vinegar treatment monthly to prevent buildup, and avoid pouring grease or fibrous food waste down the drain entirely. Natural cleaning agents are safe for all pipe types and prevent the buildup that leads to costly clogs.
What causes low water pressure at my kitchen faucet?
Low pressure at a single faucet almost always points to a clogged aerator screen blocked by mineral deposits. Unscrew the aerator, soak it in white vinegar for 30 minutes, and reinstall. If pressure remains low after cleaning, the issue may be in the supply line or shut-off valve.
When should I replace kitchen supply hoses?
Replace braided stainless supply hoses every five to seven years, even if they show no visible damage. Older rubber-core hoses degrade internally before showing exterior wear, and a burst hose can flood a kitchen in minutes.
Can I fix a leaking P-trap myself?
Yes. A leaking P-trap is one of the most straightforward kitchen sink repairs. Tighten the slip-joint nuts by hand first, then a quarter turn with pliers. If the leak continues, replace the slip-joint washers, making sure the beveled edge faces the fitting for a proper seal.
How do I know if my kitchen drain needs professional service?
If a drain stays slow after plunging and snaking, or if you hear gurgling from the drain when water runs elsewhere in the house, the problem is likely deeper in the drain line or related to venting. These conditions require professional diagnosis, typically with a camera inspection or hydro-jetting equipment.