
DIY Garbage Disposal Repair: Fast Fixes for LA Homes
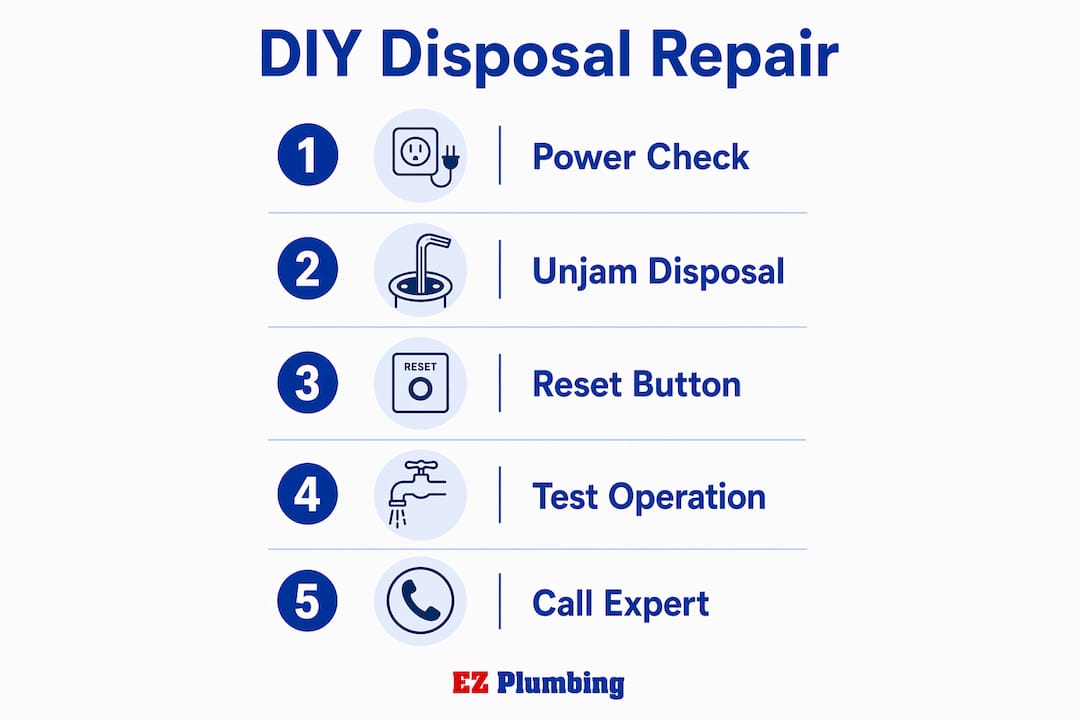
Most garbage disposal problems come down to three quick checks: confirm power is reaching the unit, press the red reset button on the bottom of the disposal, and insert a 1/4-inch Allen wrench into the hex port underneath to free a jammed flywheel. Those three steps resolve the majority of cases, usually in under 10 minutes without the need for a plumber. Stop immediately, however, if the reset button repeatedly pops back out after you press it, if you detect a burning smell, or if water is dripping from the bottom of the unit. Those are signs of motor failure or internal seal damage that require a licensed plumber.
Safety rule, non-negotiable: kill power at the wall switch and unplug the unit (or trip the breaker) before touching anything. Never place your hands in the grinding chamber under any circumstance. Use tongs or pliers to retrieve objects.
- Confirm power: wall switch on, unit plugged in, GFCI outlet not tripped, breaker not tripped
- Press the reset button firmly until it clicks
- Insert a 1/4-inch Allen wrench into the bottom hex port, work it back and forth until the flywheel turns freely, then remove debris with tongs
For property managers: if the disposal is silent, hums, or leaks from the bottom, run this checklist before dispatching a technician. Most issues resolve in under 10 minutes.
Table of Contents
- What to check first when your disposal won’t turn on
- Tools to have and safety steps before you start
- How to fix the most common disposal failures
- When to stop DIY and call a licensed plumber
- What does disposal repair actually cost in Los Angeles?
- Preventive maintenance that keeps your disposal running longer
- Key Takeaways
- When we recommend DIY and when we recommend calling Ez-plumbing
- Licensed disposal repair and drain service from Ez-plumbing
- Sources and further reading
What to check first when your disposal won’t turn on
A dead or silent disposal almost always has a power problem, not a mechanical one. Work through this sequence before assuming the motor has failed.
- Confirm the wall switch is actually on and hasn’t been bumped off.
- Check that the power cord is plugged into the outlet under the sink. Joseph Wade, vice president of operations at Benjamin Franklin Plumbing, notes that disposals are surprisingly easy to unplug from their under-sink outlet during cabinet cleaning or other work.
- Look for a GFCI outlet under the sink. Press its center reset button. Many disposal outlets are GFCI-protected for water safety, and a tripped GFCI is one of the most common hidden causes of a “dead” unit.
- Test the outlet by plugging in a phone charger or lamp. No power means the outlet or switch needs attention.
- Go to your electrical panel and check for a tripped breaker. Flip it fully off, then back on.
- Press the red reset button on the bottom of the disposal firmly until it clicks, then test again.
Pro Tip: Check the under-sink cord and the GFCI outlet before you ever open the breaker panel. Those two checks solve the problem more often than any other step.
Distinguishing between “no sound at all” and “humming” matters here. No sound points to a power issue. A hum means the motor has power but the flywheel is stuck, which is a different fix entirely.
Tools to have and safety steps before you start
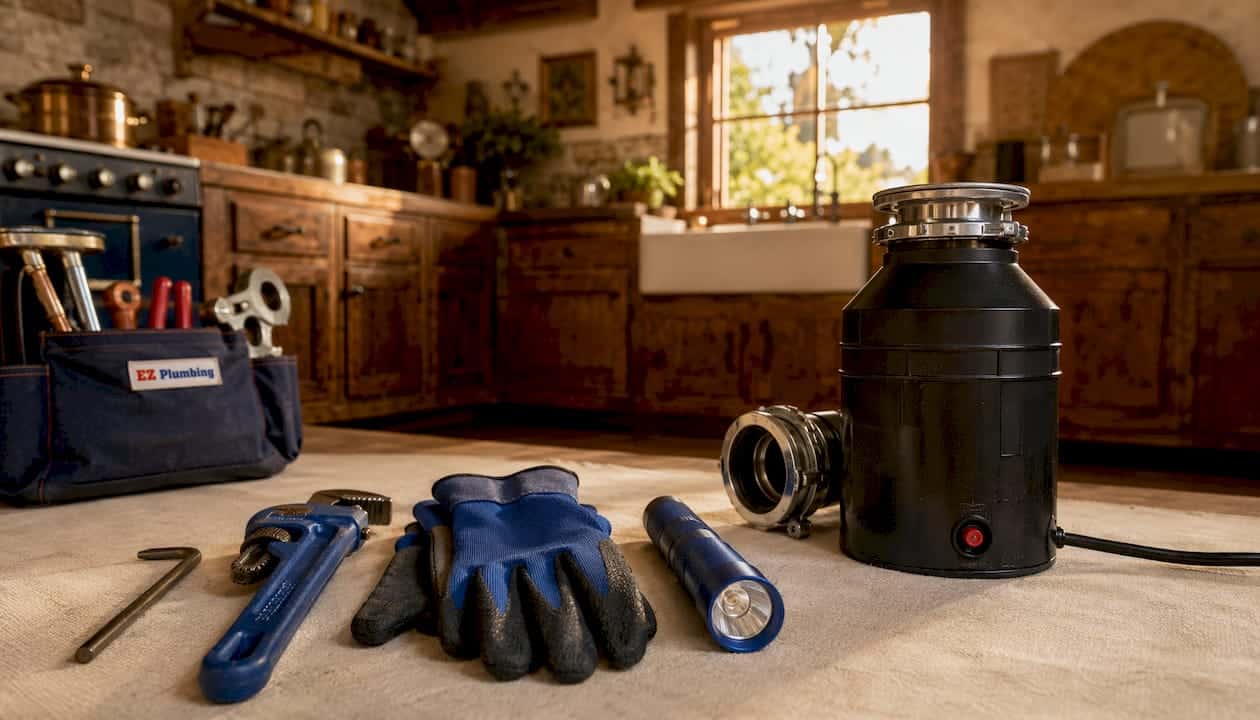
Gather these before you open the cabinet:
- 1/4-inch Allen/hex wrench (or the OEM wrench that shipped with the unit)
- Flashlight
- Long-handled tongs or needle-nose pliers
- Sink-specific plunger (not a toilet plunger)
- Bucket
- Work gloves
- Flathead and Phillips screwdrivers
Power safety is the step most homeowners skip. Turn off the wall switch, unplug the unit from the outlet, and if the unit is hardwired, trip the dedicated breaker and label it so no one in a shared building resets it while you’re working. InSinkErator’s manufacturer guidance is explicit: do not place your hand in the grinding chamber at any time, even when the unit is powered off. Use tongs or pliers to reach inside.
Pro Tip: A toilet plunger won’t seal a kitchen sink drain properly and can transfer bacteria from the bathroom. Keep a dedicated sink-specific plunger under the kitchen sink for disposal work.
How to fix the most common disposal failures
Humming but not spinning (jammed flywheel)
A hum confirms the motor has power. The flywheel is stuck. This is the single most common disposal problem and usually takes under five minutes to fix.
- Turn off the wall switch immediately. A motor straining against a jam will overheat.
- Unplug the unit or trip the breaker.
- Insert the 1/4-inch Allen wrench into the hex port at the bottom center of the disposal. Work it back and forth until you feel the flywheel break loose and turn freely.
- Shine a flashlight into the opening from above. Using tongs or pliers, remove any visible debris — fruit pits, bones, bottle caps, and utensils are the usual culprits.
- Press the reset button on the bottom of the unit.
- Turn on cold water, then flip the switch. The disposal should spin freely.
Dead disposal (no sound at all)
Run the power sequence from the diagnostics section above. If the outlet has power but the unit still won’t respond after pressing reset, the motor or internal wiring has likely failed. At that point, replacement is usually more economical than repair, particularly for units over 10 years old. Budget disposals last 5–8 years; mid-range and premium units typically reach 10–15 years.
Slow drain or clogged sink
The disposal itself may be fine. If it runs but the sink backs up, the problem is usually in the drain line. Try these steps in order:
- Run the disposal longer with cold water flowing. Many slow drains clear when food particles are fully flushed.
- Place a bucket under the P-trap (the curved pipe below the sink). Unscrew the slip-joint nuts by hand or with pliers, remove the trap, and clear the sludge. For chemical-free options, see Ez-plumbing’s guide on unclogging drains without chemicals.
- If the P-trap is clear, use a hand-crank drain snake fed through the drain pipe opening. Avoid caustic chemical drain cleaners, which can damage disposal components.
Leaks: location determines the fix
Where the leak originates tells you whether it’s repairable or a replacement situation.
- Top flange leak: loosen the mounting bolts, remove old plumber’s putty, apply fresh putty around the flange, reseat it, and tighten the bolts evenly.
- Side leak (dishwasher hose or discharge connection): tighten the hose clamp with a screwdriver. If the rubber gasket is worn, replace it (typically $3–$5 at any hardware store).
- Bottom leak: this indicates internal seal failure between the motor and grinding chamber. Patching the outside is ineffective. Replace the unit.
When to stop DIY and call a licensed plumber
Some conditions are beyond safe DIY territory. Stop and call a professional if you encounter any of the following:
- The reset button repeatedly pops back out shortly after being pressed. This signals an internal electrical short or motor failure, not a simple overload.
- The circuit breaker trips again after being reset. Wade advises directly: “If the breaker continues to trip, this is a sign of a more serious issue, and you should call a pro.”
- You detect a burning smell or see smoke.
- Water leaks from the bottom of the unit.
- You hear metal-on-metal grinding, which suggests bearing failure.
- Wiring connections appear corroded or loose.
Industry guidance is clear: repeated thermal overload trips are a sign the motor is overheating or failing. Continuing to press reset can mask a failing motor or internal short that poses a fire risk. Stop, cut power, and call a licensed plumber.
For LA property managers: document every check you performed, shut off power to the unit if there is any safety concern, and contact a licensed plumber for emergency service if tenant safety or business operations are affected. Hardwired units with wiring faults should be handled by a licensed electrician or plumber—not addressed inside the cabinet.
What does disposal repair actually cost in Los Angeles?
| Repair Type | DIY Cost | DIY Time | Pro Cost (LA) |
|---|---|---|---|
| Jam or reset fix | — | under 10 minutes | — |
| Gasket, putty, or hose clamp | $2–$10 | under 15 minutes | $200–$400 |
| P-trap cleaning | — | 20–30 min | — |
| Full unit replacement (DIY unit: —) | — | under five minutes | $200–$400 |
Most homeowners pay $200–$400 for professional disposal calls that could have been resolved in minutes with a reset or hex-wrench unjam. That said, professional service is worth every dollar when the problem involves wiring, a bottom leak, or a motor that keeps tripping.
- Emergency and after-hours calls in LA carry higher rates than standard service visits.
- Conversion from a hardwired unit to a plug-in (or vice versa) adds labor time and cost.
- A unit over 10 years old with recurring issues is almost always cheaper to replace than repair repeatedly.
Preventive maintenance that keeps your disposal running longer
Good habits here prevent most of the problems covered above.
- Run cold water before, during, and for 20–30 seconds after every use. Cold water keeps the motor from overheating and flushes ground particles through the drain.
- Periodically drop a handful of ice cubes and a cup of rock salt into the disposal, run cold water, and switch it on for 30 seconds. This scours the grinding ring and removes stuck-on debris.
- Use citrus peels occasionally for odor control, but in small amounts.
- Tighten hose clamps and inspect the flange and putty seal once a year.
Avoid putting these down the disposal: pasta, rice, beans, grease or cooking oil, large bones, fruit pits, coffee grounds, fibrous vegetables (celery, corn husks, artichoke leaves, onion skins), and any non-food items. For broader kitchen plumbing maintenance practices, these same principles apply to the drain lines downstream of the disposal.
Pro Tip: Property managers should add disposal checks to every unit turnover. Inspect the flange, test the reset, and run a quick ice-and-salt clean. Catching a worn gasket during turnover costs minutes; catching it after a tenant complaint costs a service call.
For a broader look at keeping your disposal in good working order, this maintenance guide covers safe operation habits worth bookmarking.
Key Takeaways
Safe DIY garbage disposal repair starts with power checks and a hex-wrench unjam, and stops the moment the reset button repeatedly trips, a burning smell appears, or water leaks from the unit’s bottom.
| Point | Details |
|---|---|
| Power checks resolve most failures | Check the plug, GFCI outlet, reset button, and breaker before assuming mechanical failure. |
| Hex-wrench unjam is the top fix | Insert a 1/4-inch Allen wrench into the bottom port and work it back and forth to free a jammed flywheel. |
| Bottom leaks mean replacement | Internal seal failure cannot be patched; replace the unit rather than attempting an external repair. |
| Know when to stop | Repeated reset trips, burning smell, or a tripping breaker all require a licensed plumber, not another DIY attempt. |
| Ez-plumbing for LA properties | Ez-plumbing (C-36 License #583868) provides licensed disposal repair, drain cleaning, and emergency service across greater Los Angeles. |
When we recommend DIY and when we recommend calling Ez-plumbing
The honest answer is that most disposal calls don’t need us. A reset, a hex-wrench unjam, or a GFCI reset are things any property owner can handle safely in under 10 minutes, and we’d rather you save the service call for something that genuinely requires a licensed technician.
Where we prefer to be called in: electrical faults, repeated thermal overload trips, bottom leaks, burning smells, and any hardwired unit with corroded or loose wiring. Those conditions carry real risk, and attempting to fix them without proper training can turn a $200 repair into a much larger problem.
Ez-plumbing holds C-36 License #583868 and serves residential and commercial properties throughout greater Los Angeles. Our services relevant to disposal issues include professional disposal repair, drain cleaning, leak detection, and fixture installation. For property managers overseeing multi-unit buildings, we offer documented service records and preventive maintenance contracts that cover routine disposal inspections alongside other plumbing systems.
Licensed disposal repair and drain service from Ez-plumbing
When the DIY steps above don’t resolve the problem, or when the situation involves wiring, a bottom leak, or a motor that won’t stop tripping, Ez-plumbing’s licensed technicians are available for same-day and emergency service across greater Los Angeles. Our drain cleaning service covers everything from slow-draining disposal lines to full P-trap and sewer-line issues. We also handle full disposal replacement, leak detection, and fixture installation, all under C-36 License #583868. To book a scheduled or emergency visit, contact Ez-plumbing directly through our garbage disposal repair page.
Sources and further reading
- Fixing a Jammed Garbage Disposal (InSinkErator Support)
- Why Your Garbage Disposal Isn’t Working (Martha Stewart)
- How to Fix a Garbage Disposal (FixUpFirst)
- Is Your Garbage Disposal Not Working? (Architectural Digest)
- Garbage Disposal Troubleshooting: Reset, Unjam, and Know When to Replace (ServiceMag)
- Garbage Disposal: Repair vs Replace (FixItReal)