
Fix a Leak Under Toilet: Fast & Easy Repair Solutions
You step into the bathroom, see water around the toilet base, and your first thought is usually, “Did someone miss the bowl, or do I have a real leak?” That's a fair question. A leak under toilet can be something small and fixable, or it can be the first visible sign that water has already been working into the floor where you can't see it.
Around Los Angeles, this comes up a lot in older homes, condos, and multi-unit buildings. Hard water leaves mineral buildup on parts that should move freely. Older building stock often has uneven floors, aging flanges, and past repairs layered on top of each other. In coastal areas, moisture in the air can also confuse the diagnosis because condensation sometimes looks like a plumbing leak until you test it properly.
The good news is that a calm, methodical check usually tells you whether you're dealing with a simple bolt adjustment, a supply line issue, condensation, or a failed wax ring that needs the toilet lifted and reset.
Table of Contents
- That Puddle at the Base of Your Toilet Is a Warning Sign
- Finding the True Source of the Leak
- Your Toilet Repair Toolkit and Parts List
- How to Replace a Toilet Wax Ring Step by Step
- Fixing Other Common Leak Sources
- Proactive Maintenance to Prevent Future Leaks
- When to Stop and Call EZ Plumbing for Professional Help
That Puddle at the Base of Your Toilet Is a Warning Sign
If water is showing up at the base, treat it like a warning, not a nuisance. A running toilet wastes water. A base leak can waste water and soak materials below the finished floor. That's the difference that matters.
The national water loss from household leaks is enormous. The EPA says household leaks can account for more than 1 trillion gallons of water wasted annually, equal to the annual household water use of more than 11 million homes, and toilets account for nearly 30 percent of an average home's indoor water consumption according to EPA WaterSense residential toilet guidance. Those numbers explain why toilet leaks deserve attention even when the puddle looks minor.
In Los Angeles properties, I'd be especially cautious when the bathroom is in an older home or a remodeled unit with mixed-era plumbing. Hard water can leave scale on internal parts and around fasteners. Older floors can settle just enough to let the toilet rock slightly. That small movement is often what breaks a seal over time.
Why a base leak is more serious than it looks
A leak under toilet often travels before it becomes obvious. Water can slip under vinyl, into grout lines, under baseboards, or through small gaps around the flange opening. By the time the floor feels damp every day, the leak may have been active much longer than you think.
Practical rule: If the floor is wet after flushing, don't keep “testing it for a few more days.” Every flush can push more water into the subfloor.
That's also why owners and property managers should think beyond the toilet itself. If water has reached flooring or framing, you may end up dealing with finish repairs as well as plumbing work. If you're reviewing overall risk for the property, it's worth understanding what a policy may or may not cover. A good starting point is this guide to affordable home insurance California, especially if the leak has already affected floors or nearby rooms.
Los Angeles factors that make leaks trickier
A few local patterns come up often:
- Older construction: Flange height and floor buildup aren't always ideal after years of remodels.
- Hard water: Mineral deposits can shorten the life of moving toilet parts and make disassembly harder.
- Multi-unit wear: In HOAs and apartment buildings, toilets see heavier use, which exposes loose bolts and weak seals sooner.
- Coastal moisture: In some neighborhoods, tank sweating can imitate a leak until you dry everything and test it.
A puddle at the base is your signal to stop guessing and isolate the source.
Finding the True Source of the Leak
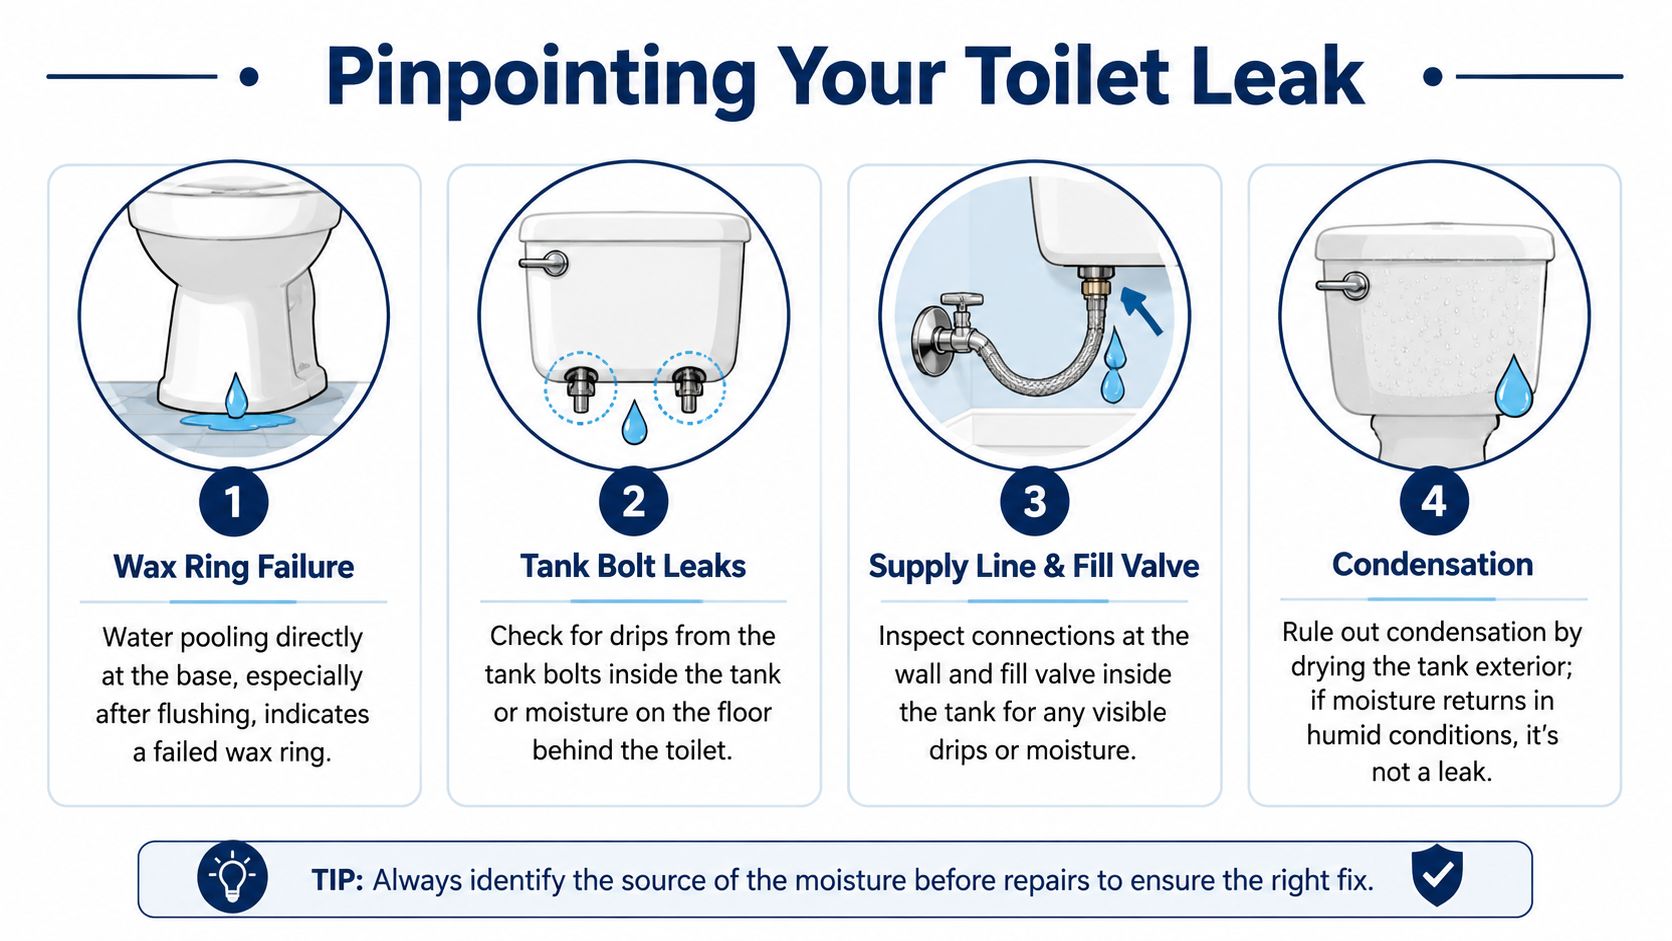
The biggest mistake people make is assuming every leak under toilet means “bad wax ring.” Sometimes that's exactly right. Sometimes it's not even close. Water can travel down the bowl, off the tank, or along the supply line and collect at the same low spot on the floor.
The reason diagnosis matters is simple. Base leaks can progress unnoticed. Water gradually infiltrates subflooring and joists, creating conditions for mold growth and wood rot that can lead to catastrophic and expensive structural repairs as noted in this toilet leak prevention and repair guide.
Start with timing and location
First, dry everything thoroughly. Use paper towels around the base, behind the bowl, under the shutoff valve, and under the supply line nut. Then watch when the moisture returns.
If water appears only after a flush, the wax ring or toilet base area moves higher on the suspect list. If moisture appears constantly, check the supply line, shutoff valve, tank bolts, or fill valve. If the outside of the tank feels wet but you can't find an active drip, you may be looking at condensation instead of a plumbing failure.
Use simple tests before pulling the toilet
A few low-mess checks save a lot of unnecessary work:
Food coloring test in the tank
Add a few drops of food coloring to the tank and wait. If color shows up in the bowl without flushing, you have an internal tank-to-bowl leak. That wastes water, but it usually isn't the reason for water at the floor.Dry hand test on the supply line
Run a dry paper towel around the supply connection at the wall and where the line meets the fill valve under the tank. Even a tiny drip will show up fast on white paper.Flush and watch the base
Kneel with a flashlight and look for fresh water right at the front or sides of the bowl after flushing. That pattern often points to the seal area.Check for movement
Put your hands on the bowl and gently rock it. Any wobble matters. Even slight movement can disturb the seal.
If you want to confirm whether the toilet issue is part of a larger leak problem in the house, this guide on how to read a water meter for leaks helps you rule out continuous water loss elsewhere.
Toilet Leak Source Diagnosis
| Symptom | Likely Cause | DIY Difficulty |
|---|---|---|
| Water appears at the base after flushing | Wax ring failure or loose closet bolts | Moderate |
| Water shows up behind the toilet | Tank bolts, tank gasket, or supply line leak | Easy to moderate |
| Moisture forms on tank exterior in humid conditions | Condensation | Easy |
| Toilet rocks when you sit down | Loose bolts, poor shimming, or compromised seal | Easy to moderate |
| Constant dampness near shutoff or hose | Supply line or valve connection | Easy |
Dry first, test second, disassemble last. That order prevents a lot of wasted effort.
Your Toilet Repair Toolkit and Parts List
Set your tools and parts out before you loosen a single nut. A toilet reset is one of those jobs that feels simple until you are holding the bowl up, the floor is wet, and you realize the old bolts are rusted solid or the replacement ring is the wrong height. In Los Angeles condos and older homes, that happens a lot. Hard water leaves corrosion on supply connections and closet bolts, and older installs do not always match current flange height or floor thickness.
Here's the kit I'd want within reach for a leak at the base:
- Adjustable wrench: For the supply line nut and other basic connections.
- Deep socket or small wrench set: Closet bolt nuts can sit low and tight against the porcelain.
- Putty knife: For scraping every bit of old wax off the flange and toilet outlet.
- Sponge and small bucket: Expect more water to remain in the bowl and tank than you might think.
- Shop towels or rags: A dry floor makes it much easier to confirm whether the repair worked.
- New wax ring: Standard rings work for many toilets, but floor height matters. On older tile-over-tile floors, or where the flange sits below the finished floor, take a close look before buying.
- Closet bolts and washers: Replacing them is cheap insurance. Corroded bolts are a common reason a toilet starts to wobble again.
- Plastic shims: Useful for slight rocking on uneven tile. Property managers should keep a few on hand because repeated movement can ruin a new seal.
- Rubber gloves: The area under a pulled toilet is never clean.
- Mini hacksaw or bolt cutter: Handy when old closet bolts are too rusted to remove cleanly.
One practical tip from the field. If the toilet is in a pre-1980s Los Angeles building, add a flange repair ring to your shopping list if the hardware store carries one. You may not need it, but older cast-iron and lead bends sometimes reveal a weak or broken flange only after the toilet is off. That is the point where a routine DIY repair can turn into a much bigger job.
How to Replace a Toilet Wax Ring Step by Step
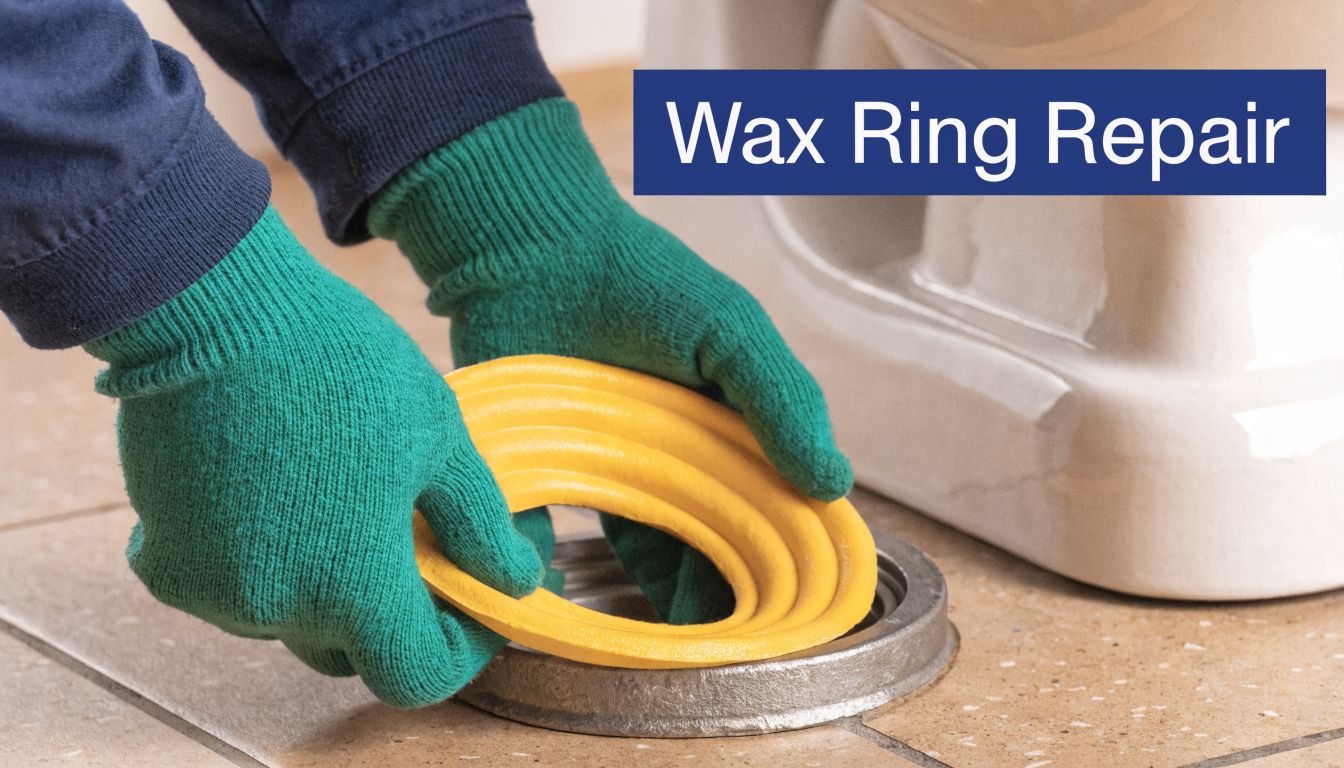
A failed wax ring is still the repair most homeowners mean when they say they have a leak under toilet. Done right, this is manageable. Done sloppily, it turns into a repeat leak, broken flange, or cracked bowl.
When a wax ring is replaced correctly, with the old wax fully scraped away, the new ring centered, and bolts tightened evenly, the success rate exceeds 90% where there's no flange or subfloor damage. About 10 to 15% of these jobs uncover needed flange repair, according to this step-by-step base leak repair guide.
Get the toilet off cleanly
Start by shutting off the angle stop behind the toilet. Flush once, then hold the handle down to drain as much as possible. Sponge out the remaining water from the tank and bowl so you don't spill it across the floor when lifting.
Disconnect the supply line. Remove the caps at the base if your toilet has them, then loosen the nuts on the closet bolts. If the nuts are rusted, take your time. Forcing them can snap a bolt or jerk the bowl sideways.
Once the nuts are off, gently rock the toilet just enough to break the old wax seal. Then lift straight up. Toilets are awkward, not just heavy, so having a second person nearby is smart. Set the toilet on cardboard, towels, or a contractor bag to avoid smearing wax on the floor.
Reset it the right way
Now do the least glamorous but most important part. Scrape every bit of old wax off the flange and the outlet on the toilet. If old wax remains, the new ring won't compress evenly.
Check the flange carefully. Look for cracks, corrosion, missing sections, or a flange that sits too low relative to the finished floor. If the flange is damaged, stop and reassess before installing the new ring.
Then install fresh closet bolts if the old ones look worn. Set the new wax ring centered on the flange. Some plumbers prefer setting it on the toilet horn, but for many homeowners the flange placement is easier to keep centered during the reset.
Don't twist the bowl around once it touches the wax. Lower it as straight as you can and commit to the placement.
Lower the toilet onto the bolts in one controlled move. Press down evenly with body weight to compress the wax. Install washers and nuts, then tighten side to side a little at a time. Patience is essential here.
Overtightening is one of the most common DIY mistakes. Porcelain cracks without much warning. You want the toilet snug and stable, not clamped like a wheel lug.
If the floor is uneven and the bowl still rocks after tightening, use plastic shims before you finish snugging the nuts. Trim the shims neatly later.
A visual walkthrough can help if you want to see the sequence before lifting the bowl:
Reconnect the supply line, turn the water on, let the tank fill, and flush several times while watching the base. Run a dry paper towel around both sides and the front. If it stays dry and the toilet doesn't move, you likely fixed it.
Fixing Other Common Leak Sources
If your testing pointed away from the wax ring, the repair usually gets easier. These are the leaks I'd check next before pulling a toilet again.
Tank bolts and tank gasket issues
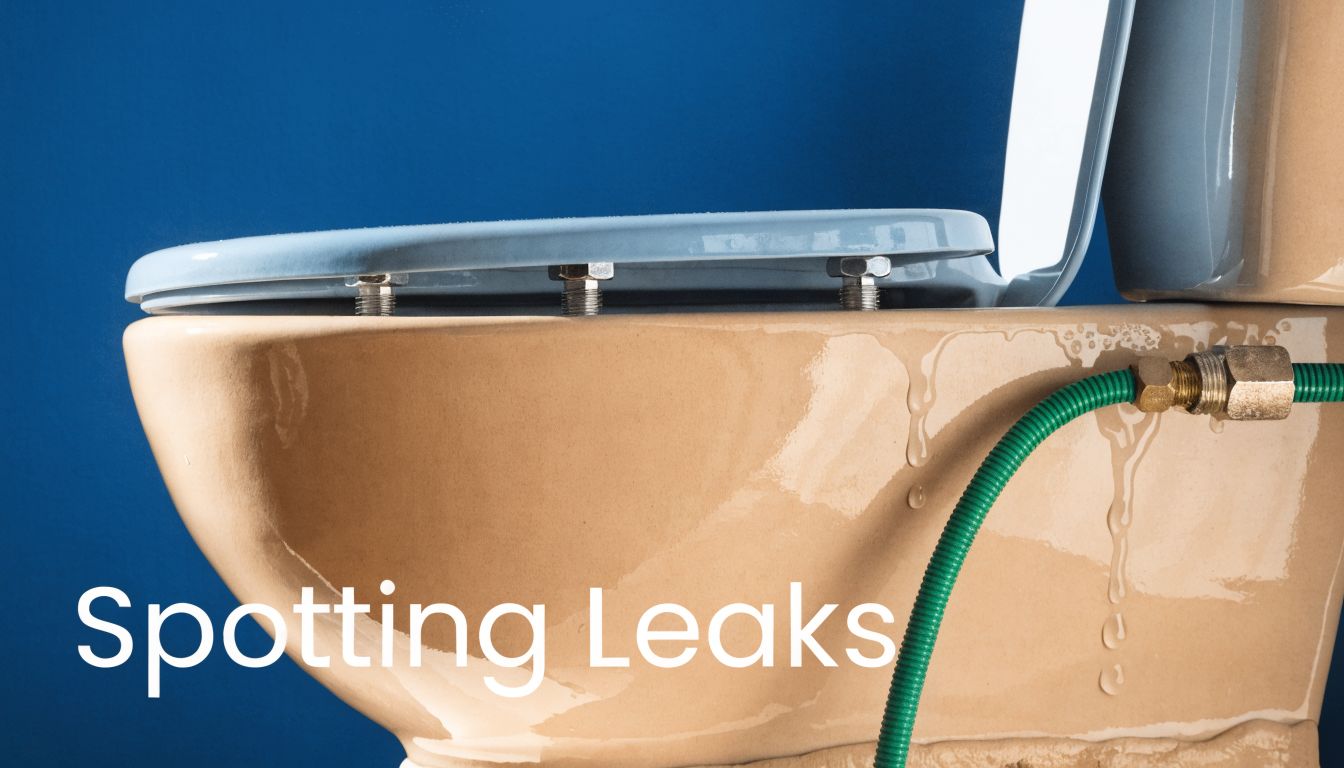
Water behind the bowl often starts at the tank. Reach under the tank after a flush and check for fresh drips near the bolts.
Tightening tank bolts can help, but do it evenly and gently. If one side is cinched hard and the other isn't, you can stress the porcelain or distort the gasket. If the washers or tank-to-bowl gasket look brittle, replacement is usually the better move than chasing the leak with more torque.
Supply line and shutoff leaks
A supply leak usually leaves the floor damp even when the toilet hasn't been flushed. Check the nut at the shutoff valve and the connection under the tank. If the line is old, kinked, or shows corrosion at the fittings, replace it rather than trying to nurse it along.
A braided stainless supply line is a common upgrade because installation is straightforward and the connection is more predictable than an aged rigid line. Just don't overtighten the nuts. Hand-tight plus a careful final snug is usually the right approach.
When it is just condensation
In some Los Angeles bathrooms, especially where airflow is poor, a cold tank can sweat enough to drip onto the floor. That can look exactly like a leak under toilet until you test for it.
Try this:
- Dry the tank completely: Use a towel and get the porcelain fully dry.
- Wait without flushing: If moisture returns on the outside of the tank, you're likely dealing with condensation.
- Check the room conditions: Poor ventilation makes this worse.
- Look for drip patterns: Condensation usually forms broadly over the tank surface, not at one fitting.
If the floor only gets wet during warm, humid periods and the fittings stay dry, don't rush into a wax ring replacement.
Proactive Maintenance to Prevent Future Leaks
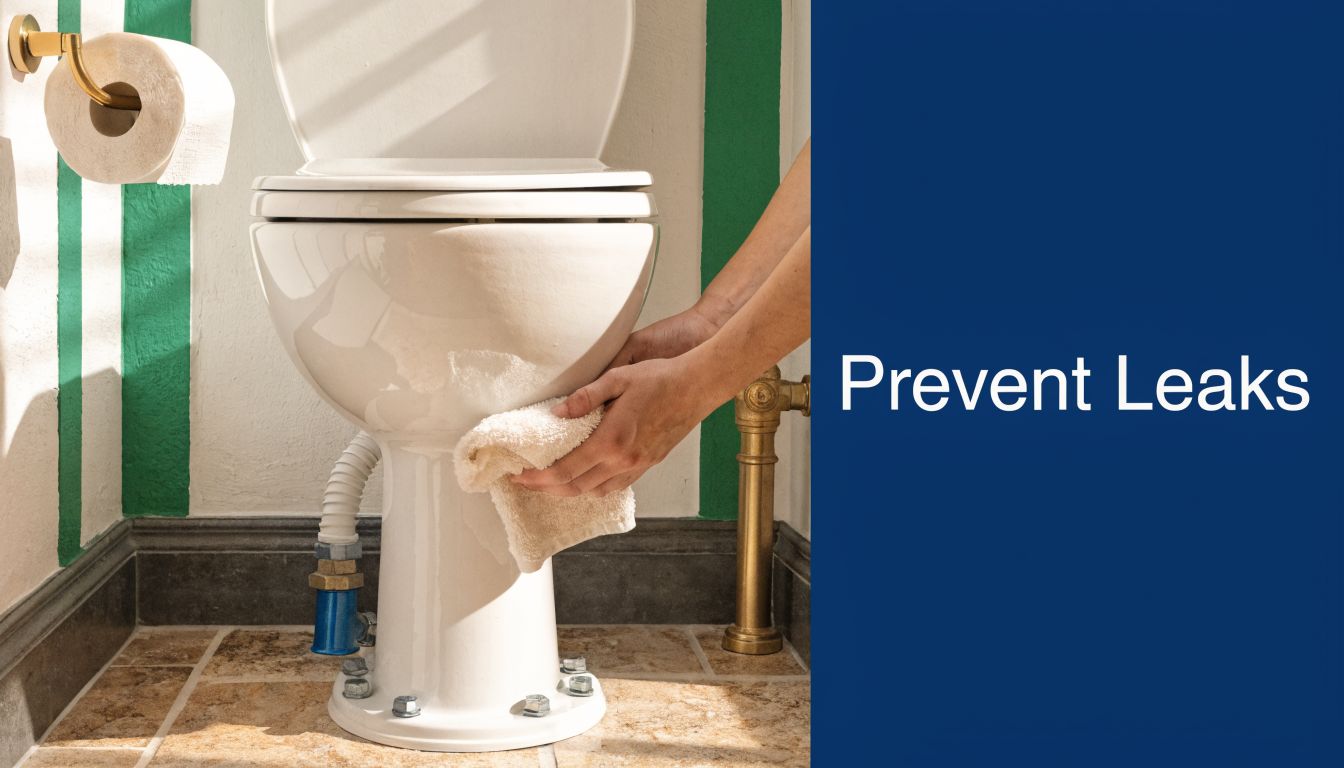
Most bad toilet leaks don't begin with a flood. They begin with small movement, a faint odor, or occasional dampness that nobody follows up on. That's why a short inspection routine matters, especially in rental units, HOA properties, and older Los Angeles homes.
Experts note that wax ring deterioration and flange misalignment develop over time, and proactive monitoring can catch problems before visible water damage leads to subfloor rot or mold remediation, as discussed in this flange alignment and leak prevention article.
A quarterly check that actually helps
For homeowners, landlords, and site managers, this is the routine I'd use:
- Wobble test: Put your hands on the bowl and see if it shifts at all.
- Smell check: A musty odor around the base is worth investigating even if the floor looks dry.
- Surface check: Look for discoloration in grout, laminate seams, or caulk lines nearby.
- Flush observation: Watch one full flush cycle and see whether water appears at the base.
- Bolt cap check: Missing caps often mean someone has already been adjusting the toilet.
If you manage multiple units, a broader maintenance checklist helps keep this from becoming an emergency call. This Los Angeles focused guide to essential plumbing maintenance is useful for building out a recurring inspection routine.
One detail most people get wrong with caulk
A lot of people want to caulk tightly around the entire base to make the toilet look finished. That can create a cleaner appearance, but fully sealing the perimeter can also hide a future leak until the floor is already damaged.
Leave a small gap at the back so water has a place to show itself. That gives you an early warning instead of trapping moisture underneath.
If you've already had flooring repairs or you're planning bathroom work in a unit that had prior moisture intrusion, it also helps to understand how the floor assembly should be protected. This moisture barrier subfloor installation guide gives useful background for discussing the scope with a contractor.
When to Stop and Call EZ Plumbing for Professional Help
A toilet leak crosses the line from simple repair to property damage faster than many owners expect. In Los Angeles, I see this in older condos and apartments all the time. Hard water eats away at metal parts, older flanges are often set too low for today's finished floors, and a small leak in a second-floor bath can turn into ceiling damage downstairs.
The point to stop is simple. If you pull the toilet and find the problem extends beyond the seal, the repair needs a plumber. A failed flange, rotted subfloor, loose closet bend, or a toilet that still rocks after reset usually means the leak has been there longer than it looked from above.
Call for professional help if you find any of these conditions:
- Soft or swollen flooring: Tile feels loose, vinyl lifts, or the floor gives under your weight.
- A damaged flange: Rust, cracks, missing sections, or flange screws that no longer hold.
- A leak that came back after a new ring: That usually points to alignment, flange height, or hidden movement in the floor.
- Cracked porcelain: Even a small crack can keep leaking and can fail without much warning.
- Multi-unit exposure: In condos, duplexes, and apartment buildings, one leaking toilet can affect neighboring walls, shared framing, or the unit below.
For property managers and HOA boards, this is the stage where delay gets expensive. One service call is manageable. Flooring replacement, drywall repair, and insurance documentation across multiple units is a different job.
If you're weighing repair scope alongside larger bathroom work, this guide to remodel plumbing costs can help frame the conversation before authorizing broader repairs.
For active toilet base leaks, flange repairs, and hidden moisture issues in Los Angeles, Santa Monica, West Hollywood, Pasadena, Glendale, Burbank, and the San Fernando Valley, schedule professional toilet leak and flange repair service.
If your toilet is leaking at the base, don't wait for the floor to tell you how bad it is. EZ Plumbing provides licensed toilet repair, leak diagnosis, and emergency plumbing service across Los Angeles. Call (818) 908-2710 for help with a leak under toilet, wax ring replacement, flange issues, or water damage concerns before the repair gets bigger.